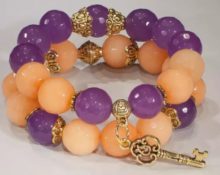
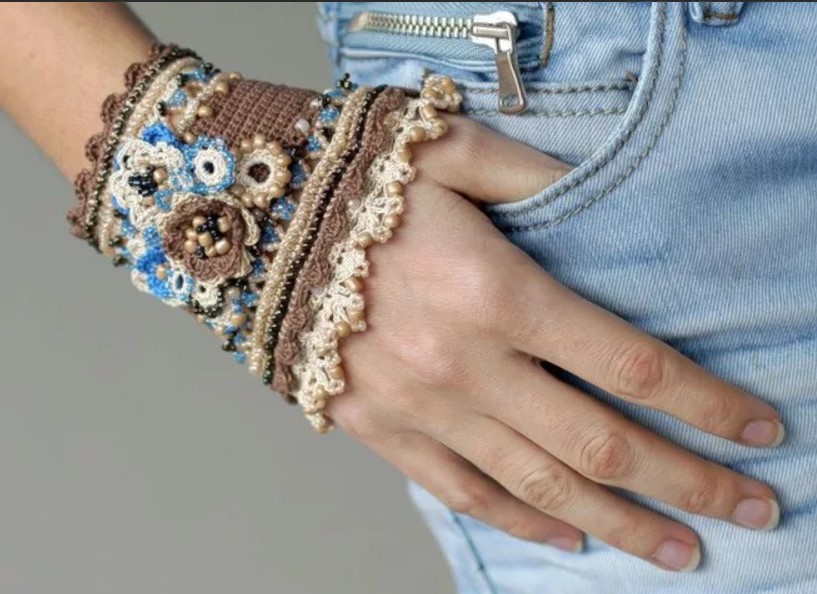
 The bracelet was originally a very powerful amulet; it has been popular for many years as a beautiful accessory. A good tradition is considered to be a gift - a bracelet; it is given as a sign of great friendship and love. It's nice to receive a handmade bracelet as a sign of friendship. These are amazing and unique things. The article contains three models of chic jewelry with descriptions and good diagrams.
Especially so that everyone can complete the model depending on the level of complexity.
Suitable yarn and hook
As a yarn that is used to create bracelets, it is different shades of iris.
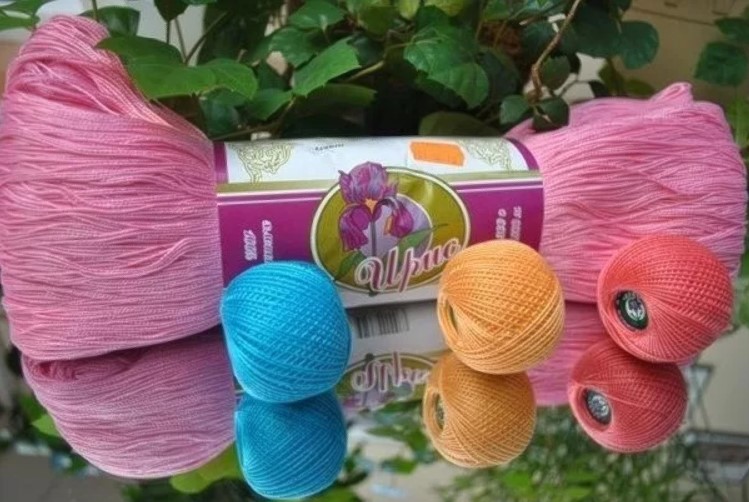
This thread has the thinnest fibers. It can be entirely made of cotton, which allows you to wear iris items on hot summer days without getting tired of them.
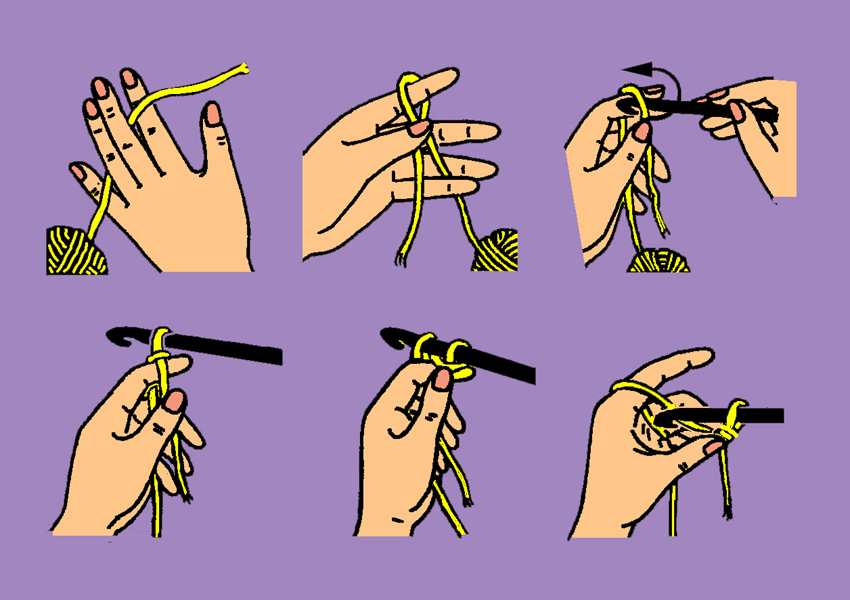
It will not be hot in them, since the thread is neutral. The iris hook usually starts from 0.75 size, but not more than 1. When creating, be sure to look at the size of the hook, which is recommended by the manufacturer. There is also always a hint on the yarn for a novice crafter.
Original crochet yarn bracelet models
There is nothing more beautiful than a crochet bracelet, below are three charming patterns. Each one is very unique and beautiful in its own way. With them, any image can become brighter and more original. Even simple jeans and a T-shirt will look more fun with a small bracelet.
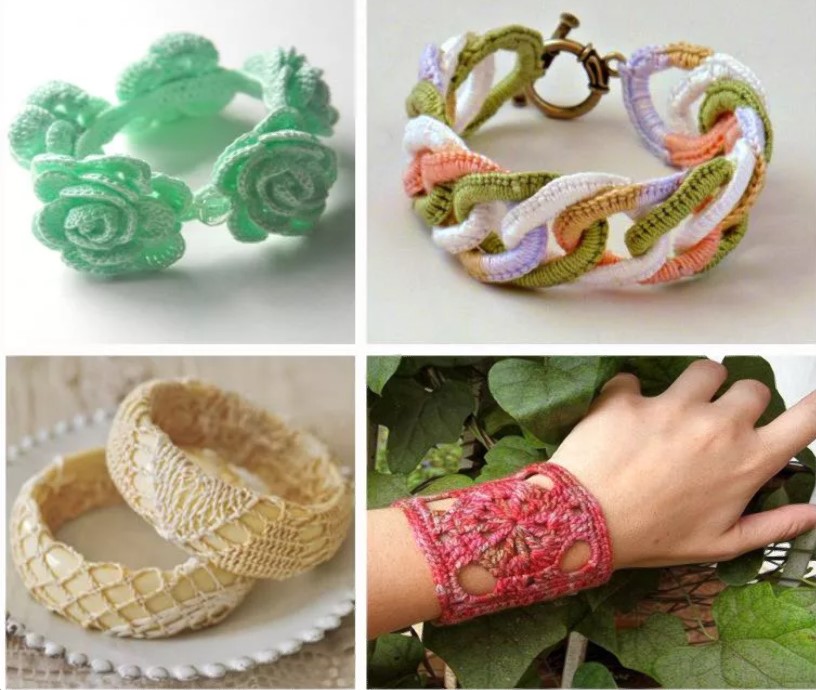
On the eve of the holidays, it is better to knit more such attractive things, since receiving such cute things as a gift is very nice.
Iris crochet bracelets for beginners
Cute knitted thread options are made using leftover iris yarn and crochet hook. You can knit one such bracelet in just one hour.. Plus this includes assembly time. So we collect all our leftover yarn and start creating.
To work you will need:
- iris yarn of different colors (any remnants of such fiber can be used);
- iris hook.
Measurements
An interesting fact is that the average person’s wrist is always within 16-18 cm. Therefore, bracelets can be made practically without measurements. But if it is possible to measure your hand, it is better to do so. We measured the wrist and recorded the indicator. All you need is a circle; the width can be adjusted during the creation process. Or make it according to the width of the elastic band that is inside such a bracelet.
 Sample
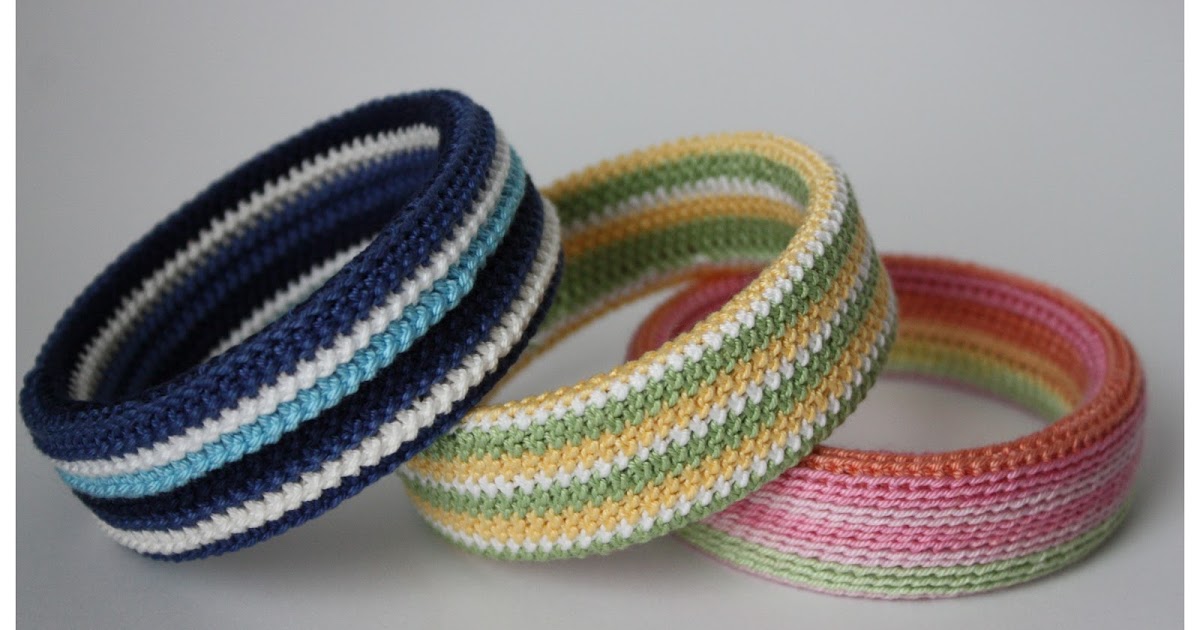
Choose a canvas pattern for your bracelet. The pink model is made with connecting posts, resulting in stylish, interesting stripes. The middle bracelet is made of half-columns, and the blue one is made of single crochets. Then you will need to knit a small sample. The length of the bracelet is known. Make the width 2 times the width of the elastic band for the bracelet.
Any elastic band thicker than 2 cm will do. In this model, a width of 3 cm was used. Therefore, the width of the bracelets will need to be knitted 6 cm.
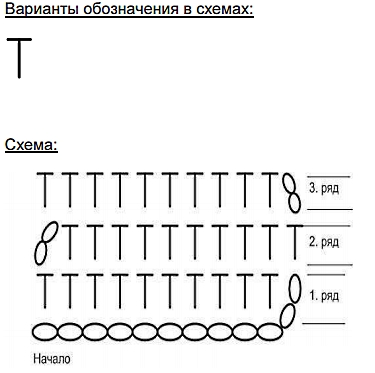 The basis
Knit rectangles along the length and width of the elastic band. Then set the resulting rectangles aside for now. For those who don't like side seams, you can do the same thing, but in circular rows.

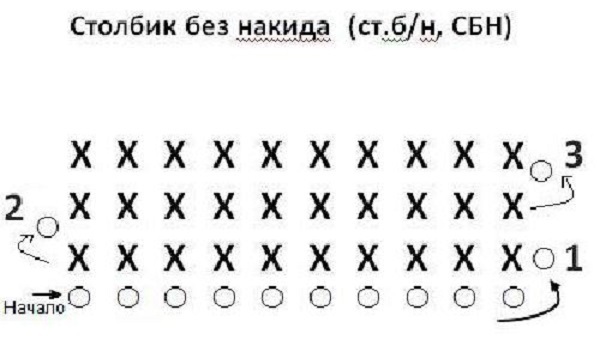
Scheme 1
Rubber
Cut the desired length of elastic and immediately sew the sides together to create an even bracelet. It is better to sew with an overlap of about 1 cm.
Assembly
We put the elastic into the fabric and made neat seams.
Advice! If you make some more small potholders in the center, the bracelet will be durable.
So the beautiful bracelet is ready.
Thin bracelet with small flowers and beads
For a light spring sundress, this is the perfect addition. Feminine patterns and cute beads are a great idea. Making this product is not that difficult, the whole chain consists of small circles. These motives are initially performed separately. Then they simply carefully sew them together.
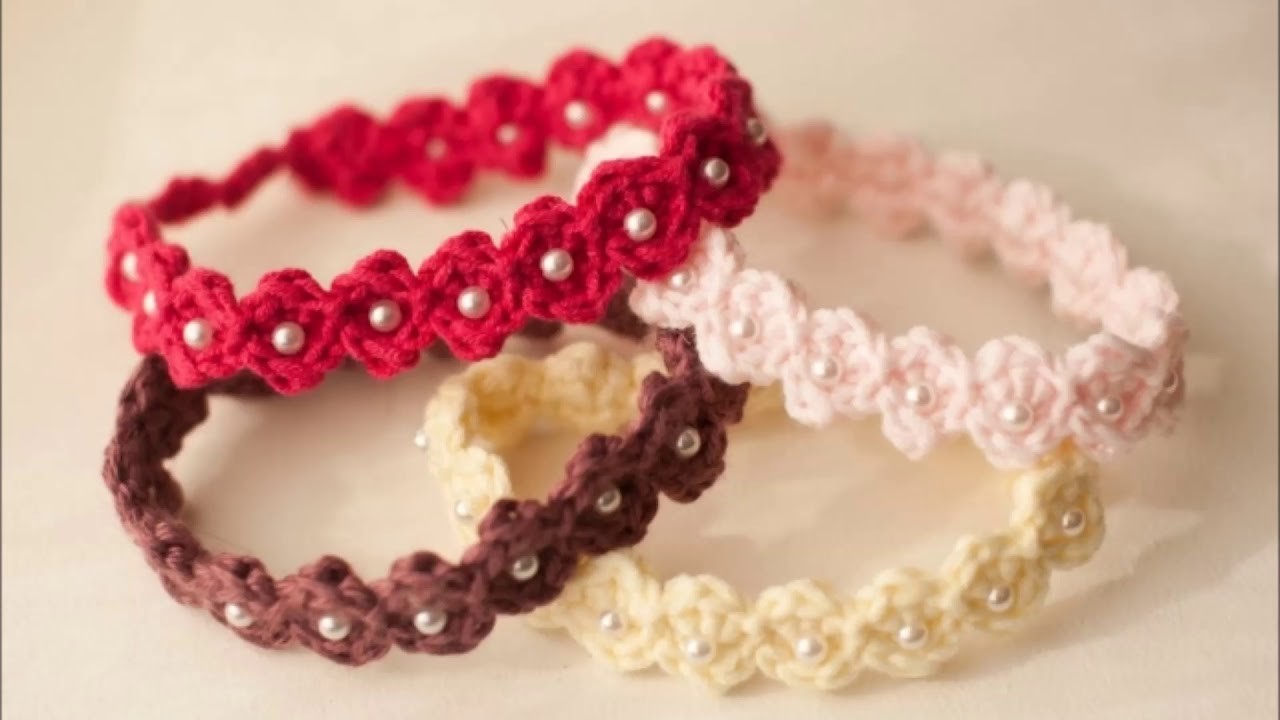
For work use:
- iris yarn;
- iris hook;
- clasp for chains;
- beads of a color matching the iris.
Measurements
Take measurements around the circumference of your wrist. There is no need to add any extra weight, the bracelet is made exactly to size, and the thread stretches well in this pattern.
Sample
For the sample you will have to knit a small ring - this is one bracelet motif. It will no longer be unraveled, but from the first one you will need to determine the total number of motifs for the bracelet. Calculate how much is needed and you can start making motifs.
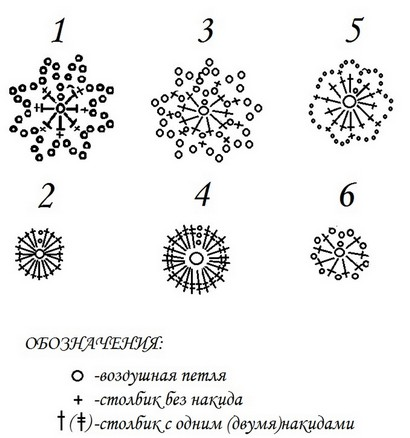 Motive
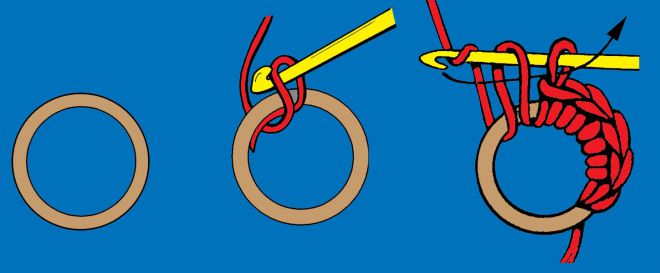
The motive must be fulfilled according to the provided diagram from picture 2. This must be done in the following sequence:
- Cast on the chain with air loops - 5 loops.
- Connect the chain into a ring and fasten it with a connecting post.
- Make 3 air lifting loops (they are always equated to one single crochet stitch).
- Knit another 19 double crochet stitches into the ring and use connecting stitches again to complete the row. Align the columns and you will get an even circle of single crochet stitches.
Complete the required number of such circles, and you can proceed to the next stage.
Assembly
To assemble, you will need to connect all the circles with an identical thread strictly along a diagonal line. Then sew on a clasp, and sew one bead in the center of each circle.
Now the bracelet is ready.
Crochet bracelet with chains
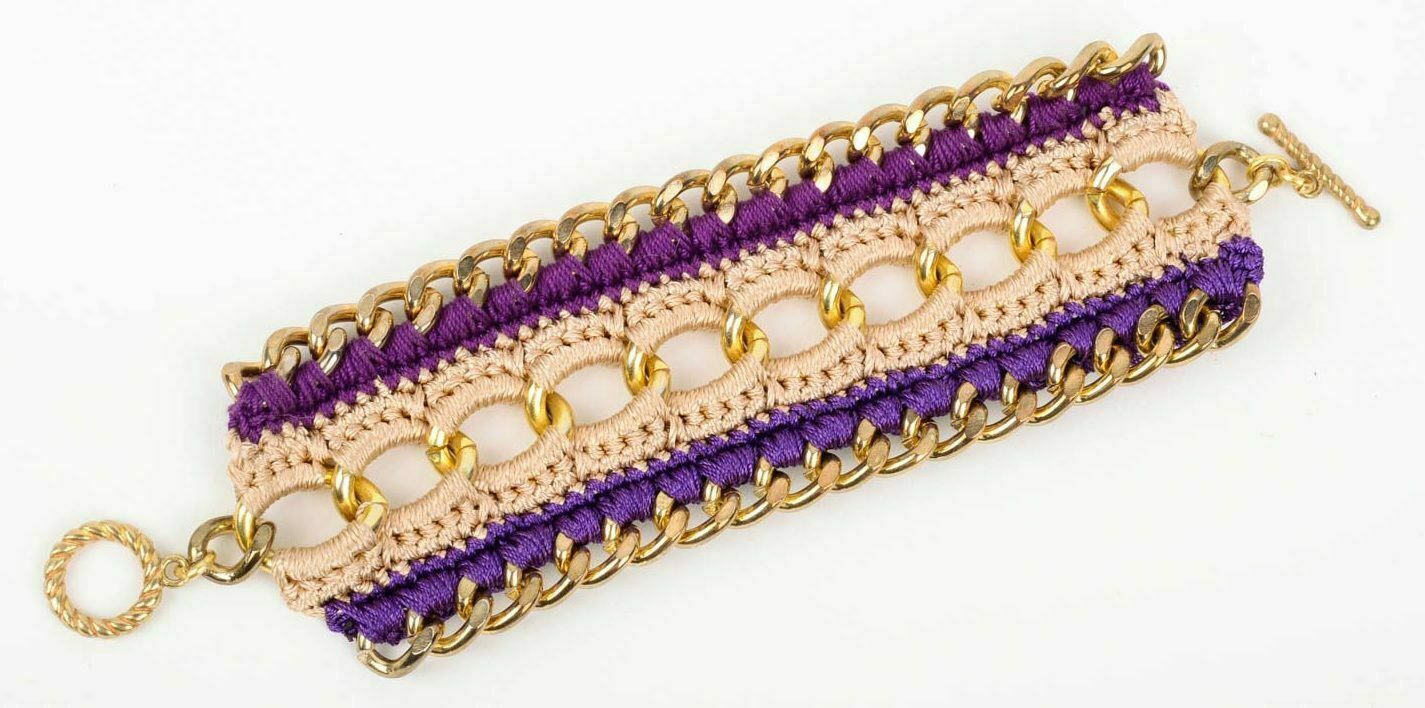
This charming bracelet is for a true craftsman. It’s a great idea to weave in additional chains, this will make it brighter. It’s hard to imagine that this gorgeous product was created by a talented craftsman. Detailed instructions for this charm are below, as well as tips for braiding rings using a small hook.
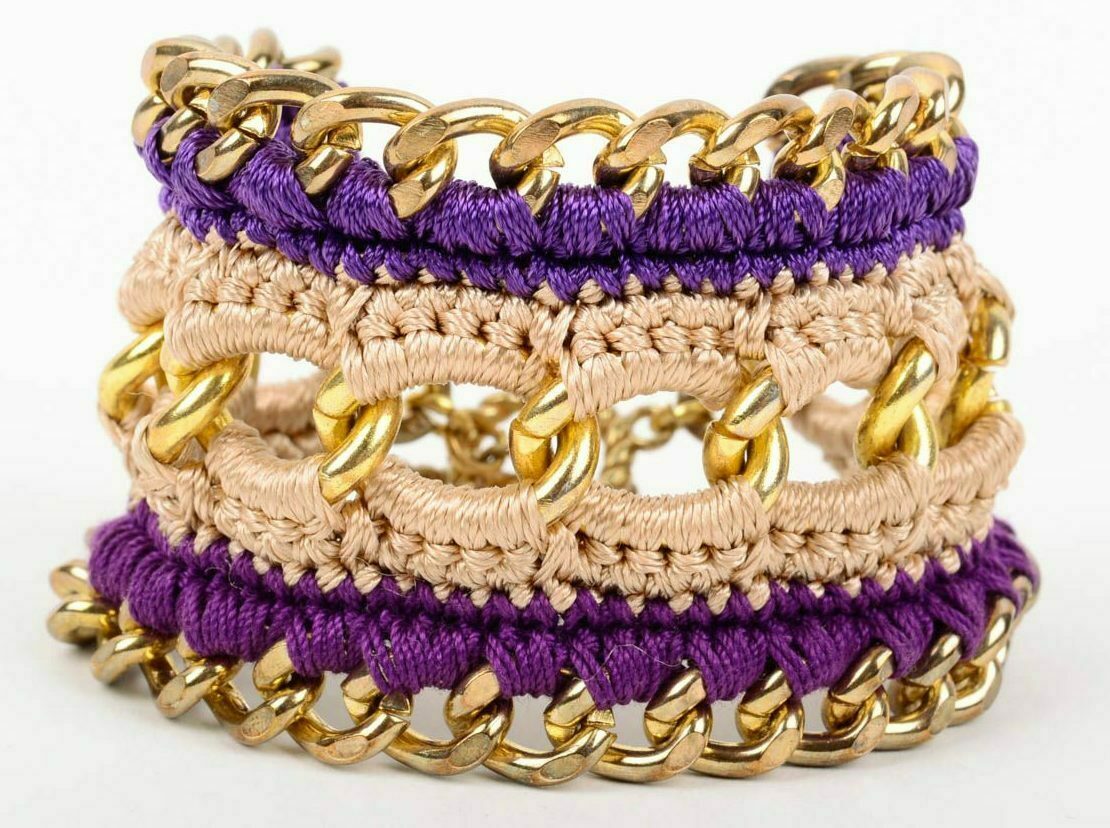
For work use:
- iris of two colors;
- the chain is thick;
- iris hook;
- decorative clasp for a bracelet.
 Measurements
Measure the length of the clasp and the length of your wrist. Subtract the length of the clasp from the length of the wrist and use this value for the base of the bracelet.
Sample
For a sample, use several braided rings. Measure how many rings of this size are needed and make three identical chains of the required length. For the central part of the bracelet, it is better to use a chain with large rings. Immediately press the outer rings using pliers.
 The basis
You need to start working from the central link. Braid the chain on each side, and then perform a row with simple single crochets. Braid the outer chains on one side, and also perform one row of single crochets. Next, connect the central fabric and side chains using a connecting seam. At the same time, grab one loop from one fabric and another from another.Sew two seams like this, and you get a connection between the central part and the side chains.
Assembly
Sew on the clasps and you can try on the charming product.
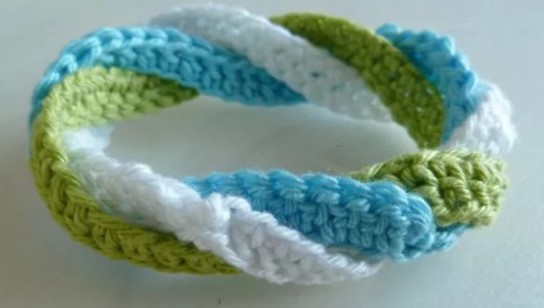
The most beautiful bracelets can always be made from the most ordinary and inexpensive things. But they look great on the hand. Great creative inspiration to all masters and beginners, and maybe tomorrow it will be your models that will show off on the pages of the Internet.


 0
0