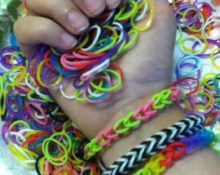
 Of the many modern hobbies, the most popular among girls is weaving baubles from silicone rubber bands. This is due to the bright, attractive appearance of the finished product and the simplicity of the work process. After all creating it will require a minimum of free time. And besides the material itself, All you need is a crochet hook, and even then not always. For the lesson you need purchase only material. In retail outlets, silicone blanks are packaged in a certain number of pieces in one bag according to color. Or use a ready-made craft kit. In addition to elastic bands of different colors, it will contain a hook, a weaving machine and an S-shaped fastener.
How to learn to crochet elastic bands
For beginning craftswomen who are just taking their first steps in understanding the secrets of this needlework, it would be wise to start learning with the simplest weaving.
Crochet Basics
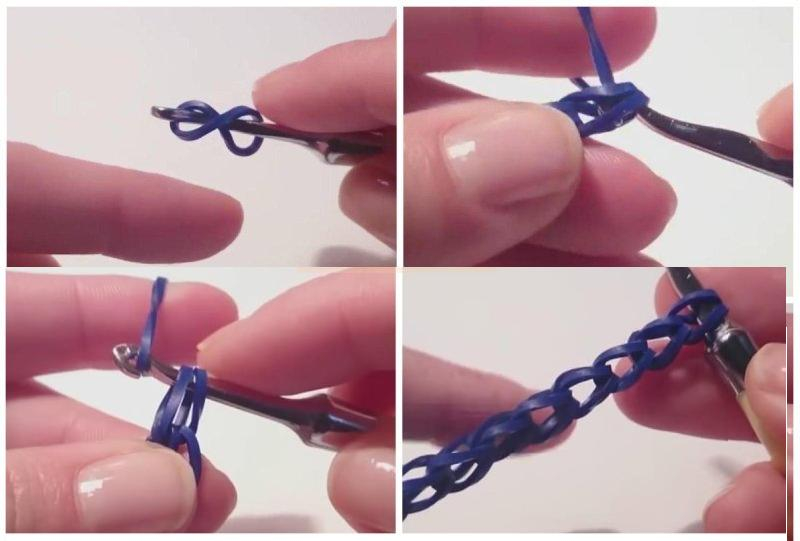
To do this, follow the following procedure.
- Take the tool in your right hand and put an elastic band twisted in half on it so that there are two loops on it.
- Place a rubber ring on the index finger of your left hand and hook its edge.
- Pull the resulting loop through the loops on the hook.
- Slip the loop from your finger onto the hook. There are again two loops at work.
- Continue manipulation until the product reaches the desired length.
Reference! For any bauble, you can use either one color or several shades. This factor depends entirely on the creative imagination of the craftswoman.
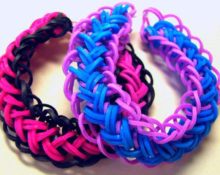
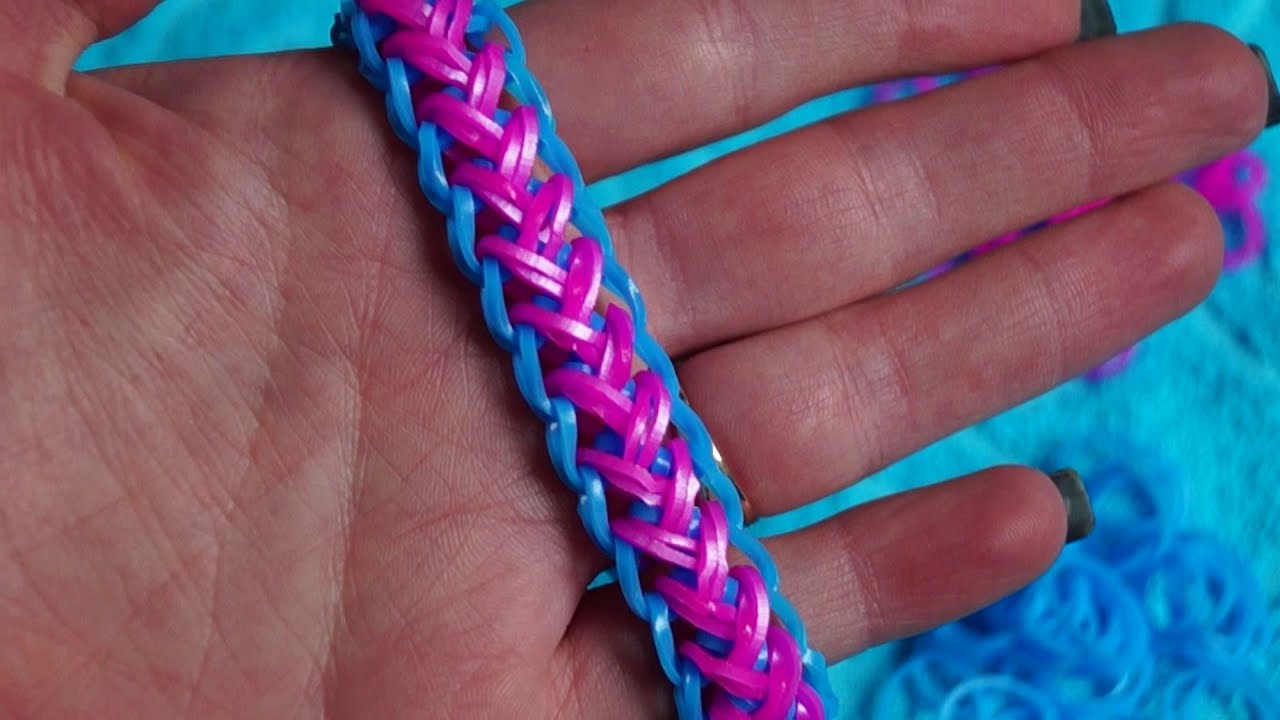
The main pattern is fishtail
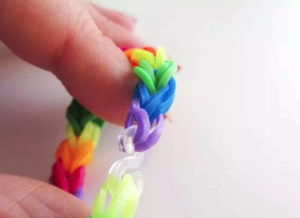
Having thoroughly mastered simple weaving, you can move on to studying the fishtail variation. More complex options are made based on this weaving. At the same time, by alternating materials of different colors, you can get a beautiful pattern on the surface of the bracelet.
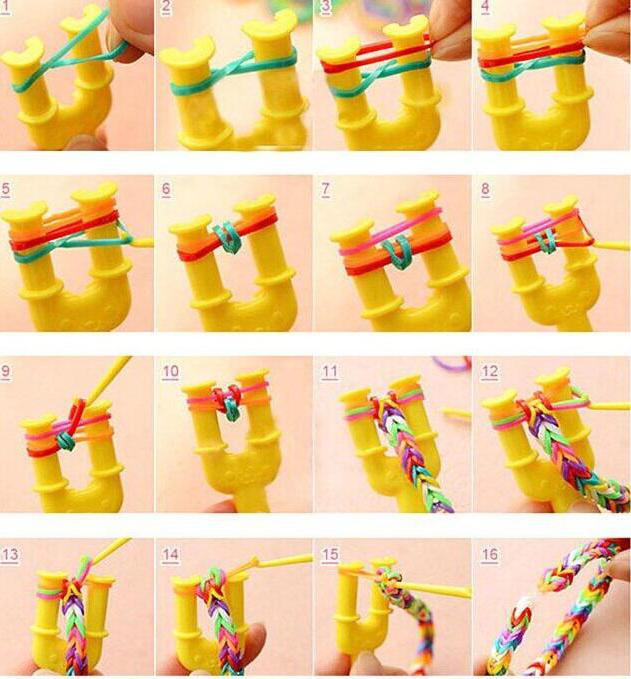
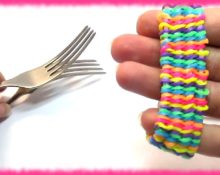
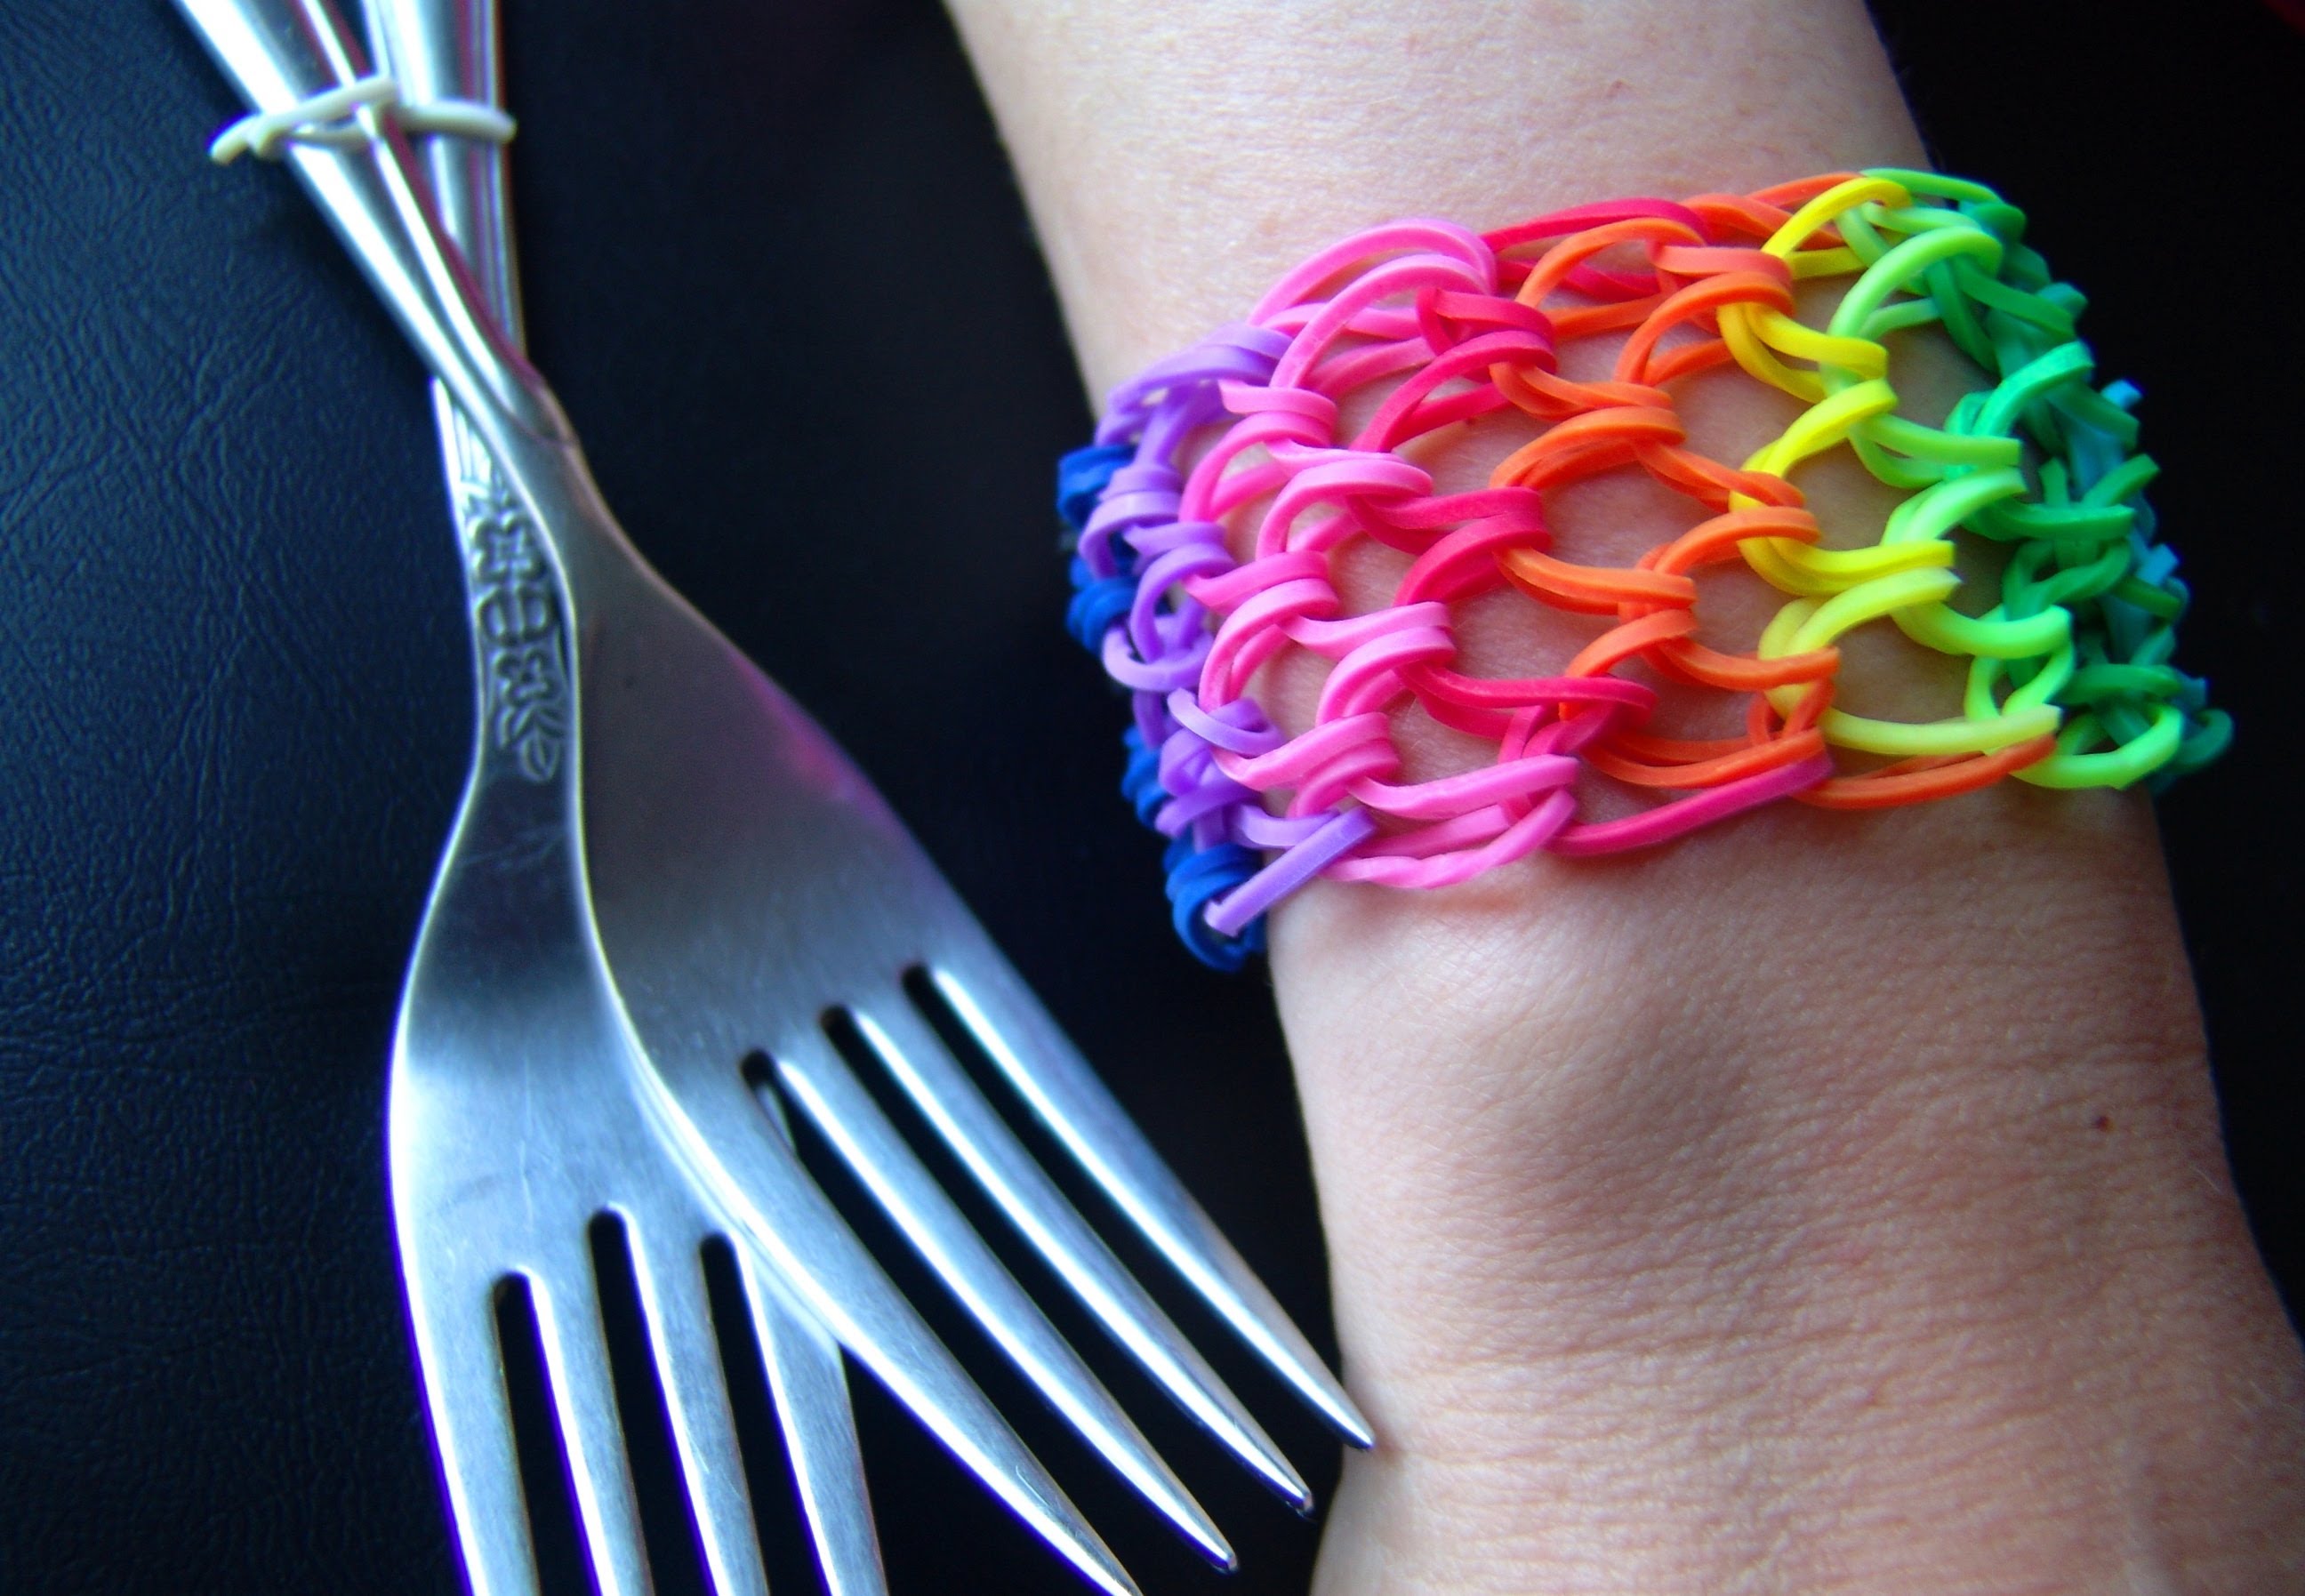
Attention! Instead of the slingshot shown in the picture, you can use your nearby fingers.
How to make patterns from rubber bands
In addition to the previous pattern, there are several more common braids: French braid, dragon scales, mermaid braid. Let's consider the implementation of these variations.
French braid
To create it, you will need material of two colors, for example, green and yellow.

How to create
- Place a twisted green ring on your fingers.
- Then come yellow and green.
- Pry up the bottom left strip and remove it with your left finger.
- Put a yellow rubber band on your fingers.
- Then remove the left edge of the middle green elastic band.
- Next, discard the lower right side of the yellow stripe.
- Continue until you reach the desired length, remembering to alternate colors.
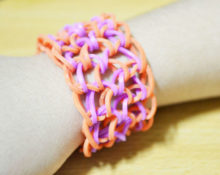
Dragon scales
This option allows you to get product with a larger width. In this case, the item can be of a uniform tone or made in several shades.
Execution Process
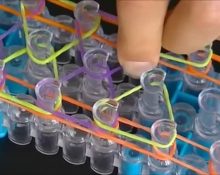
- Place rings of material over your fingers. In this case, each finger (except the outer ones) should have two ends of different elastic bands.
- Place the rubber bands on two fingers so that they do not intersect with others (see photo).
- Slide the bottom row from one finger to the next one.
- Repeat rows until you reach the desired size.
- Secure the edge.
Attention! Dragon scales can also be made in several folds, using several rings at a time.
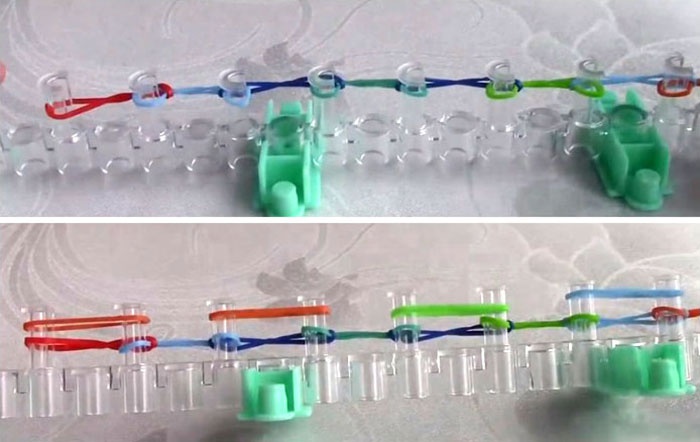
Mermaid braid
With this option it turns out flat product. To work, you will need material of two shades.
Completing of the work
- Take a cocktail straw and fold it in half.
- Place a blue elastic band twisted in a figure eight on both sides.
- Place the pink one, folded in half, on the right side.
- Next comes the blue one, worn on both parts.
- Throw off the bottom blue one on the right side.
- Place the pink one, folded in half, on the left piece.
- Wear blue on both.
- Throw off the bottom blue one on the left side.
- Place the pink one, folded in half, to the right.
- Put blue on both parts.
- Take off the bottom pink one.
- Continue weaving to the required height.
How to crochet a bracelet
The list of different weaving variations of this decoration is endless. Any of them will be a stylish and original product. But we We invite you to pay attention to the variation, complemented by large beads. Let's take a closer look at this process.
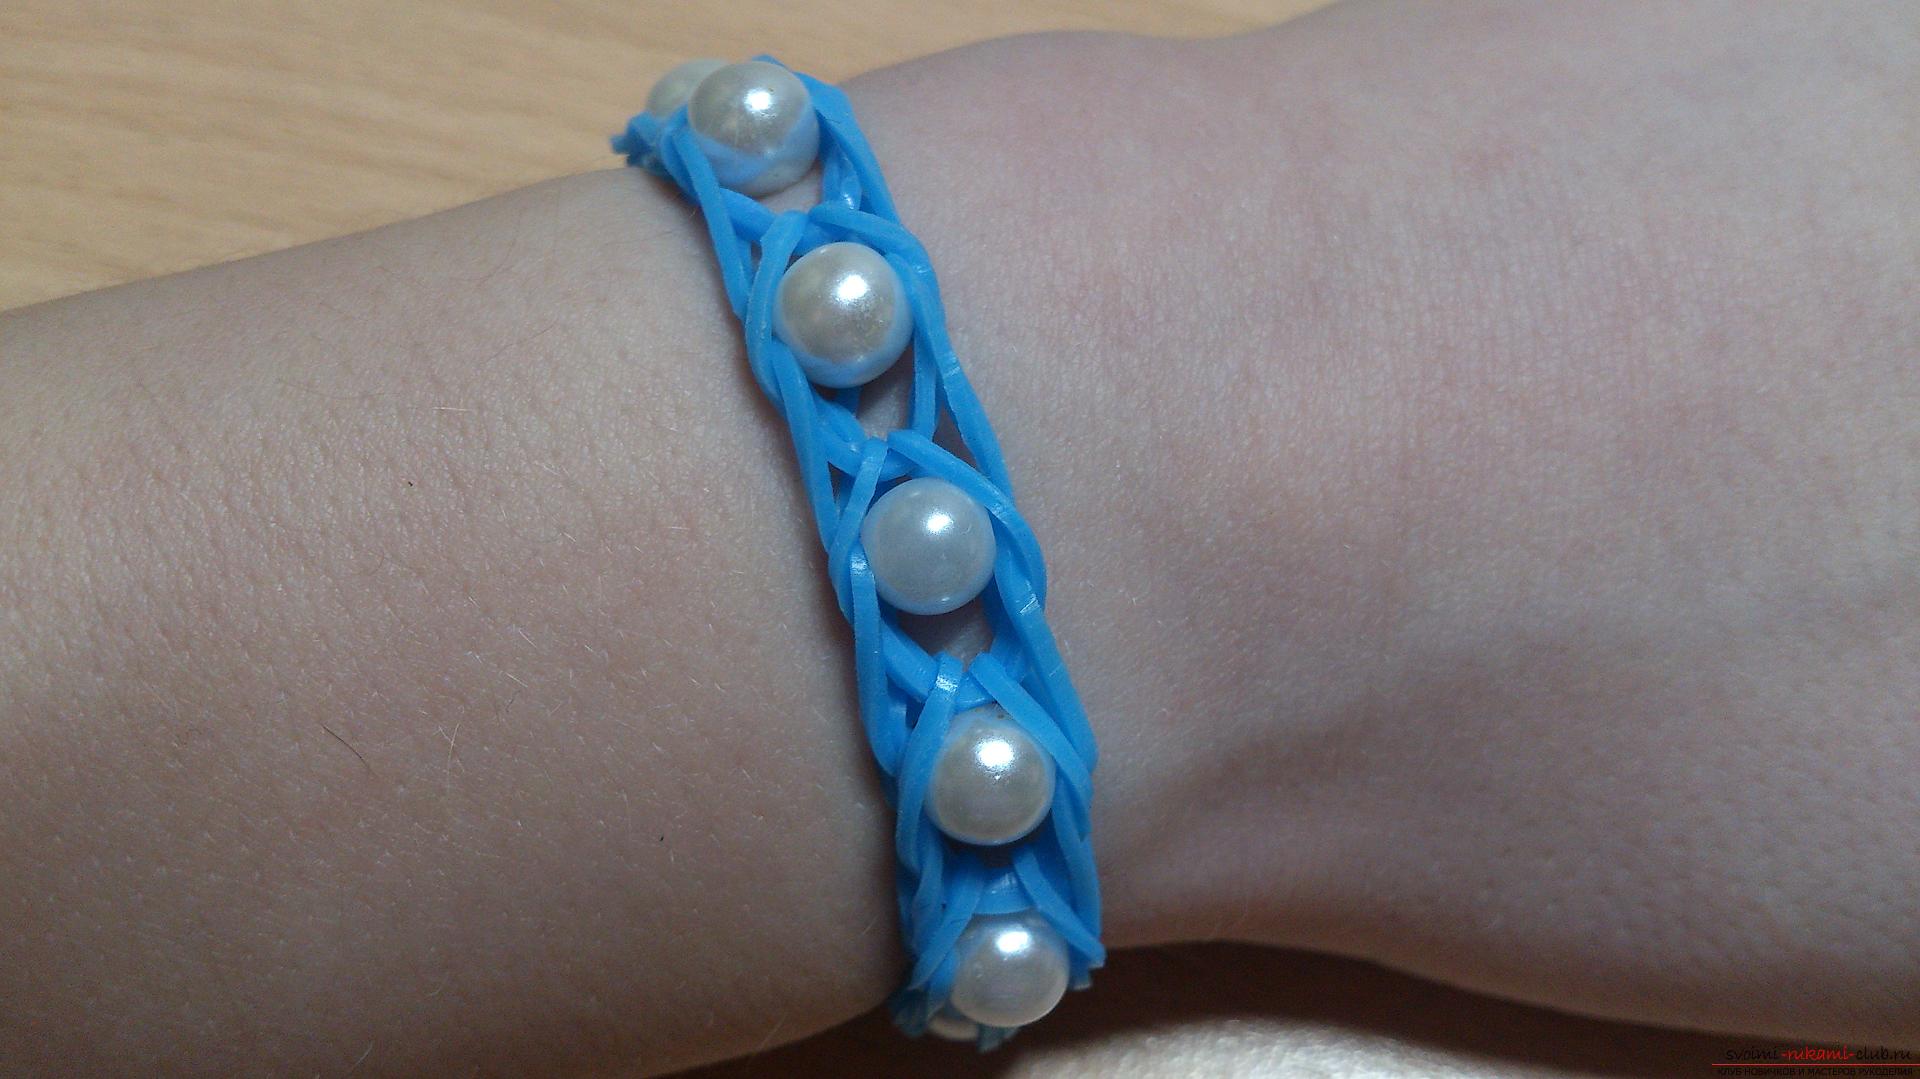
To realize you You will need silicone rubber bands of the selected color, a weaving machine (you can use your fingers or a table fork), a clasp, a hook and beads.
Completing of the work
- Immediately before weaving begins thread rubber bands through the holes of the beads. To do this, use a sewing needle and thread. Insert the needle through the hole, hook the ring. Thread the needle in the opposite direction and, pulling the thread, carefully pull the elastic band into the hole.
- Place a rubber ring twisted in a figure eight over the instrument or fingers.
- Next, add two more pieces.
- Throw off the bottom strip on the left and right sides.
- Put on an elastic band with a bead.
- Place the bottom elastic band in the center.
- Place a rubber ring above.
- Remove the bottom row on both sides.
- Put on the blank with a bead.
- We repeat the steps described above.
- We secure the edges of the bracelet with an s-shaped clasp.
Considering the fact that such material does not cost much, any craftswoman has the opportunity to make jewelry for each outfit from her wardrobe.
 0
0