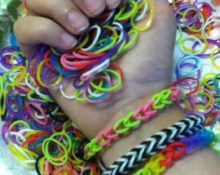
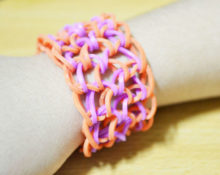
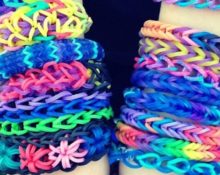
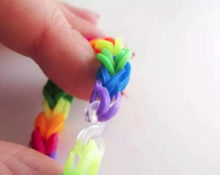
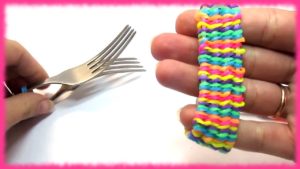
 Rainbow bracelets made from rubber bands are incredibly popular today among young people and younger generations. Every self-respecting little fashionista certainly has at least one such decoration in her box. But it is important not only to have a bracelet in your arsenal, but also to be able to weave it beautifully. Moreover, there are many ways to weave colorful rubber “jewels”: from weaving on your own fingers to using kitchen appliances in your work. Weaving itself is a very entertaining creative process, not to mention the result of the work done.
We will tell you how to make an original bracelet on a fork.
Basics of fork weaving technique
Method one - “Fishtail” (using a toothpick)
Let's prepare cutlery, multi-colored rubber bands, a plastic S-shaped clip and a toothpick/clip.
In fact, the whole process is quite simple and does not take too much time. Therefore, even the smallest princesses can cope with such work.
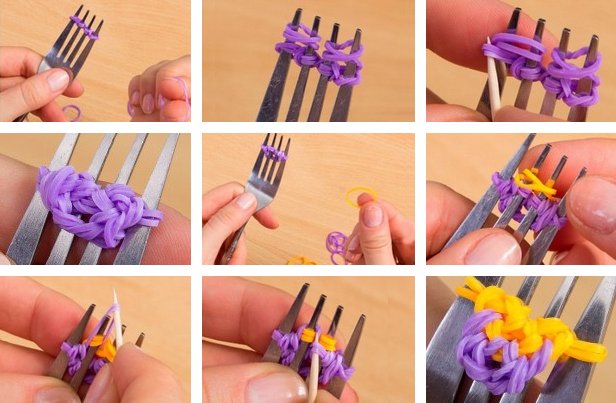
- We put three rings on the fork.The bottom one is on the first three cloves on the left side. Then we twist it into a figure eight and put it on the three cloves on the right. We put on the second and third similarly to each other. We immediately put them on all 4 points, and then thread them onto the 2 central teeth.
- Using a toothpick, first lift one side of the bottom ring. We fix it in the very center of the fork. Then lift the other side and repeat the previous steps.
- Each time we install one rubber band in the same way as the original one. Then remove the lower loops with a toothpick and secure them. A pattern appears.
- Weaving continues until the required length is achieved. Finally, remove all the loops and fasten them with a clip.
Method two - wide bracelet (using a hook)
Of course, crocheting is much more convenient than using a fork. Therefore, we will consider an option based on weaving with a hook.
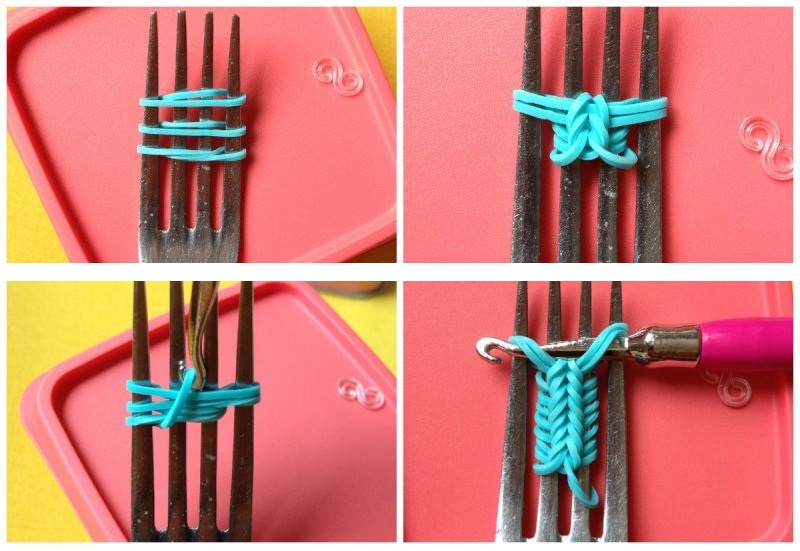
- Fold the elastic band in half, twist it in a figure eight and place it on two medium cloves. We do the same with the next two. We put them on one by one on a pair of left and a pair of right teeth.
- We hook the lower loops and place them on the middle teeth on top of the existing layers.
- We take two rubber rings, fold each in half and insert them one at a time on both sides without twisting. We also bring the lower loops up.
Important! The weave should follow the pattern: 1 elastic in the center, 2 along the edges. Each color should be kept for two rows.
- When the required length has been formed, we remove the loops from the outer incisors to the middle ones, and from the lower ones to the upper ones. We put the final elastic band on the middle incisors and remove all the loops.
- We secure the bracelet with a clasp in the shape of the letter S.
Method three - “Dragon Scales” (on two forks)
This option is based on weaving on two forks.In addition to all the materials listed, we will also prepare another fork and tape.

- We securely secure the fork handles with tape.
- A rubber figure eight is put on every two cloves.
- We fasten two forks with an elastic band. We put one loop on the first inside tooth of the right fork, and the second loop on the last tooth of the left fork. Thus, it is as if two forks were connected.
- We string the next row in the same way.
- Raise the lower loops to the upper ones, connecting 2 and 3, 4 and 5, 6 and 7 elements. In this simple way we weave the required length.
- Let's finish the job. We put the ring on all the teeth of the cutlery, twisting it before each tooth. We transfer the bottom layer to the top layer, and the outer loops to the middle ones.
- You should use two fasteners, stringing two columns on them on each side.
How to weave a bracelet on a fork
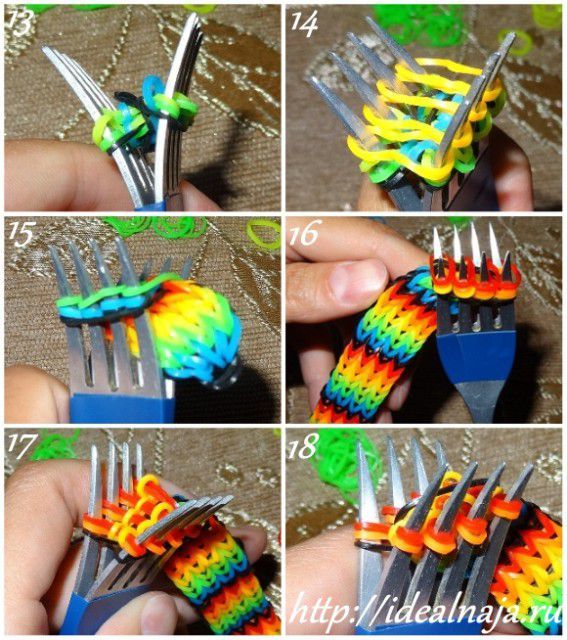
- Let's take two forks and connect them so that their back parts are adjacent to each other, and the front parts look in different directions.
- We put the elastic band on the first fork, twist it and put it on the second one. It should be an eight.
- We take multi-colored rubber rings and place them on two teeth opposite each other.
- Using a hook, remove the bottom elastic band and put it in the pantry.
- We put a rubber ring on one of the forks so that one part of the fork is above the colored patterns, and the second is on top.
- For greater effect, we begin the next row with the color of the end of the previous one.
- We take an elastic band of the same color as the very first elastic band and string it onto the second cutlery.
- We remove the loops of the bottom row with a crochet hook from the teeth.
- We grab the bottom loops and put them in the middle.
- Each subsequent row is woven in the same way. We fasten it with a clip.
Weaving from rubber bands is a fascinating creative process.We will tell you how to make an original fork bracelet with your own hands.


 0
0