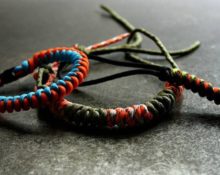
 Many people make beaded bracelets. When creating products of this kind, many people encounter difficulties when it becomes necessary to tie an adjustable knot on a bracelet. In order for such a bracelet to become a truly excellent decoration, it is necessary to correctly complete the process of its creation. To do this, it will be useful to familiarize yourself with the basic methods of tying adjustable fasteners.
Advantages of a knot on an adjustable bracelet
 Adjustable units - the most popular option among many types of fastenings. Their main advantage is the ability to easily adjust the length of the bracelet.
Despite the fact that sometimes tying such knots requires concentrated and painstaking work, the result is completely worth the effort.
Types of “sliding” knots on a bracelet
 To the main types of adjustable units, used to create a bracelet include the following:
- simple sliding;
- weaving;
- Chinese sliding.
Choosing a durable bracelet material
 The basis for such an accessory can vary significantly in shape and material. The most popular options include the following:
- cords (made of cotton, polystyrene, suede, rubber and other materials);
- rigid base (wire with memory);
- silicone (ideal for children's creativity);
- fishing line (elastic base used in mass production of accessories);
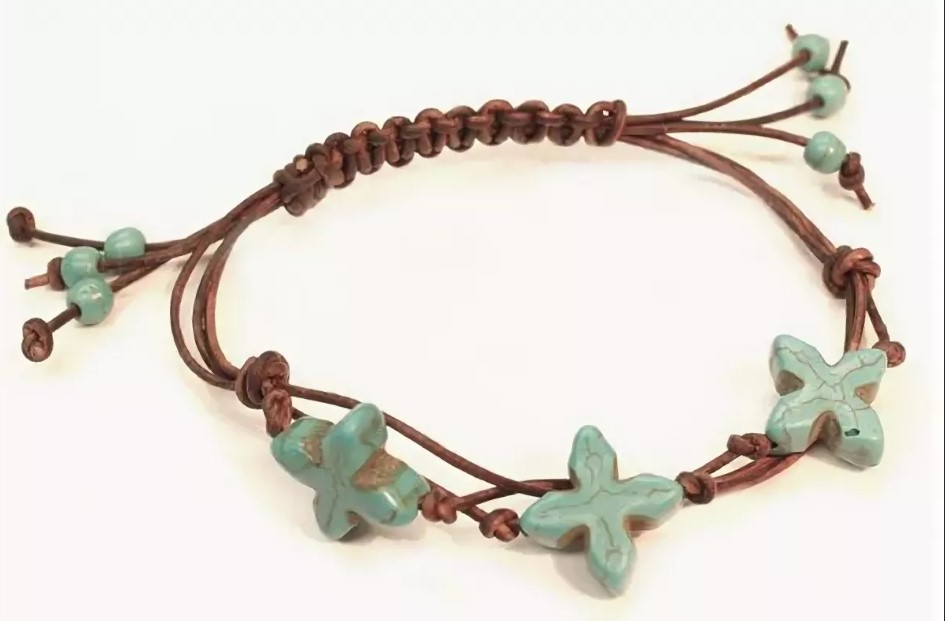
- leather (this type of base is quite difficult to process, but jewelry created on its basis looks very noble).
Reference! Metal bases are considered the most durable, but laces and fishing line are considered the most popular.
How to properly tie a knot on a bracelet so that it is adjustable?
To tie an adjustable knot on such jewelry, you can use one of the methods below.
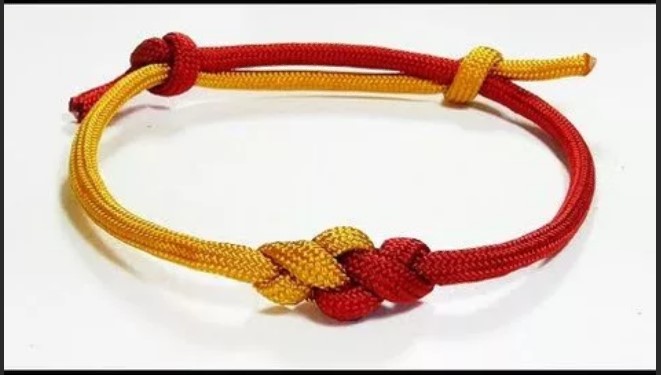
weaving knot
This is the most basic way to make an accessory with adjustable length. Using such a fastening will allow you to make a bracelet with only a bead (pendant) and waxed cord.
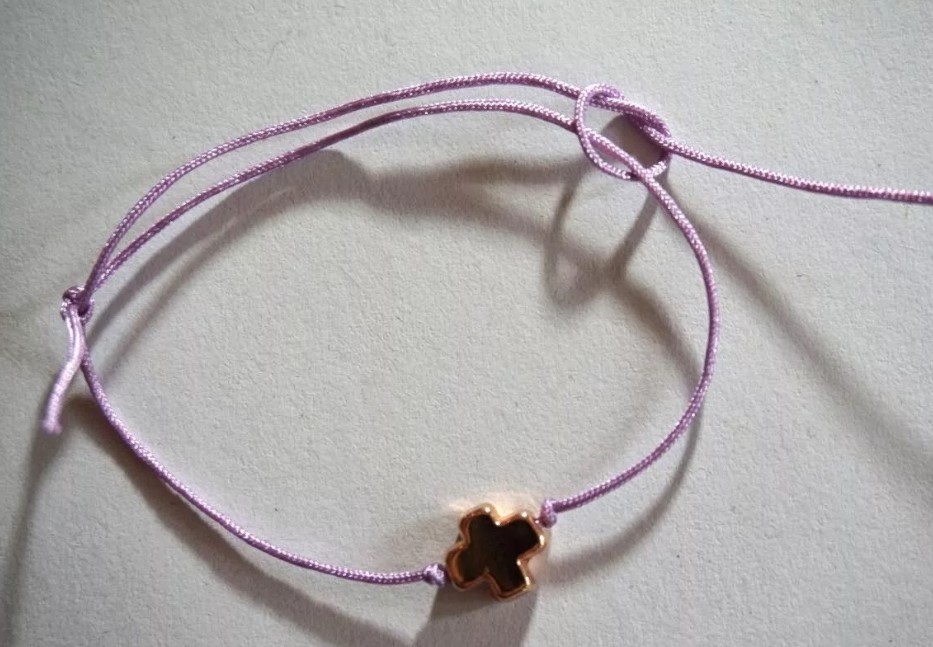
Technique:
- you need to take 2 ends of the lace and put on the pendant, placing the cords parallel;
- then you need to tie a knot with each end in turn.
As a result, both tips should point down, diving into the loop. Now you can lengthen the structure by moving both one knot and the second.
Using waxed cord it will look like this. The knots must be tightened tightly. The ends should be cut short. After that they You can singe it with a lighter (if the cord is dark) and cover it with colorless varnish.
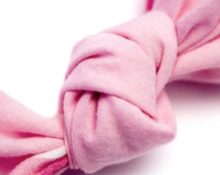
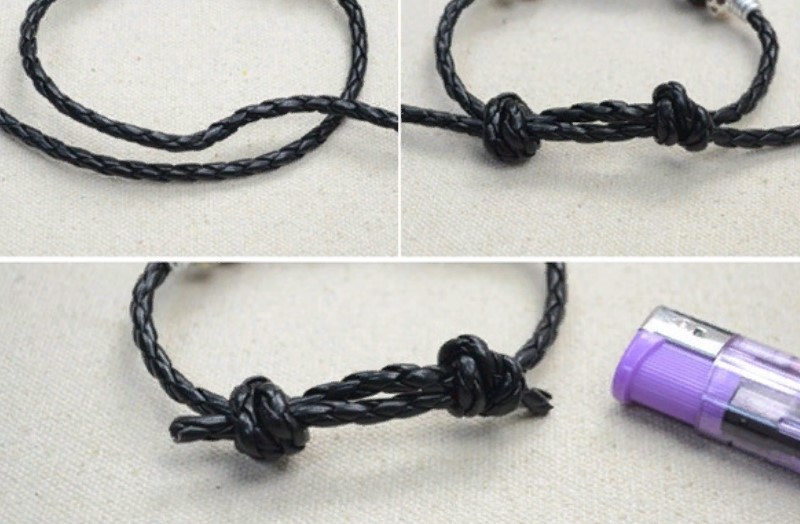
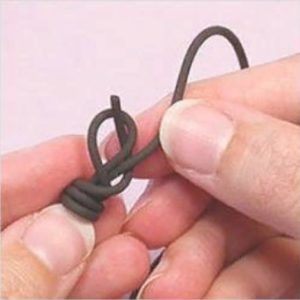
Chinese slip knot
This method is quite easy to implement. His Tying will take a few minutes maximum. This is a great option for making a bracelet with adjustable length.
Technique:
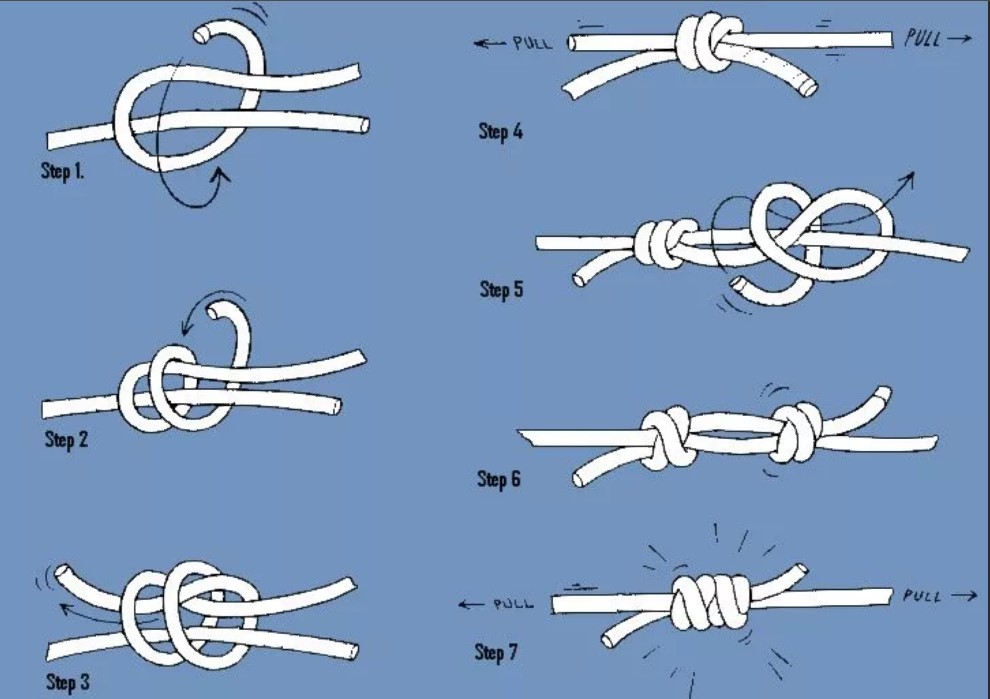
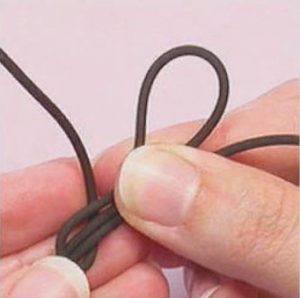
- The lace must be bent in the shape of the Latin letter U, bringing the opposite ends closer.
- Now you should form a loose loop. One end of the cord should be pulled over the other so that they overlap by approximately 10 cm, and they should be placed parallel to each other.
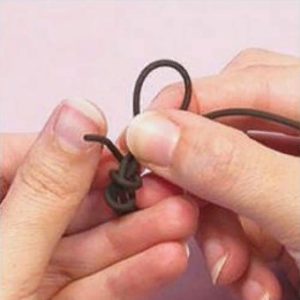
- The outer end of the cord must be bent in half. You need to grab the top end of the lace and pull it back along the outer edge of the loop. There is no need to touch the inner end of the cord parallel to it.
- The ends of the cord must be brought together to form a small loop. The inner end of the lace must be brought to the outer one, bent in the shape of a small loop. There should be 3 parallel layers of cord in the area where the ends intersect. You need to leave a free long end on the outer edge. It will help complete tying the knot. Hold the overlapping sections with one hand and pull the free end with the other hand.
- The outer (free) end of the lace must be wrapped around three parallel layers. The free end should be passed first over three parallel sections, and then under them, pulling it up.
- Now you need to tie the cord around the loop. The free end must be wound around three parallel pieces of cord. You need to make at least 2-3 turns until the entire free end is used or until 3 overlapping sections are completely wrapped. It is advisable to ensure that the loose end does not overlap itself, as this may cause the cord to become tangled.
- The free end (it should be long enough) must be threaded into the loop at the end of the cord.
- Now the knot should be secured. To do this, you need to tighten the “ring” around the loop as tightly as possible, holding the right end of the large loop with your ring and little fingers in the process. If the knot is tied correctly, it will slide freely along the cord.

Adviсe
To make it easier to master tying such a cord, it is advisable use the following recommendations:
- better for training use a longer lace;
- to learn how to make similar knots, maybe several trial attempts will be required;
- if the knot stubbornly fails, you need to continue training and they will definitely be crowned with success.
Reference! The Chinese slip knot is in some cases also called a triple connecting knot.
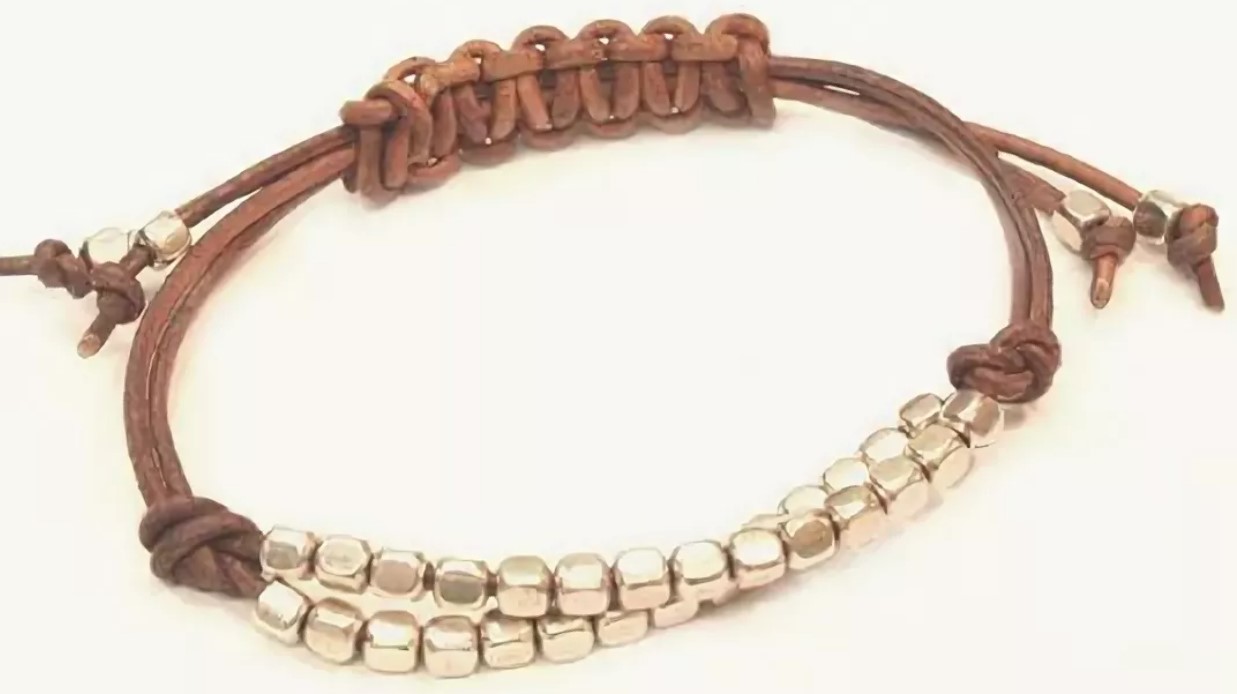
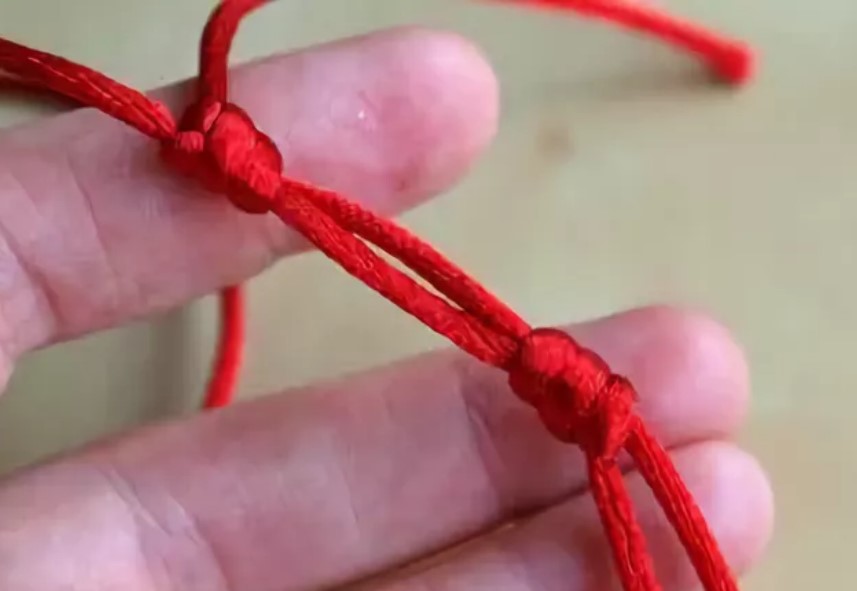
Sliding knot for fastening
A knot like this can be made on a thin cotton cord, the length of which does not exceed 90 cm.
To do this you will need to do the following:
- The ends of the lace should be taken so that there is a margin of 14 cm on each side, and directed towards each other.
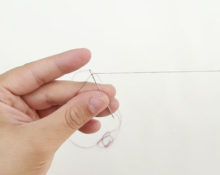
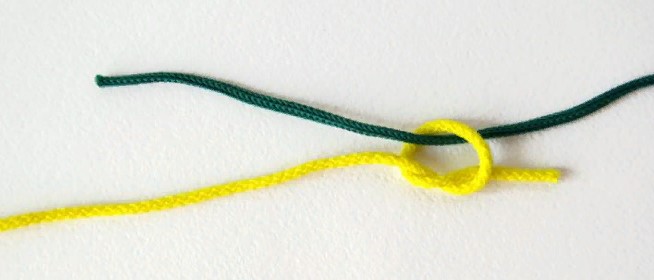
- Now the right tip of the lace needs to be bent so that it is outside and located at the edge (as shown in the photo). The resulting loop must be fixed. Its length should not exceed 10 cm. You need to continue working with the right end; the knot will move along the left end in the future.
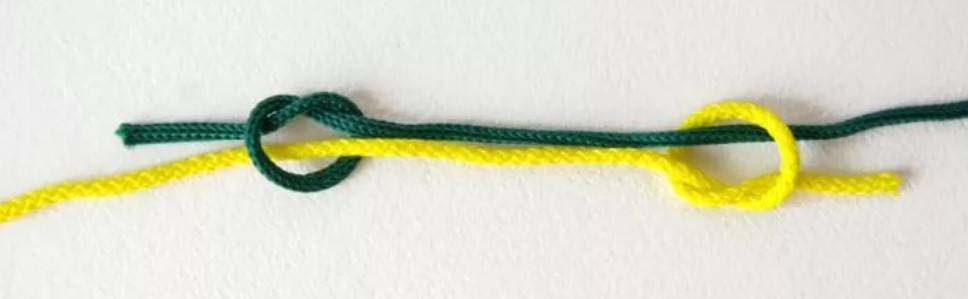
- The first end must be placed from left to right, circle the loop and part of the cord several times. Then you need to carefully lay the rings formed after entwining in the direction opposite to yourself. Then you should make 3 more such turns, holding the knot with your finger and adjusting the tension of the cord. After this, both ends must be passed through the resulting loop so that they can be pulled into a knot.There is no need to tighten it too much.
- The next knot must be tied similarly to the previous one. This will be a passive node. Then you should make a loop at the second end of the cord. To do this, you need to wrap the free end around it about 5 times and tighten the knot. You need to thread the remaining tip of the lace into the loop formed. The remainder can be trimmed with scissors.
An adjustable knot is an indispensable item when making simple jewelry. The ability to tie such knots will help you easily turn any available cord or thin rope into a bracelet. And no special fittings are required for this.
 0
0