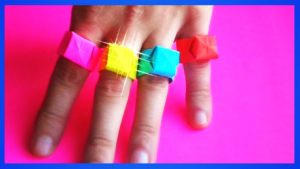
 Today, paper is the most affordable material for various crafts. Whether you need to build an object for a kindergarten or school, or you need equipment for funny competitions and entertainment at a special event (wedding, birthday) or corporate party, this material is always at hand. You can make a lot of things from it: a magic wand, a crown, a fluffy skirt or robe, as well as a handbag, a basket and even jewelry: earrings, necklaces and, of course, rings.
The older generation probably remembers how in childhood they made rings from candy wrappers and foil. Such paper decorations are still popular today. We will teach you how to make a paper ring.
What you need to make a paper ring
When creating any item, it is important to properly prepare for the work. The preparatory stage includes the following actions:
- model selection;
- selection of materials and tools;
- preparation of the workplace.
Materials and tools
 The model is selected based on the personal taste of the craftswoman and wishes for the product.
From tools and materials you will need the following things
- colored paper;
- scissors;
- PVA glue;
- decorative elements: sparkles, tinsel, sequins, beads and so on.
Preparation of the workplace
The last point of preparation is no less important. Required for operation choose a well-lit surface, which will be convenient for you to work with. Typically a desk is used for this purpose.
Advice! If natural or overhead light is not enough, use additional lighting devices, such as a table lamp.
Arrange materials and tools so that they are easy to handle. In this case, the center must remain free. This will be your work area.
How to make a ring using origami technique
If you want to make this item without using glue and other auxiliary things, then it is best to use the origami technique.
Simple option
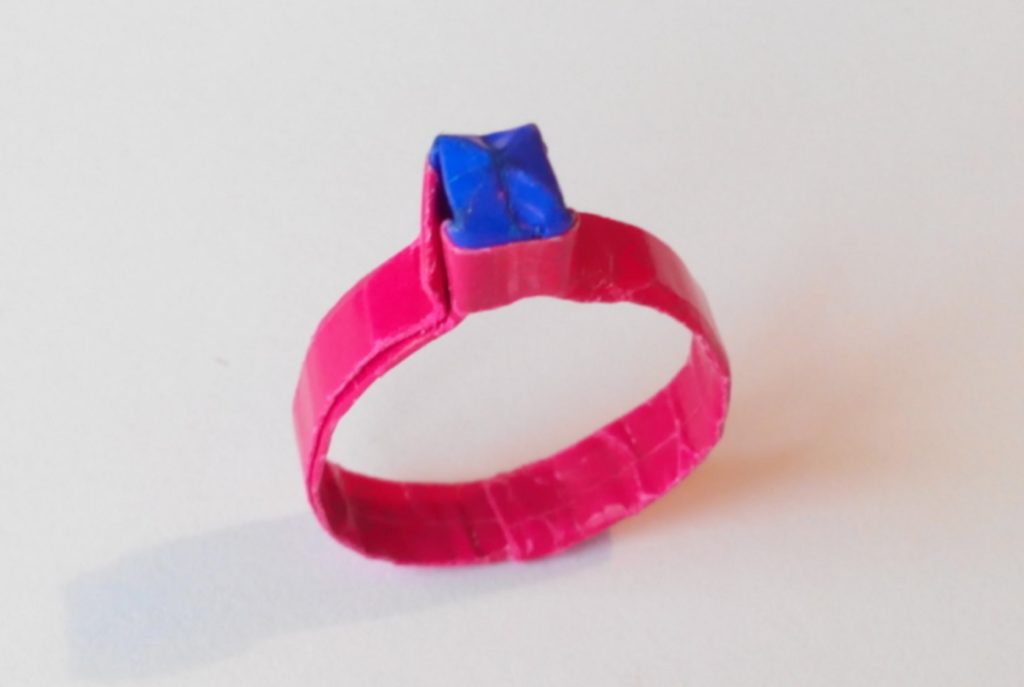
Instructions
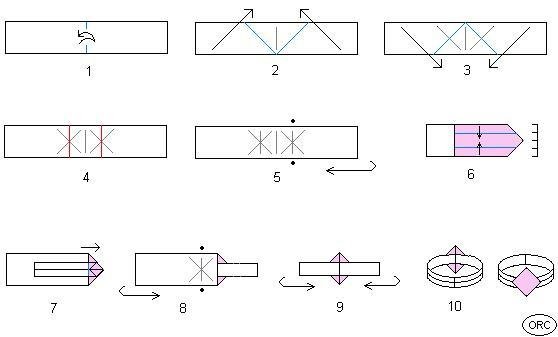
A wonderful variation of diamond jewelry can be done quickly and at minimal cost. To you You only need a small piece of colored paper.
Description of work
- Prepare a strip equal in width to three times the size of the future product.
- The length of the strip should be sufficient to complete the central motif and wrap around the finger.
- Consistently perform the steps indicated in the instructions.
- Close the workpiece into a ring, while tucking one end into the other.
- If desired, a rhinestone or sequin of a suitable shape can be glued onto the diamond-shaped part using PVA.
Attention! You can also use a rhombus cut out of foil as decoration.
With a butterfly
If you want to create a more interesting option, you should pay attention to various figures created using this technique, for example, a butterfly.
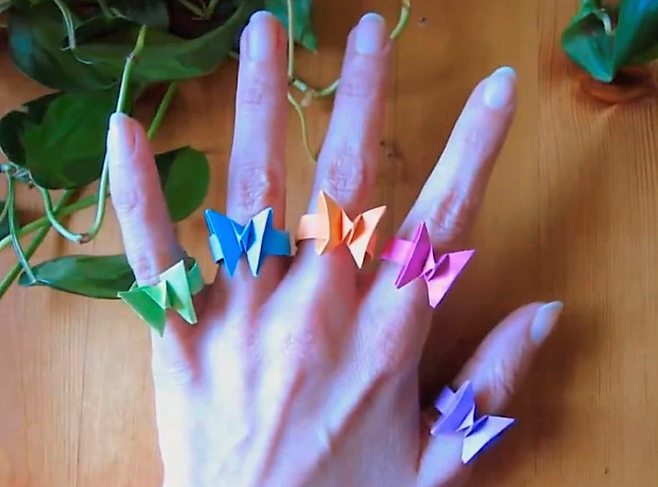
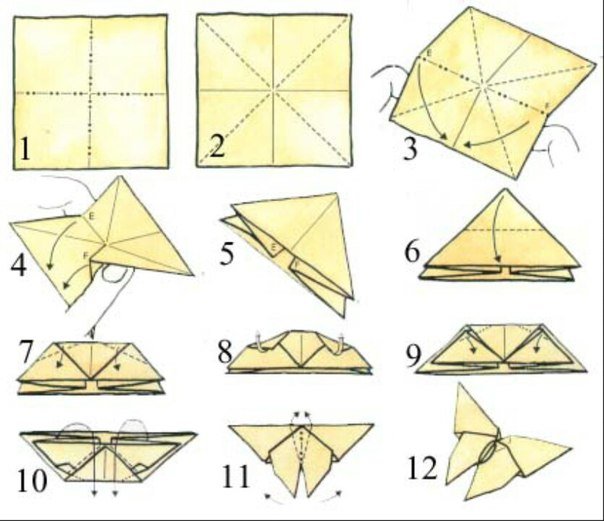
In this variation The figurine is made separately and fixed with glue to a paper base.
Completing of the work
- Fold the top part of colored paper according to instructions 2.
- Take a strip of the required length. Fold it in three and glue the ends together, giving the base a round shape.
- Then glue the butterfly to the base
- To make it more attractive, you can apply glitter to the wings of the butterfly.
How to make a heart ring
To create a romantic atmosphere, you can use rings with hearts. For this, it is better to use pink or red material.

Execution Process
- Use a strip that is three times as long as it is wide.
- Next, fold the workpiece in half.
- Make a heart on one side, following the instructions below.
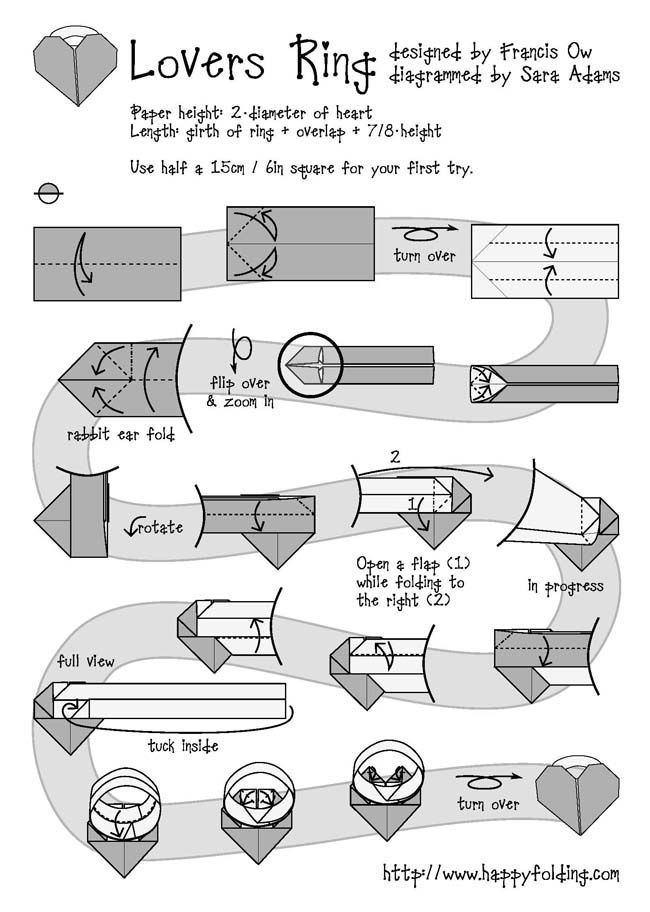
- Place the free tip into the pocket located under the decor. This way you will get a product that can change its size.
Advice! If you fold a large bill according to this pattern, you will get a wonderful gift. It can be placed in a ring box and presented to a loved one as a gift.
Another way to create this accessory is to make a base and glue on decor cut out of paper. If the upper part is glued together from several identical pieces using the papier-mâché technique, you will get a three-dimensional variation.
This craft It is recommended to make it together with your children. This process develops fine motor skills and stimulates your child's imagination.


 1
1
