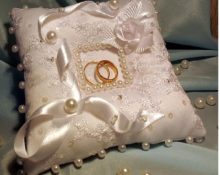
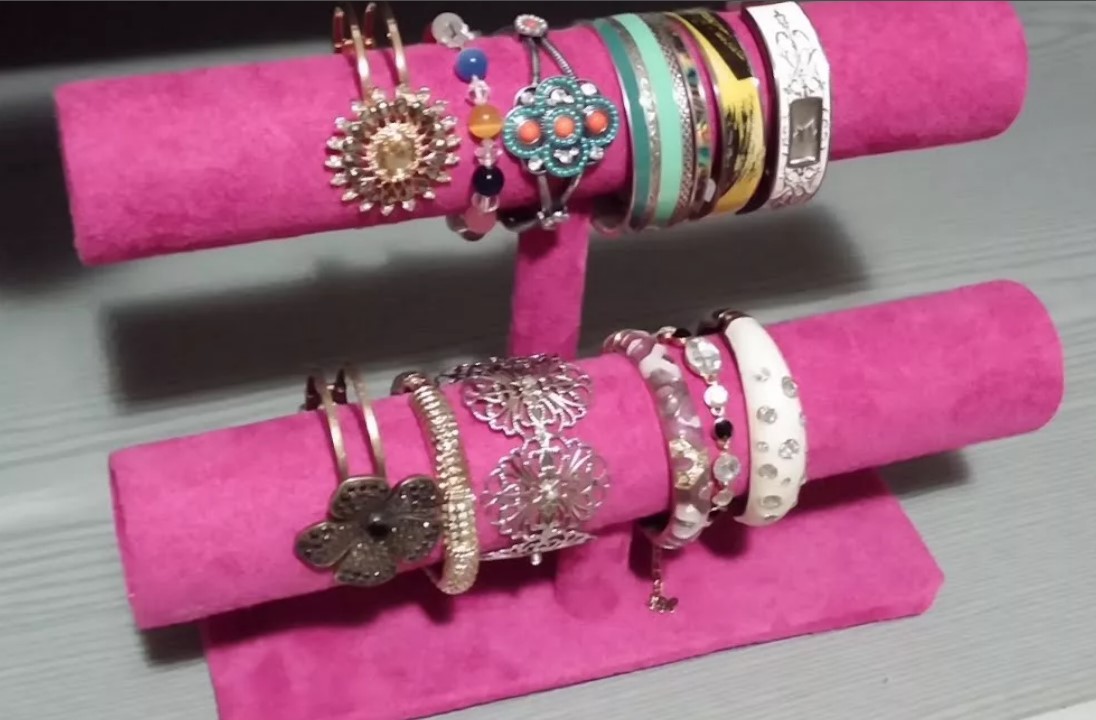
 A girl who wants to look stylish selects suitable jewelry for each look. Usually there are many different beads, earrings, bracelets and rings in stock. It is not practical to store everything in one box, pendants are intertwined with earrings, and it is almost impossible to find the right ring. Therefore, a convenient option would be special stands for accessories, where everything can be laid out or hung in its place.
Making a stand for rings with your own hands
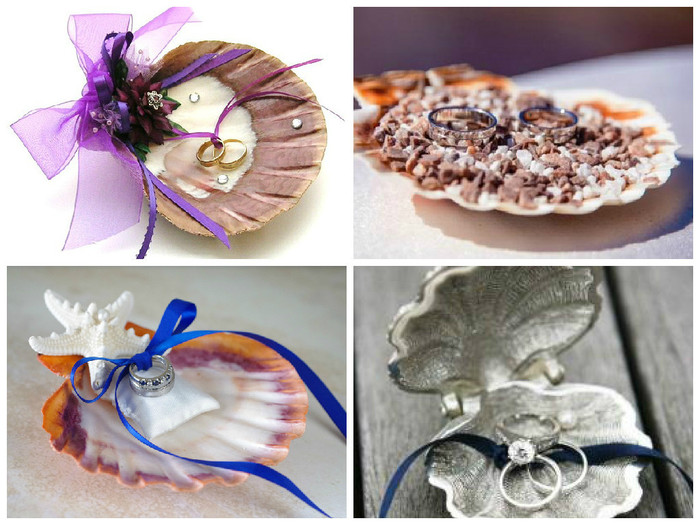
There are many storage methods, such as ring boxes, racks with hooks.
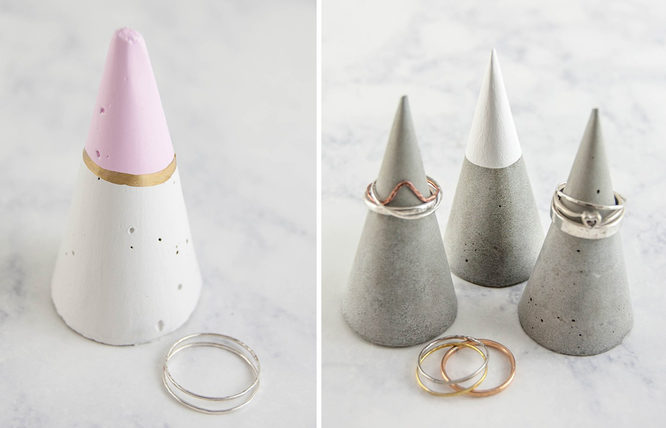
Some housewives use saucers, cups, and beautiful boxes of sweets or cookies for this purpose.
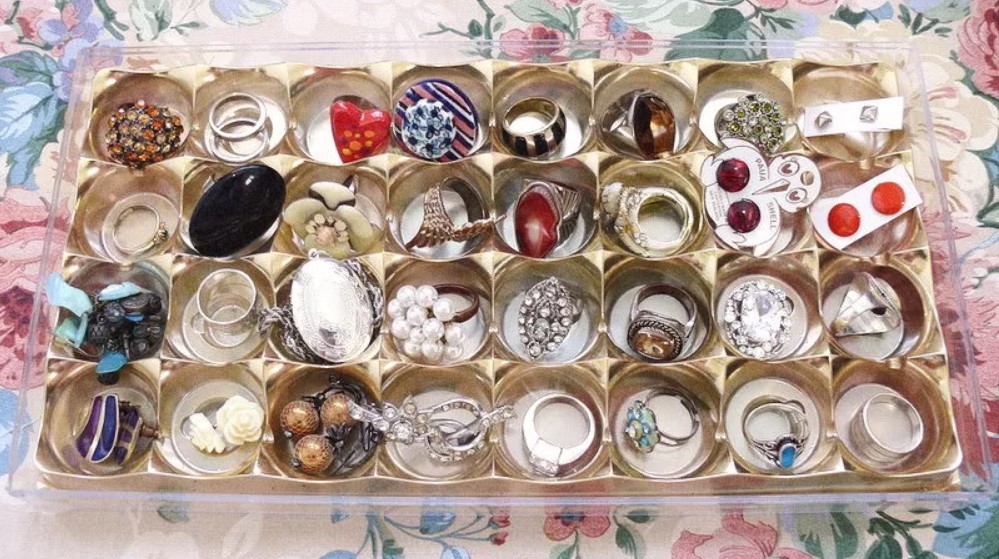
Having even a slight idea of needlework, you can make a stand with your own hands; there are several simple methods.
Model of a hand made of plaster
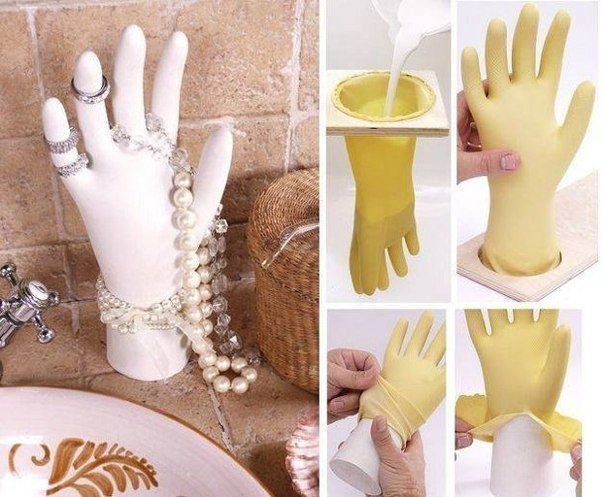 A creative idea to store rings on a plaster hand.
To make an original ring storage rack you will need:
- rubber glove (choose a small size);
- wire;
- gypsum;
- water;
- scissors;
- stationery knife;
- gouache;
- clear nail polish;
- a glass of sour cream.
Progress:
- cut 5 cm from the top of the cup;
- roll the glove outward 6 cm and insert the cut top there;
- dilute the plaster with water to the consistency of thick sour cream and pour into the glove;
- pierce the fingers of the glove in several places to release the air;
- hang the glove to dry until the plaster is dry; you need to insert a piece of wire into each finger for strength;
- after 3-4 hours, cut off the wire if it sticks out and trim the bottom;
- dilute a small amount of plaster and coat the lower part of the hand to make a stand;
- leave to dry for 10-12 hours without removing the glove;
- after drying, remove the glove and trim the reliefs with a stationery knife;
- paint your hand with gouache in a color of your choice; when the paint dries, apply varnish.
Important! It is advisable, after the third stage, to glue a skewer between the thumb and index finger, pushing it inward a little to make the shape of the hand more elegant.
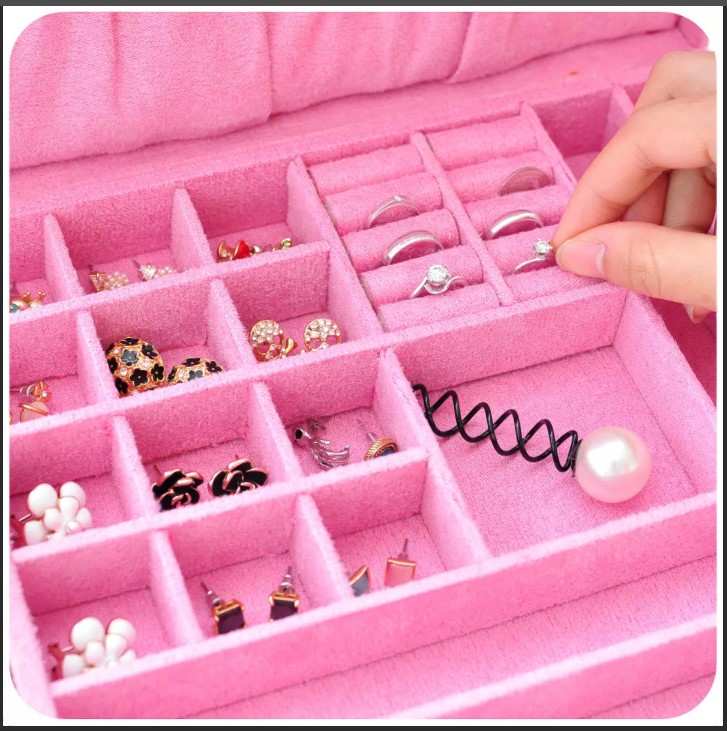
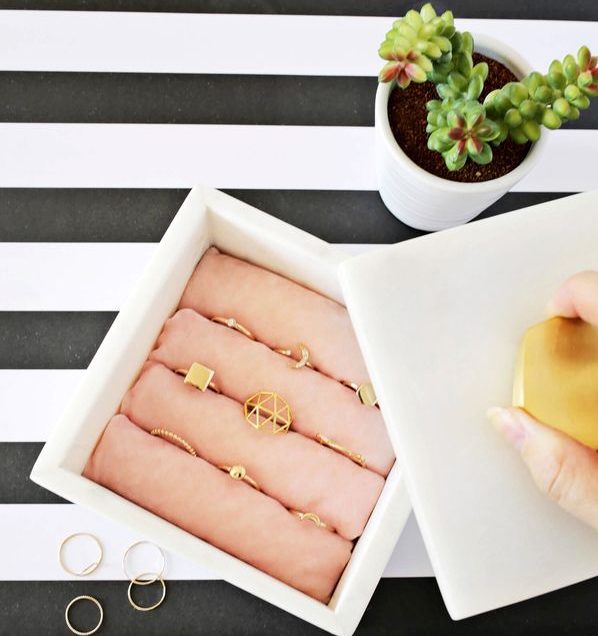
DIY ring box
To create such a product, you can use a ready-made box, a box of sweets or cookies as a base.
Besides need to prepare:
- scissors;
- dense fabric (batting, towel, felt);
- decorative material;
- pins, sewing needle;
- glue gun
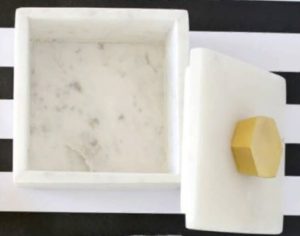
Important! You can make cushions for the box from beautiful felt, and then you won’t need to sew covers.
Step by step description:
- cut the batting into strips equal to the width of the box;
- roll the strips with a roller, their number depends on the size of the box and the diameter of the rollers;
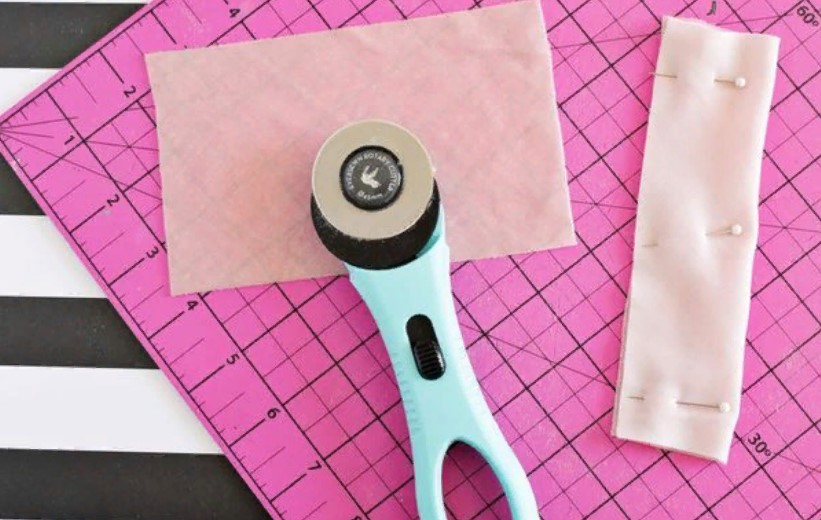
- the rollers are twisted and secured with a pin, during the work you can try them on in a box, they should fit tightly there;
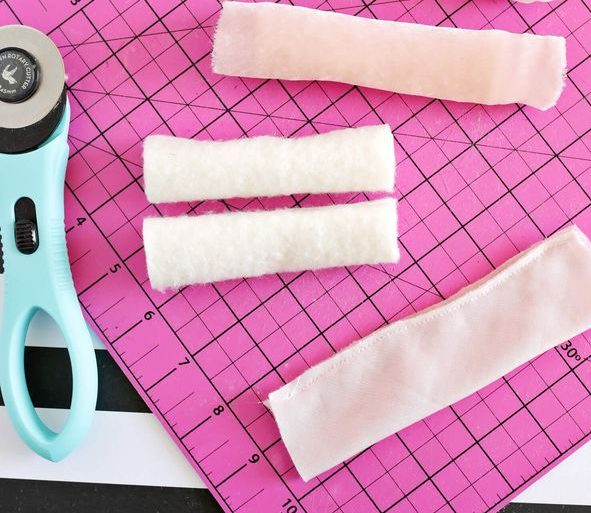
- cut the decorative fabric to the size of the rollers, leaving allowances of 2 cm on the side and 1 cm along the seam edge;
- sew the covers along the length from the wrong side, turn them inside out and put them on the bolsters;
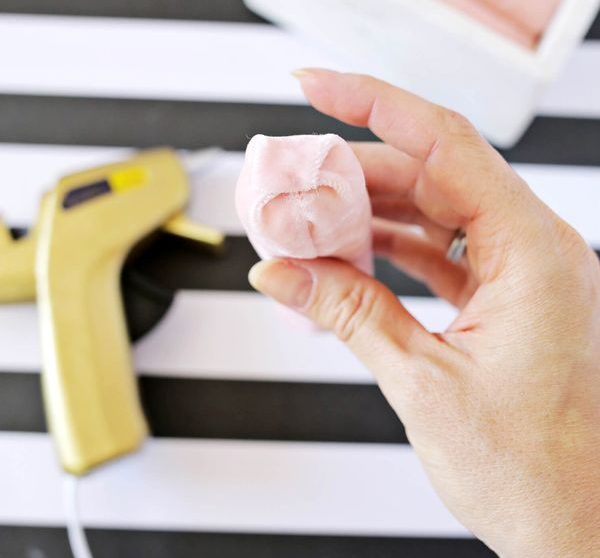
- Hem the edges on the sides by hand or secure with hot glue;
- place the finished rolls in the box and arrange the rings.
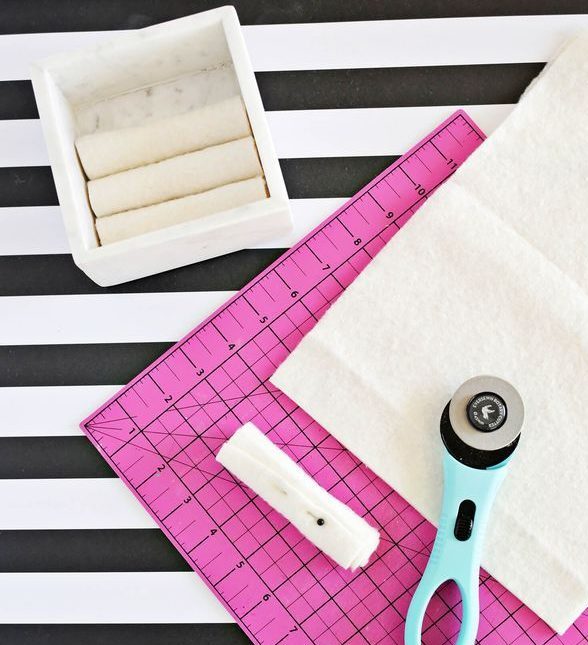
Important! For reliability, the rollers can be attached with a glue gun, but even without this they will hold on quite tightly.
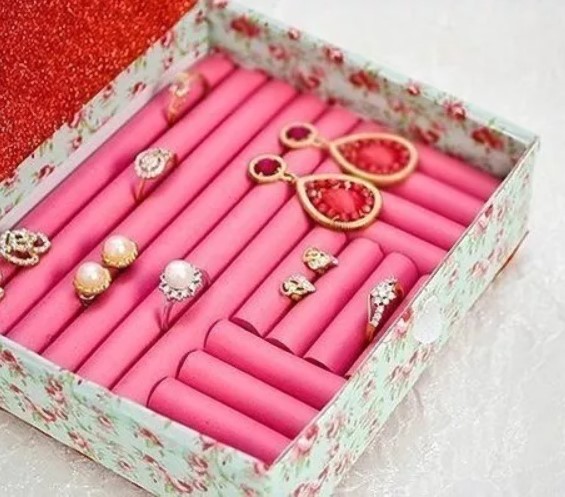
If you have a lot of rings made of precious metals in your assortment, then storing them carefully is not only a convenient option, but also protects them from external damage.
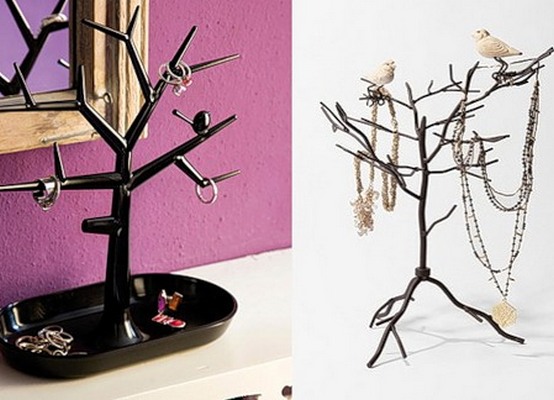
The stand for rings will also perfectly decorate the interior or become an original gift for loved ones.


 0
0