If you want to distract your child from gadgets and cartoons that influence the psyche, at least for a while, invite your beloved child to do manual labor and make such a simple craft from improvised materials, like glasses. If you put in a little effort and imagination, the thing will come out quite original, and the baby will be happy to try it on.
DIY cardboard glasses
Children love to dress in dad's jacket, mom's stilettos or grandma's glasses. They just really want to feel like adults. Why not combine business with pleasure and make cardboard glasses with your child? Let him drag it around for his own pleasure, and at the same time train his fine motor skills.
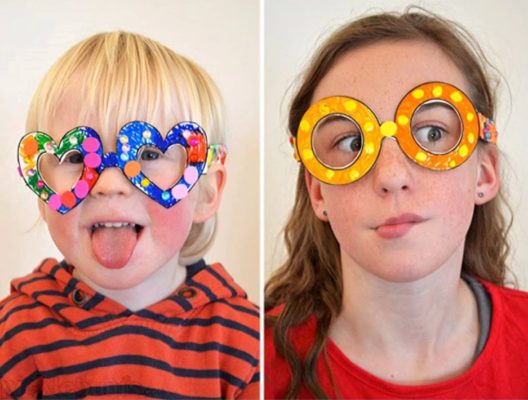
Glasses made with your own hands can be useful for your child in kindergarten during the matinee, if he got the role of the chipmunk Simon from the cartoon “Alvin and the Chipmunks”, the Rabbit from “Winnie the Pooh” or some other bespectacled person. And if you are invited to a masquerade, you will have to attach a handle to your glasses.
How to make glasses from cardboard
No special preparation is required to make glasses. You can make do with what you always have on hand: cardboard, colored paper, brushes, pencils, glue, scissors and a stapler.
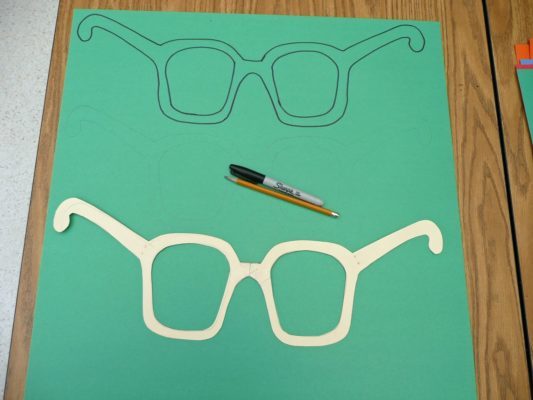
We'll start by looking for a template. Because the glasses for children, it is not necessary to choose a base with round slots. You can make eyepieces in the shape of hearts, stars, with pointed or rectangular edges - whatever your imagination tells you.
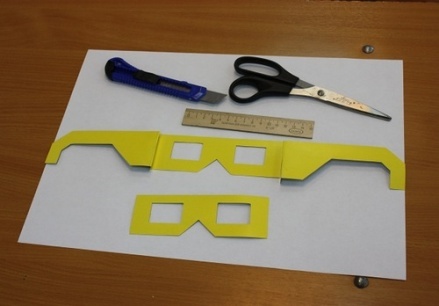
The image from the template must be transferred to cardboard. It is better to make two such blanks at once for strength. And another similar detail needs to be cut out of colored paper. Don’t forget to also draw and cut out two pairs of arms, having first measured the distance from the child’s eyes to the ears.
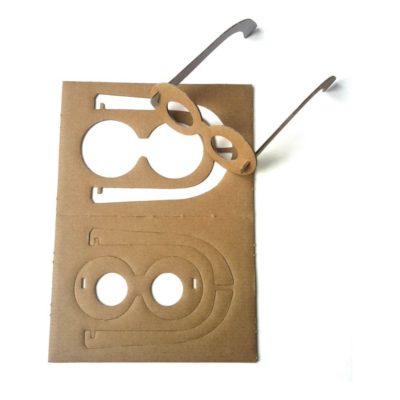
Now let's start installing our product. WITHglue two cardboard blanks together. If the cardboard is white only on one side, then glue the back side to the back side, and then the workpiece will turn out white on both sides. Now you need to glue a piece of colored paper on top. All that remains is to attach the arms to the base with a stapler and you can try on the new thing.
Variations of children's glasses
Everything is done so quickly that you want to tinker a little more. In this case, cardboard glasses can be decorated with designs or patterns made from multi-colored paper. Or you can use your imagination and create something incredible.
Glasses-inscription
Ordinary eyepieces in glasses can be replaced with the letters “O” and made into a template in the form of a word. Draw two letters “O” side by side, connecting with a bridge for the bridge of the nose. Draw some more letters on the right and left. In fact, there are few word variants: BOOOZ, BOOR, LOOS, MOOR, ROOM. These are the names of outstanding, but not very famous people. But you can come up with your own options.
If you want to use another word with more letters, you can write it over the regular glasses template and cut it out. With these glasses, the inscription will be on top of the forehead, and this will not interfere with your view.
Next, we proceed according to the above scheme: cut it out, glue it together, attach the arms and decorate it as desired.
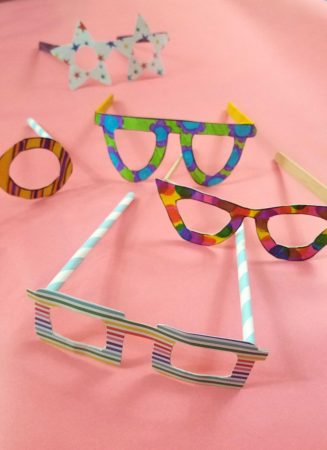
Carnival glasses
Pince-nez glasses are suitable for New Year's or other carnivals. Instead of arms, you will need a stick with non-sharp edges, which can be glued to the cardboard blank with gun glue.
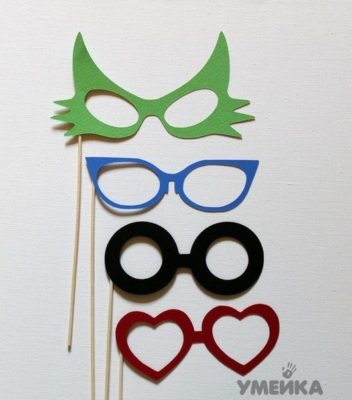
Since we are preparing for the carnival, the glasses can be made in the form of a mask of any animal or cartoon character. You will also have to work on the decoration to make the glasses bright, colorful and attractive.
Pineapple glasses
This voluminous craft can be made when you are tired of flat models of glasses. Cut two strips of yellow paper 4 cm wide and 15 cm long. Another strip of the same width, but no more than 2 cm in length, will be needed for the bridge of the nose. And from white cardboard you can cut out the arms according to the template. Four blanks resembling pineapple leaves should be cut out of green paper.
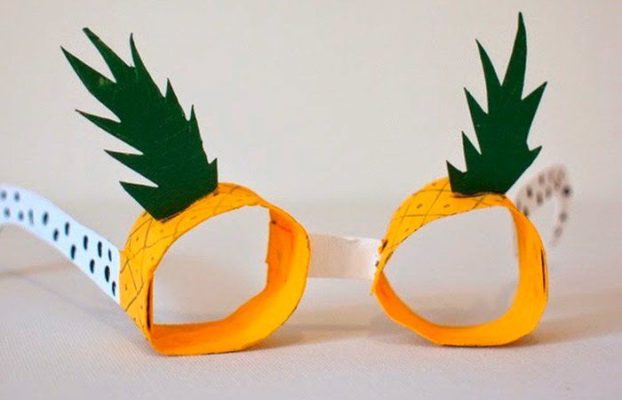
Fold the yellow strips so that their width becomes 1 cm, and then twist them into rings and glue them. Connect the rings together with a nose bridge. Attach pineapple leaves to each ring on the right and left, after gluing the pieces together, two at a time, with the green color facing out. Now all that remains is to attach the arms with a stapler and decorate our pineapples as desired.
To keep the glasses in front of your child and not fall off, attach an elastic band to the back of the temples.
Conclusion
By making cardboard glasses with your child, you will kill two birds with one stone - you will get a new toy and keep your child busy with something useful.


 0
0

