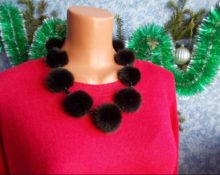
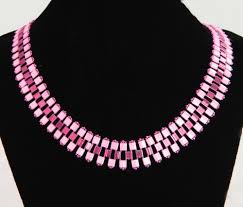
 Creating a necklace yourself is not only profitable, but also a guarantee of the originality of the product and one hundred percent compliance with your expectations and taste. You can create a necklace using available materials in 30–40 minutes, and still enjoy the process itself. The beads themselves can be used as parts of the product, or they can be made from cotton wool, plastic bottles, newspapers, paper, or felt.
Master Class:
How to make a necklace from beads and beads step by step.
To create such a necklace you will need:
- Beads and seed beads of the required size and matching colors;
- The thinnest wire;
- Stoppers for securing wire;
- Base holder – 2 pcs;
- Ribbons or chain clasp for fastening.
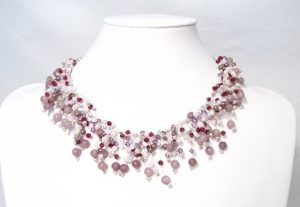 What is the necklace? These are collected strung threads. You can string them separately and alternate (beads-beads), or alternately, depending on the effect you want to achieve.
First you need to diagrammatically imagine this necklace in order to understand the work plan.To do this, you need to place the holders on a flat surface at a distance that is optimal for you. Now cut the required number of pieces of wire and lay them flat or with the recess down. The final result, how the necklace will fit on your neck, will depend on this.
When we have sorted out the wire, we begin to string the segments one by one, filling them to the end. To make it more convenient to work, you need to secure a wire to one ring of the holder by pulling it through the ring and securing it with a stopper. If the tip of the wire is small and does not interfere with the beads, you don’t have to cut it, it will be covered when stringing. When the segment is complete, we attach it to the ring of another holder, in exactly the same way. In this case, you will have to cut off the excess wire, since there will be practically no space.
Important! You can use fishing line or threads for stringing, in this case the necklace will be more lively and mobile. In the case of wire, some kind of fixation is provided. But in this case, you need to come up with ways to fix the segments. If, for example, the fishing line is thick, then the stoppers can also fix it or come up with their own way.
When all the pieces are strung and secured, the final step remains - making the clasp. You can take a thin satin ribbon, thread it through the rings of the holders and simply tie it around your neck in this way. You can do it differently. Take small chains of 6–7 cm each and attach them to the holder rings. Then fasten a jewelry lock (carabiner) on one side, and a ring on the other.
How to make a paper necklace step by step.
This can be said to be the most affordable material for creating a necklace; you can’t think of anything cheaper. At the same time, the end result looks quite impressive and aesthetically pleasing. You will need:
- paper,
- scissors,
- pins,
- jewelry rings for connection;
- glue, varnish, paints,
- lobster clasp
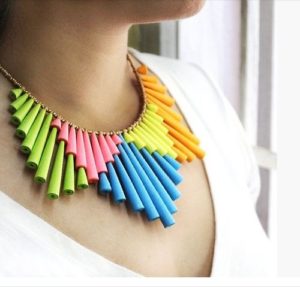 To create such beads, you can use regular white newspaper or clippings from newspapers and magazines. There are several different templates for cutting paper to get a bead of one shape or another, as in the attached picture. The most universal is considered to be a bead made from an elongated triangle. First you need to cut the required number of triangles, then roll them up, first smearing them with PVA glue. Let it dry and then you can start painting. If these are beads from magazines, you can skip this stage and go straight to varnishing the beads.
It is best to use glossy varnish for decoupage. It holds securely and gives a beautiful rich shine. After varnishing, dry.
Important! To dry such beads, it is convenient to use toothpicks and foam. Instead of a piece of foam plastic, you can press aluminum baking film in your hands; it is also convenient to hold toothpicks in it.
How to make a pearl necklace with your own hands step by step.
Would need:
- Pearls of different diameters;
- Chain length to fit around the neck (35–40 cm);
- Nail pins, as many as beads;
- Clasp consisting of a ring and a carabiner.
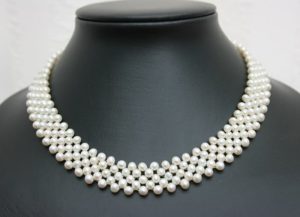 The first step is to prepare the pearl beads. They need to be placed on a pin, making a loop at the other end. It does not have to be closed completely, since it will be used to fix it on the chain. You need to decide on the design of the future necklace. Large pearls can be placed in the middle, followed by small ones. Large around the edges, small in the middle. Nobody forbids making fastenings mixed. Any effect will be interesting in its own way.
When you have a plan in your head or in a drawing, we begin to consolidate it.Thread each loop into a chain link and secure it well near the hole of the pearl bead. After completing the base of the necklace, you need to make the clasp. Again, securing a ring on one side and a carabiner lock on the other.


 0
0