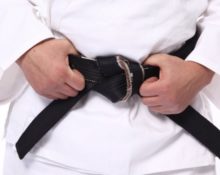
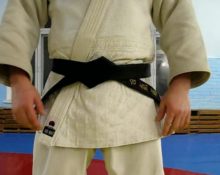
Wrestlers must know by heart how to tie an Aikido belt. In this article we will provide step-by-step instructions on 2 ways to form knots that will be understandable to both a child and an adult.
Rules for placing the belt at the waist
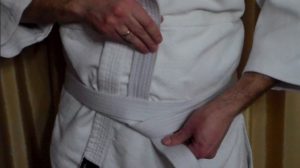 The Japanese martial art of Aikido is interesting not only for its mastery of technique, but also for the carefully calibrated appearance of the fighter. The hems of the kimono are supported by a belt (obi), which must be laid and tied in a certain way. The first thing you need to pay attention to is the length of the obi. It should be enough to wrap around the waist twice, tie a knot, and hang the loose ends evenly below the kimono hem.
When wrapping the belt twice around your waist, you need to make sure that it does not twist. Otherwise, when performing grabs, throws and other movements, twisted parts may increase the risk of injury to the back and spinal column.
Important! If the obi has the name of the club and the name of the wrestler, then after tying at the waist, the name should be on the left side of the wrestler and the name of the club on the right.
How to tie a belt in Aikido correctly for a child and an adult?
The obi can be tied in two ways. The first has the following sequence of steps.
 Step back about 20 cm from the left edge of the belt and at this point press it to the body in front, in the waist area.
- With your right hand, wrap it around your waist 2 times, without twisting. Important! The movement when wrapping the belt is from the left side of the body to the right along the stomach. Then go to your back and bring the belt out from under your left hand. Throw it to your right hand and wrap it again. The second turn should lie exactly on top of the first.
- Pass the free end under the obi, in the direction from bottom to top. Make sure that the two free ends are the same length.
- Then tie the ends with a usual knot. The disadvantages of this method are the free ends protruding forward. This happens due to the rigidity of the fabric from which the obi is made.
The second tying method allows you to get a knot that does not come undone during training. In addition, the ends in this case fit tightly to the body.
- The initial process looks the same as in the previous case - steps 1 to 3 are repeated.
- Then it is checked how similar the lengths of the two formed ends are.
- The one that was passed from the bottom up is now passed from the top down, but it must be passed between the two parts wrapped around the waist.
- Leave a loose loop at the top of this end, into which insert the second free end from top to bottom.
- At the same time, pass the edge not only into the loop, but also between the two layers of the belt.
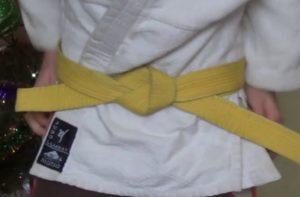
- Now gently pull the edges, thereby forming a knot. Tying pattern:
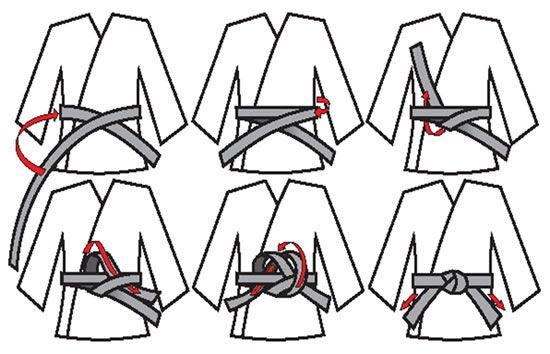
Children can be helped to tie the obi at first. But gradually get used to performing this movement on your own.


 Step back about 20 cm from the left edge of the belt and at this point press it to the body in front, in the waist area.
 0
0