In the 19th century, the basic techniques and methods of fighting within the framework of judo were developed. Oddly enough, little has changed in this martial art over the past 200 years. The requirements for the appearance of athletes have definitely remained the same. There was no mitigation in this issue, because Judo equipment is also given mystical meaning. People believe that only those who have mastered the skills of wearing the uniform correctly can achieve anything within this combat direction.
Features of the belt system in judo
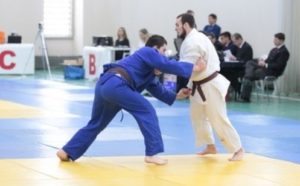 A belt or obi, along with a wrestling robe, is a mandatory element of a judoka’s equipment. In addition to the function of fixing the kimono, the accessory is endowed with some other properties. For example, it serves as an identification mark: allows you to determine the approximate level of the athlete.
The guideline is attribute color. Athletes, as they mature and develop, go from white to black belt.And the first step on this long road is to study the theoretical and practical components of tying a belt.
The need to study this issue is based on the “code” of a judoka. Wrestlers adhere to the norms and requirements developed by Japanese masters, and in the Celestial Empire, as is known, success is achieved by those who accurately and masterfully master the ceremony.
Important! There are 6 color and 10 black belts in judo. Black is the prerogative of masters, colored ones are reserved for students.
Some of the tenets of the judoka “code”:
- the left end of the belt corresponds to the spiritual nature of its owner, the right – to the physical;
- The athletic growth of a judoka is possible only with the harmonious coexistence of the physical and spiritual principles, and therefore the left and right ends must be the same length;
- Only those beginners who have fully mastered the art of tying an obi with a judoga are allowed to train.
Important! After the white belt, a yellow belt is issued. It is awarded to those who have trained diligently for 1 year and demonstrated possession of certain knowledge and skills at a demonstration performance.
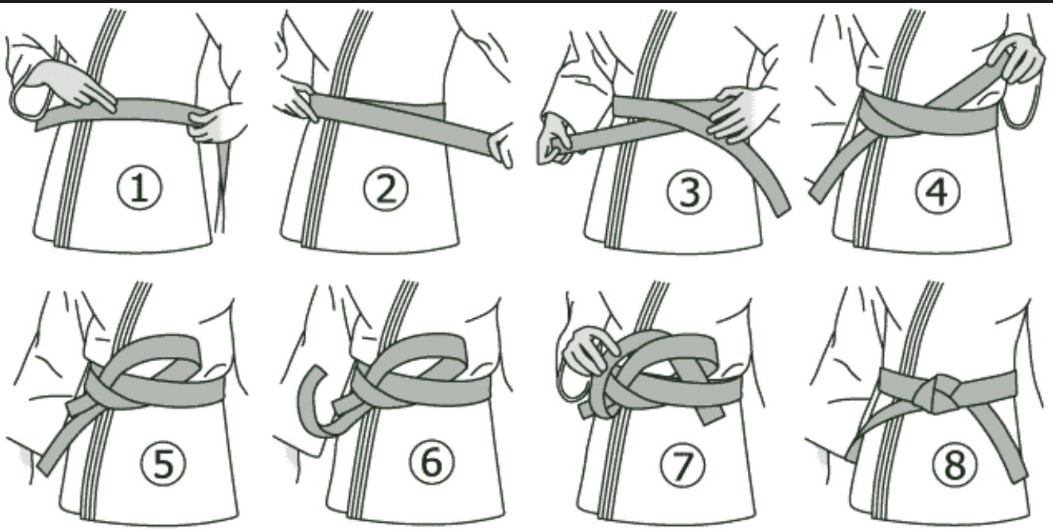
Step-by-step instructions on how to tie a belt
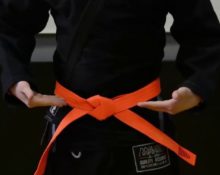
Sequence of actions in order:
- take the belt, fold it in half;
- wrap it around the body so that the ends are at the back;
- we cross the ends and bring them forward;
- align;
- We place the left side down, put the right side on top of the left and thereby cross the ends;
- We pass the edge that is on top under the first encircling layer of the belt (we insert the end from below and pull it out from above);
- tighten the resulting knot;
- cross the previously threaded tip with the second one (the threaded end should lie on top);
- into the hole formed by crossing the edges we thread the end that lies on top (thread through from below, pull out from above).
Now all that remains is to tighten the edges of the belt, and you can begin intensive self-improvement and becoming a judoka. Or try this:
Ways to tie a judo belt
The above option is a student method. It is suitable for athletes of the appropriate level, that is, for example, a child, and those who are just starting their sports journey or simply have not risen to the level of a master. For judokas who have reached the dan level, the following method of tying a belt is recommended:
 fold the accessory in half;
- we tie it around the body so that the ends are at the back;
- We twist the parts of the belt in the center and bring them forward;
- align the ends and cross them;
- The edge that became left after the turn should lie on top;
- we pass the left end through the lower encircling layer of the belt (starting from the bottom, bringing it out from the top);
- tighten;
- the left end at this stage should become right and should be threaded under the upper encircling left layer of the belt;
- the once right end, which at this stage became the left, is threaded through the upper encircling right layer of the obi;
- tighten, correct.
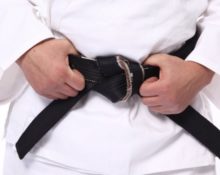
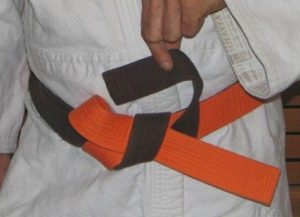
Important! When you complete the penultimate step, you will form a loop. It does not need to be loosened or tightened before you start passing the left end through the right attribute layer.
There is another technique recommended for masters. Moreover, it differs from the previous version only in the penultimate step. The left edge of the obi will need to be passed not through the upper right encircling layer, but rather into the loop formed after the right end is threaded under the encircling left layer.
Useful tips
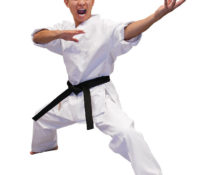
- You should not use equipment designed for other sports during training or performances. This is unacceptable even if the sport is close to judo and the clothing used is very similar. In fact there are no completely identical forms. And a karateka’s kimono, just like the belt for it, is strikingly different from the equipment of a judoka. At a minimum, the thickness of the materials.
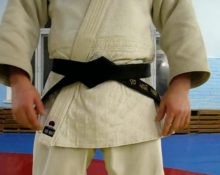
- It is also worth remembering that with skillful handling of a correctly selected obi the free edges are equal to each other, and their length varies between 20–30 centimeters. If there are more or less left, it means that something went wrong either at the stage of choosing equipment or at the time of tying.


 fold the accessory in half;
 0
0