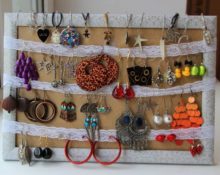
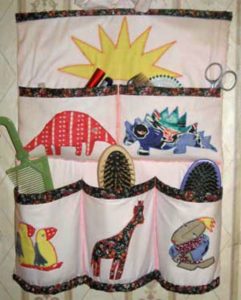
 A DIY comb organizer will not only boost your ego, but will also help you organize all your combs. And it won’t take up much space. If you approach the model correctly, you can organically fit it into the interior.
We will tell you how to make different types of organizers with your own hands: wall-mounted or table-top.
Desk organizer stand
To create a tabletop stand, you don’t need to look for expensive blanks in specialized stores. It is quite possible to make do with improvised means.
What can be made from
The design of the stand directly depends on your imagination. Most often it is made in the form of a glass or several containers of different sizes. The following available materials can be used.
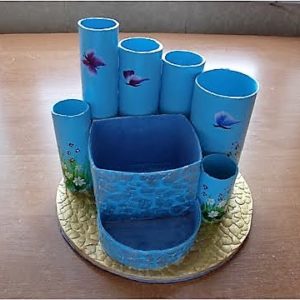
- Cardboard boxes of different sizes and different depths.
- Glue and decorations (pieces of fabric or leather, buttons, beads, lace). Gift wrapping can be used.
- An organizer made of fabric, preferably thick, looks good.To do this, a cover is sewn into which cardboard is inserted for hardness and filler to give it a rounded volume.
- Newspaper tubes will be an excellent basis for a wicker organizer. In addition, you need PVA glue, paint or varnish.
- Glass jar, glue, cord (preferably natural color), braid, coffee beans. The result will be an original designer organizer.
Attention! The depth of the stand for combs should be at least 10 cm so that they do not fall out. The model itself should have a wide bottom or be quite heavy, since large combs can overwhelm a light container.
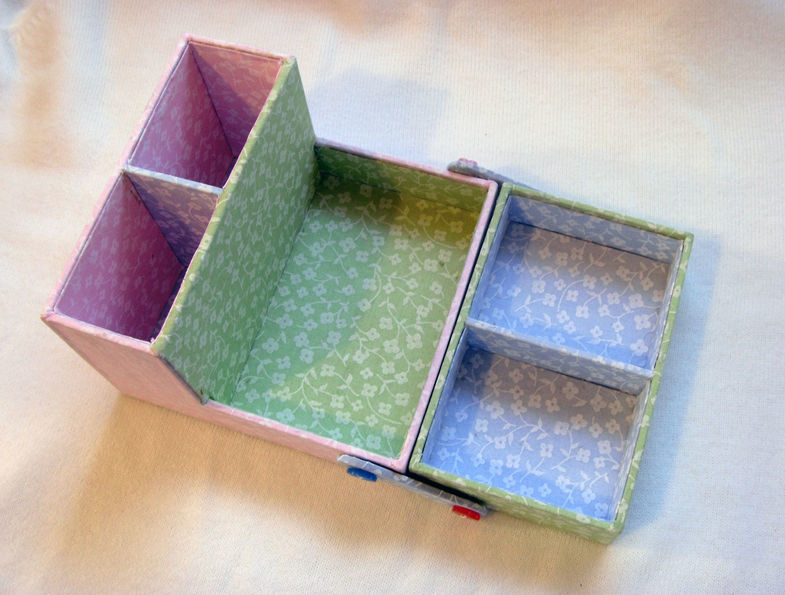
Making a stand for combs
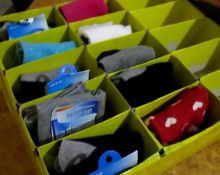
A stand made of three boxes connected to each other will be practical and compact.
Materials
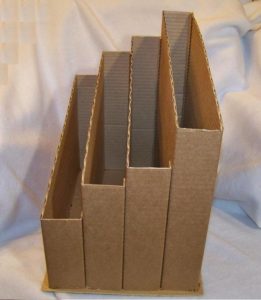 For manufacturing you will need the following.
- 3 boxes of different sizes (perfume can be) or cardboard in order to make them yourself.
- PVA glue.
- Scissors.
- Colored paper: pieces of wallpaper, gift wrap, or crepe paper).
decorative decorations: braid, lace, beads or buttons. - Plasticine (to weight the base).
Operating procedure
Initially, we select boxes or make them ourselves from thick cardboard. The most convenient base sizes:
- 10 x 10 cm, height 12 cm;
- 10 x 4 cm, height 8 cm;
- 14 x 4 cm, height 5 cm.
We paste the first two boxes with one color, and the smallest one with another. If you are using wallpaper, you can paste over two blanks, placing the pattern horizontally and vertically on one blank.
Attention! To ensure that the paper does not peel off and is less likely to bulge, fold the edges of the decor inside the container and secure them there with glue.
- Arrange the boxes using a combination that works for you. Ideally, the lowest pocket will be located in the front, and the narrowest one on the side.Glue the resulting organizer together.
- In the largest box we put plasticine 10 x 10 cm, 0.5 cm thick. Cover it on top with a piece of oilcloth measuring 10 x 10 cm and cardboard of the same size.
Important! The box for large combs should be located in the center so that the organizer does not fall over.
There can be any number of small sections, and you can store not only combs, but also hairpins in them.
Wall mounted comb organizer
An organizer for combs located on the wall next to the mirror is a very practical solution.
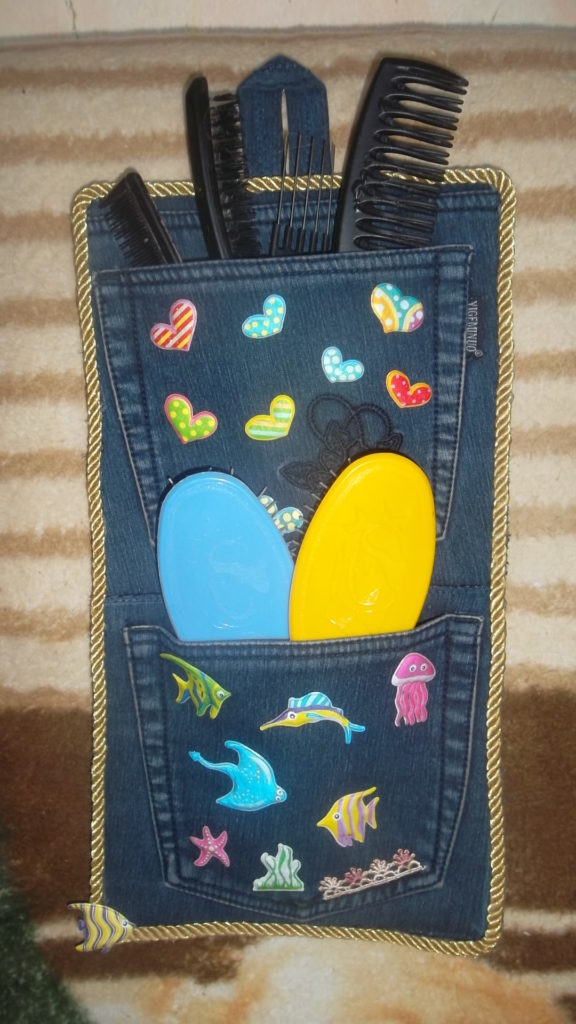
Materials that may suit the organizer
The organizer is located on the canvas. For him Dense fabrics, knitted fabric, plywood, plastic board are suitable.
The pockets are placed in a convenient order and secured with glue, thread or nails. They come from absolutely any material. If the base is hard, then it is better to use small boxes attached with glue or nails for pockets.
How to make a wall organizer
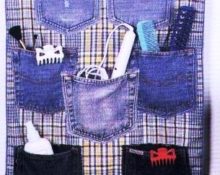
Perfect for a wall organizer denim.
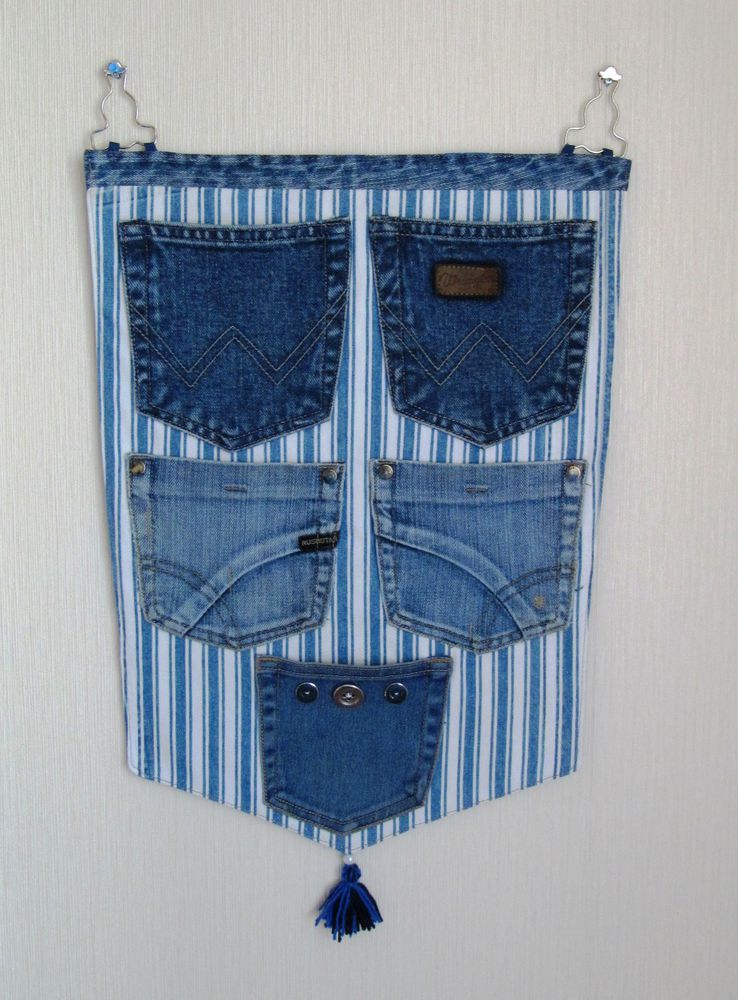
- Cut the canvas to the required size (example 45 x 60 cm).
- We sew an opening of about 3 cm at the top in order to subsequently put the organizer on the crossbar. A wooden or plastic stick, 45 cm long, is suitable for it. We cut out the lining measuring 45 x 54 cm.
- We sew the base and lining (the lining is not sewn under the opening for the crossbar).
- Denim pockets from old trousers will look very original on the canvas. Approximate plan for placing pockets.
- Before sewing the pockets onto the base, they should be decorated with sequins or lace (optional).
- A wide pocket will allow you to keep all your elastic bands in one place.And such hairpins as krik-krak cling to the pocket itself, so that they are not only always at hand, but also a decoration of the canvas.
- When the organizer is ready, insert the crossbar and attach a cord to it, which will allow you to hang our creation on the wall.
We wish you creative success!


 0
0