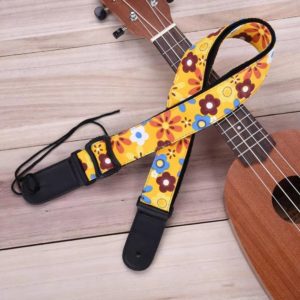
 When the conversation turns to the guitar, a summer evening, a huge fire and a friendly company singing cheerful songs immediately appear before the mind's eye. But it is not always convenient for the player to play while holding the instrument in weight: the hands get tired quickly. Therefore, a belt that is thrown over the shoulder will be a good help. It keeps the instrument suspended. Of course, this accessory can be freely purchased in the store. But it’s much more interesting to build an original thing yourself. You don't need any special skills for this. Let's take a closer look at the manufacturing process.
Materials and tools for making your own belt
In any job, the main thing is to properly prepare for it. In this process, it consists in choosing the appropriate material and tool. Their choice depends entirely on the following characteristics.
- Convenience. This accessory must be fixed at a sufficient height and not rub the shoulder.
- Functionality.
- Matching the chosen image. For musicians performing in front of an audience, this factor is one of the decisive ones. Because the belt should be in harmony with the stage costume and complement the image.
Material
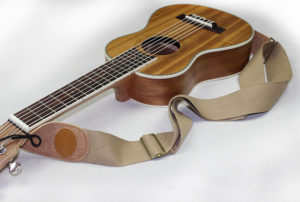 The choice of material for manufacturing is especially important for this item. You can create this accessory from the following fabrics and materials.
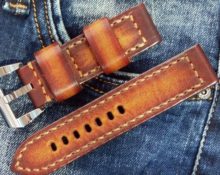
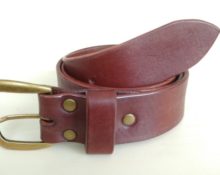
- Made from genuine leather, suede or leatherette. This option is the most popular. After all, it is suitable for any style and is traditional for such items. You can use a regular belt or skin as a base.
- Thick fabric: jeans, tapestry and so on. In this case, a rigid base is inserted inside the fabric cover. You can use a parachute lanyard or wide braid as it.
- From yarn or cord. This variation is made using a crochet hook or using the macrame technique.
Attention! When choosing the latter option, you should pay close attention to the characteristics of the fibers.
They should not be deformed during use, should not irritate the skin, and should be resistant to abrasion.
Decor
Another important point is the decoration of the belt. These can be various decoration techniques, which directly depend on the material.
- For leather, this is embossing or finishing with metal elements, as well as painting.
- For the fabric version - embroidery or applique, rhinestones.
How to make a guitar strap with your own hands
To understand the creation system itself, let's look at the process using a detailed example.
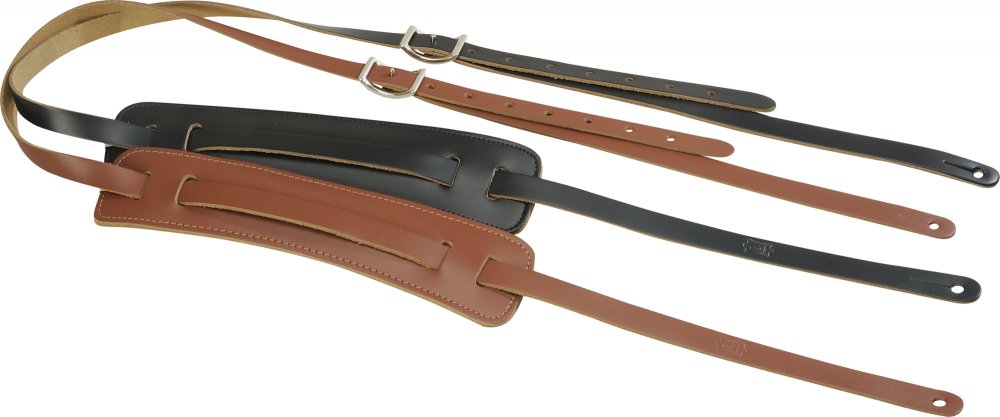
To realize you You will need basic tone leather for the top and bottom layers. In addition, you also need to prepare a metal buckle and a tool for working with leather.
The working process
- Measure the length of the product.
Reference! For measurement, you can use a regular rope. It is fixed in the places where the belt is attached in the most convenient position for you. Once adjusted, simply measure the string from one contact point to the other.
- Draw a pattern for the future product according to size. In this case, you should have four parts. Two main parts (add for sliding fixation). And two more for the shoulder element.
- Transfer the contours of the pattern onto the material and cut out the parts.
- Make holes on the main element for fixing to the tool and for the fastener.
- Install the buckle.
- Sew the shoulder blanks and make holes on them for threading the main part.
- Thread the main strap through the shoulder piece.
If desired, the product can be decorated with decor.


 0
0
