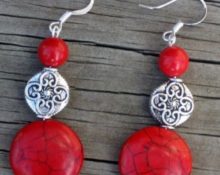
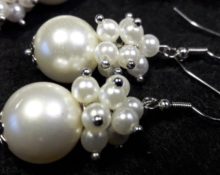
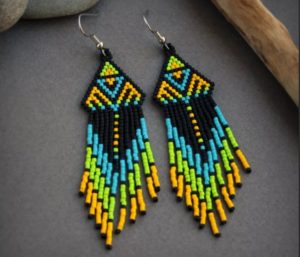
 To create jewelry yourself, you do not need to learn jewelry craftsmanship. For those who are eager to add to their collection of accessories, there is a proven and simple way: creating costume jewelry using beading. Hobby and creative stores offer an unimaginable variety of beads of all shades. By experimenting with colors and shapes, you can create a truly original decoration.
The recipe for new and unusual earrings is simple: a little patience, a clear diagram and the necessary materials for the chosen model. This article presents simple manufacturing options with step-by-step instructions. Even a novice needlewoman can handle them.
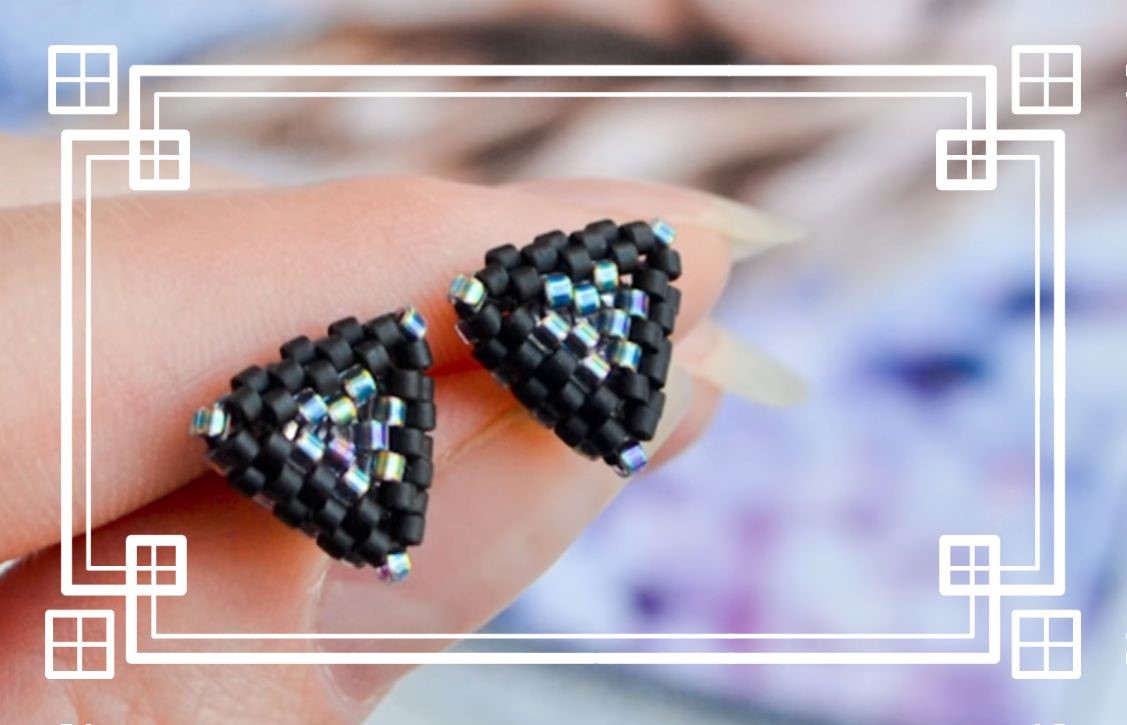
Earrings “Miniature studs”
The earrings (by Karina Turchina) are original, but will look equally good with both a classic look and a sporty style.
Materials and tools
We will need:
- black beading threads;
- beads of several shades (matte black and sparkling rainbow);
- thin needle;
- bases for earrings with a flat platform;
- scissors.
Each earring consists of two parts: front and back.
Stages of work
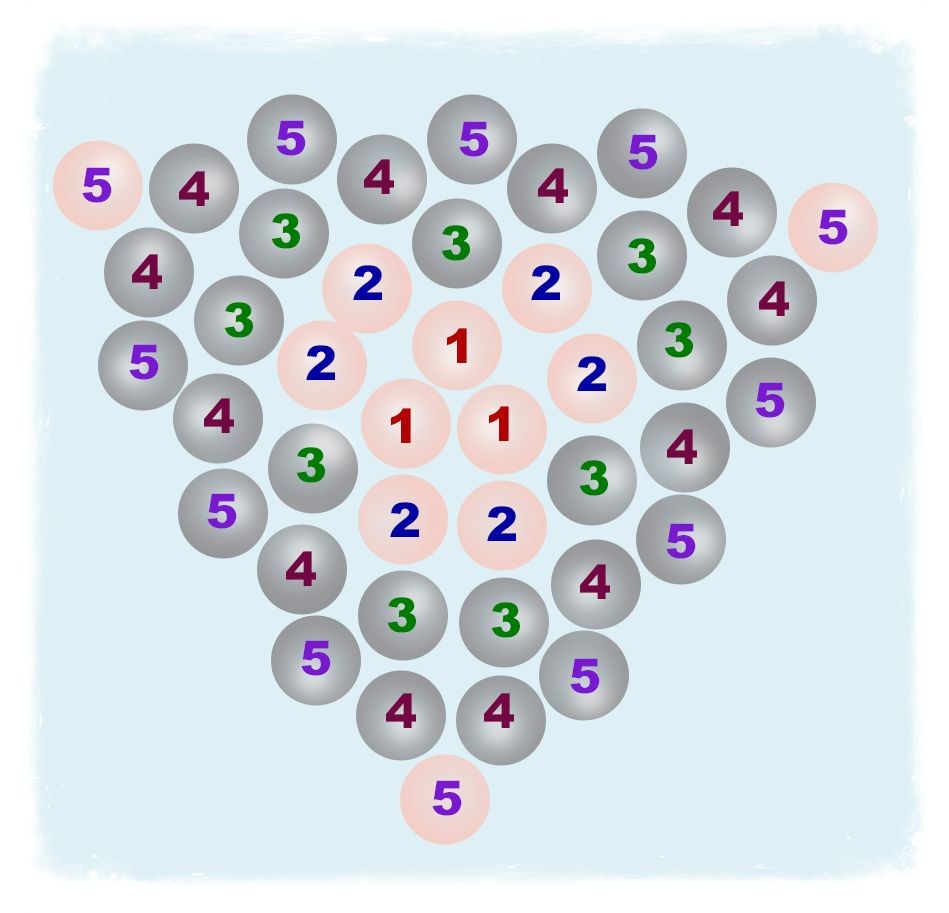
Front side:
1 row. We weave from sparkling beads. We collect 3 pieces on one of the ends and close them in a circle. Having tied the thread into a strong knot, insert both ends into the needle.
2nd row. Same color. We collect two beads and insert the needle into the next bead from the previous row in the weaving process. Each time we tighten the weave tightly. We finish on the last bead in the first row. To go up to the next one, insert the needle into the first bead of the second row along the weaving path.
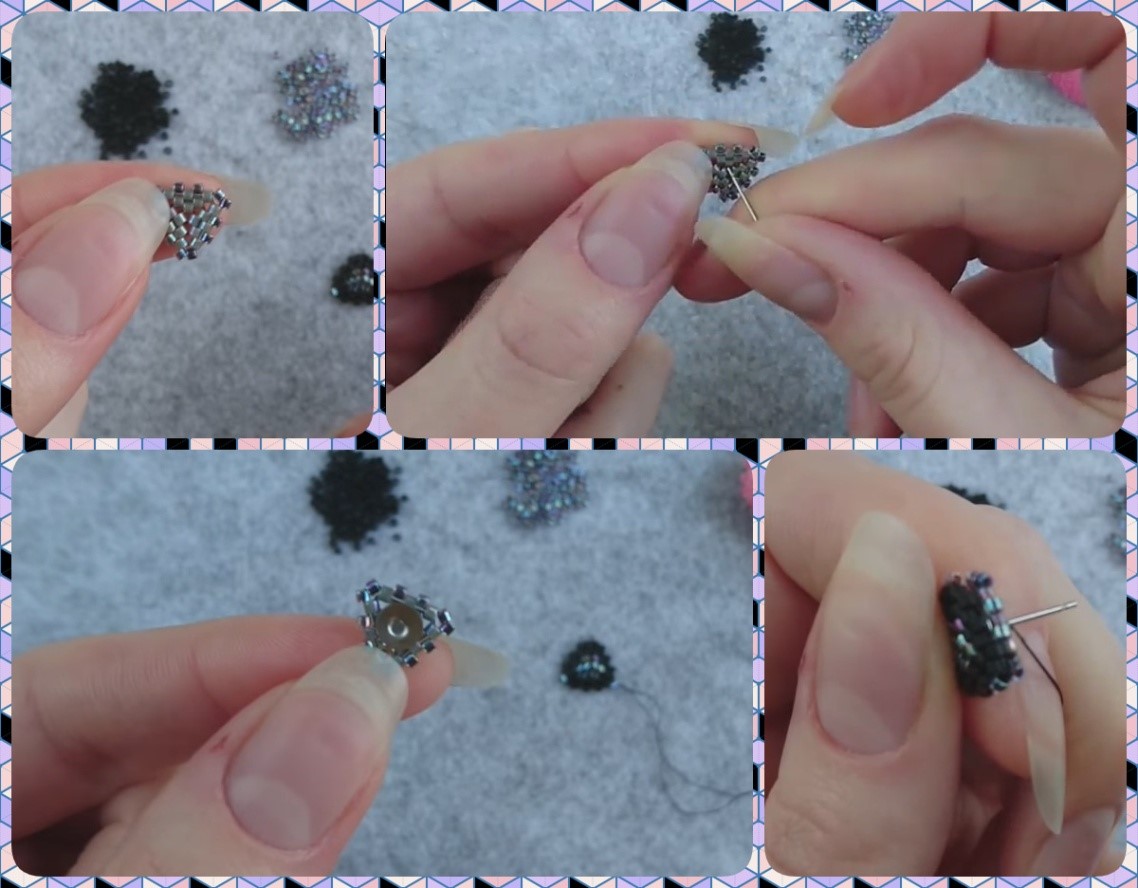
3rd row. Let's switch to black. Above the pairs of the second row we sew two beads, and one between them, the last bead is single. We rise up through the first bead as we weave.
4 row. Repeats the previous one, but with a large number of intervals, into each of which we weave one piece. We sew pairs between double black beads.
5 row. We sew sparkling beads into the corners, and one black bead in between. We finish by threading the thread through the first rainbow bead of the last row. We don’t cut off the ends, they will come in handy.
We make the wrong side by analogy with the front side, but without the fifth row.
All that's left is to sew the parts together. To do this, take the wrong side and insert the base for the earring into the central hole of the weave. Place the front part on top and sew the sides together using a zigzag through the outer beads. When the parts are connected, split the thread and tie a knot. We insert both ends into the needle again and hide them in the weave from the wrong side, cutting off the excess.
Earrings “Playful Tassels”
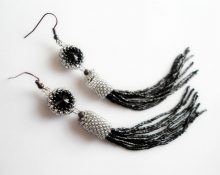
Tassel earrings (by Marina Larina) are a model that is always in fashion.
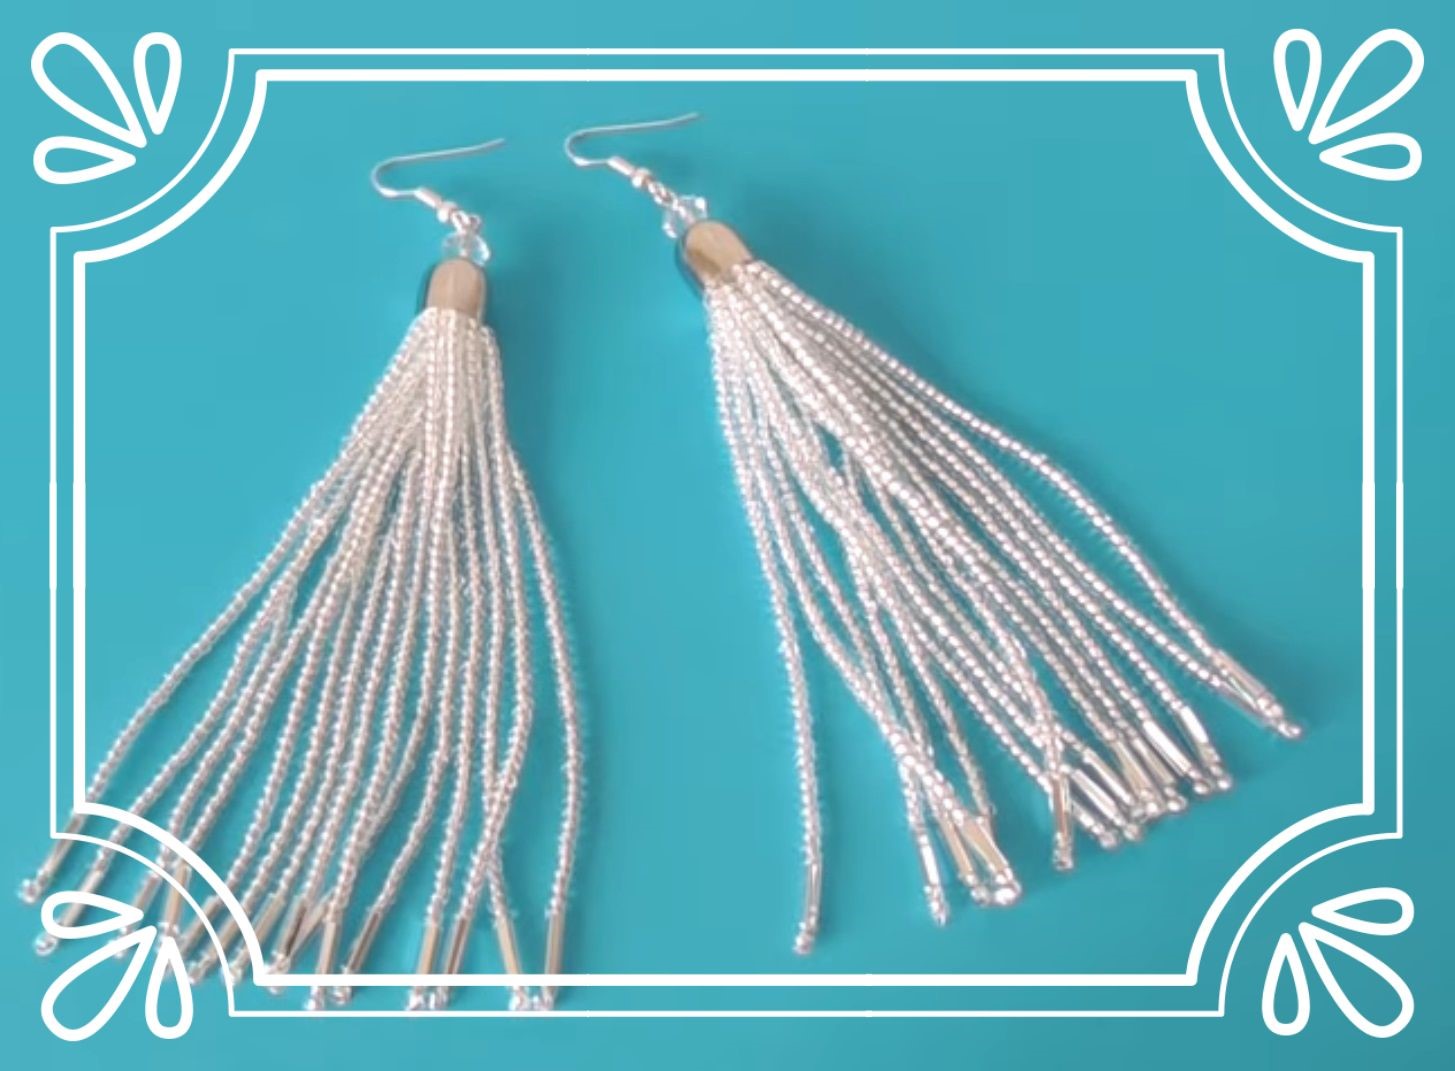
They are able to make the image of their owner sweet and romantic or bold and passionate.
Materials for manufacturing
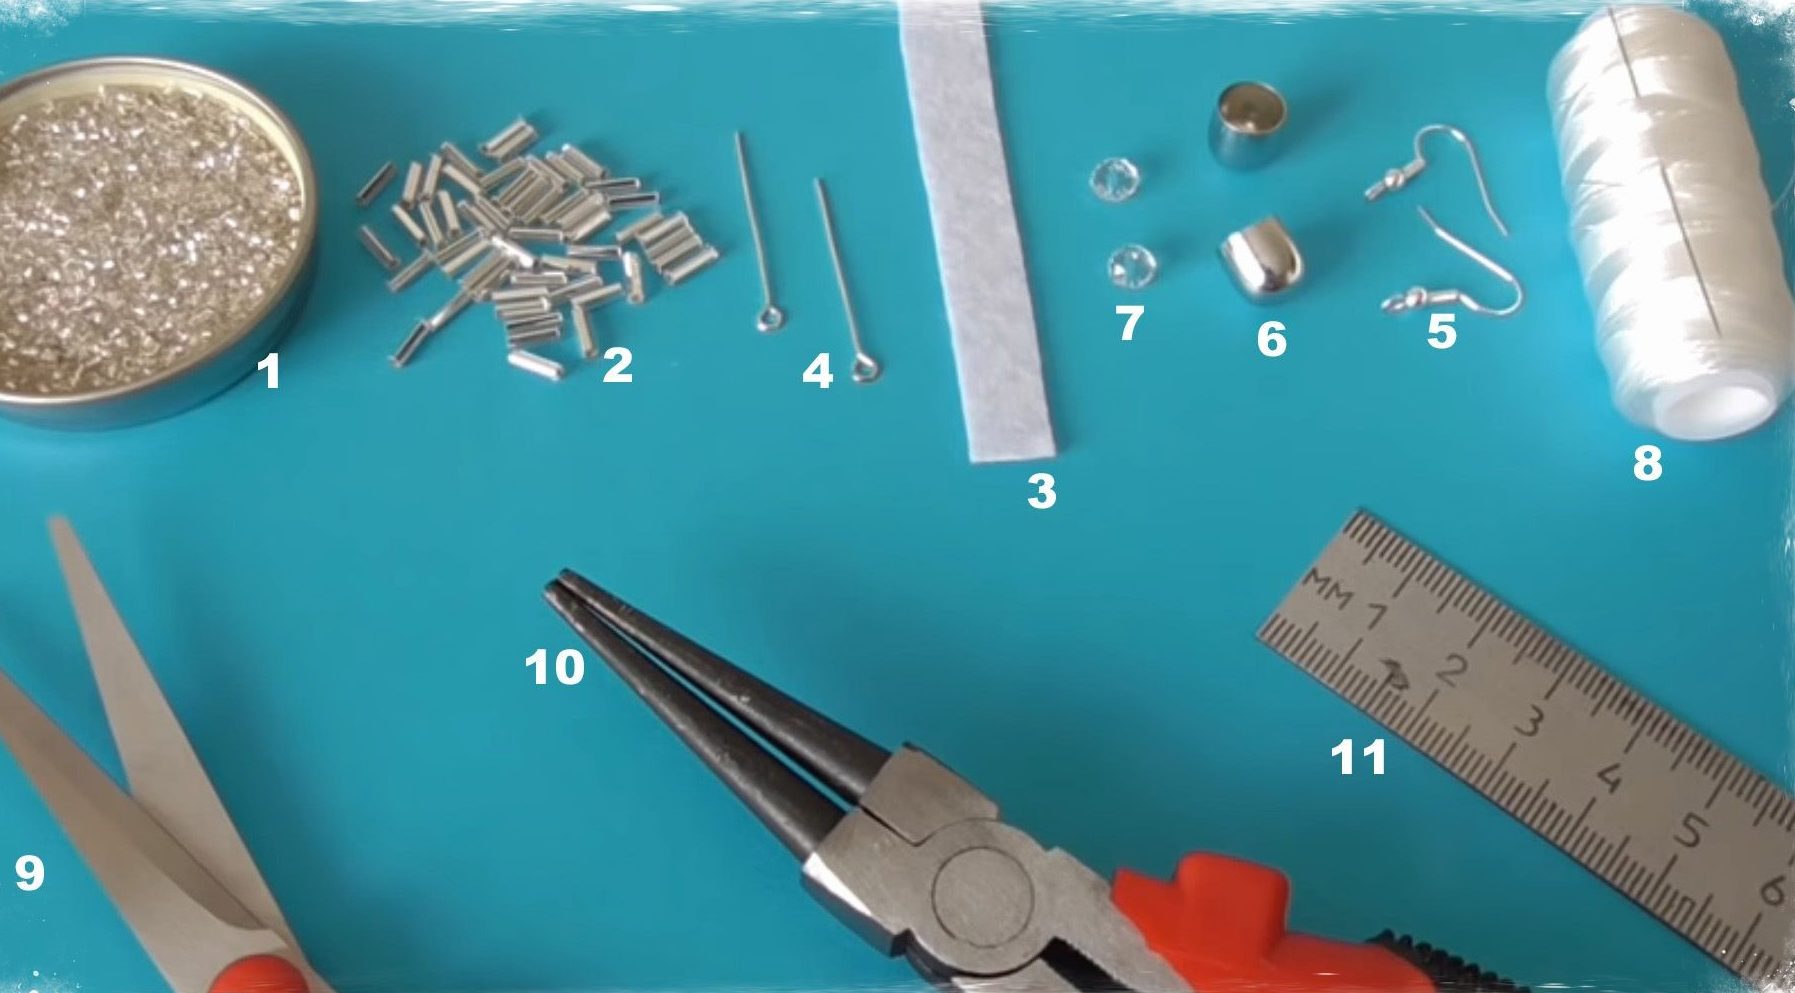 Prepare:
- beads No. 10;
- glass beads 7 mm;
- a strip of felt 7.5 cm long and 7 mm wide;
- two pins with a ring;
- a pair of earrings;
- two beads 6 mm;
- two 10 mm end caps;
- needle and thread for beads;
- scissors;
- round nose pliers and pliers;
- ruler.
Step-by-step scheme of work
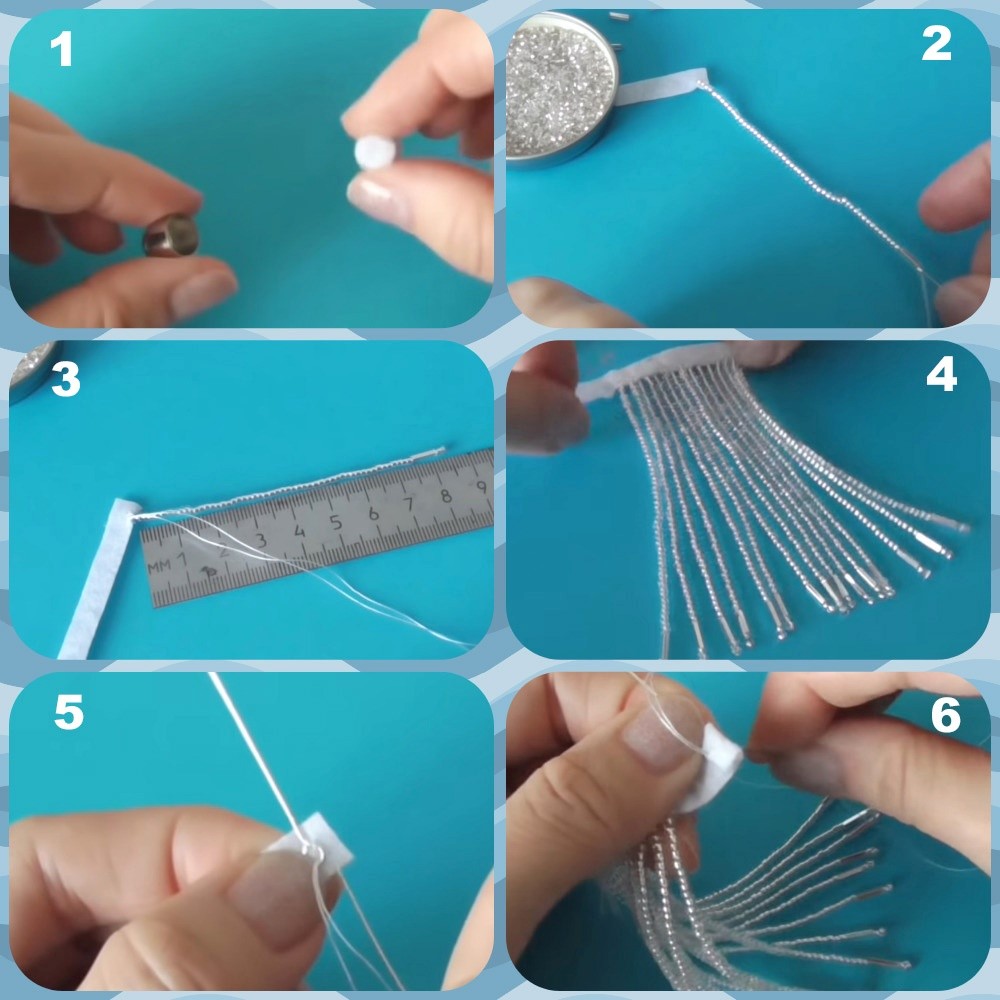
1. Twist a strip of felt and try it on as an end cap.
2. Take a needle and thread, make a knot at the end and secure it in the felt with a couple of stitches, leaving 5 millimeters from the edge. We collect beads to a length of 7.5 cm. We finish the row with one glass bead and two beads. We skip the last one by moving it down. We return back to the felt through all the beads.
3. Pull the thread and check that it is not too loose or, conversely, too tight. Secure it to the felt with a couple of stitches. The length should be 8.5 cm.
4. In this way, we collect the required number of rows; in the author’s model there are 15 of them. You can do more, then the tassel will be more magnificent. We make sure that the length of the rows is the same. Adjust the thread tension before securing the row with stitches.
5. Take a pin with a ring and sew it to the felt.
6. We twist a piece of felt into a roller, sewing it in parallel so that it does not unwind.
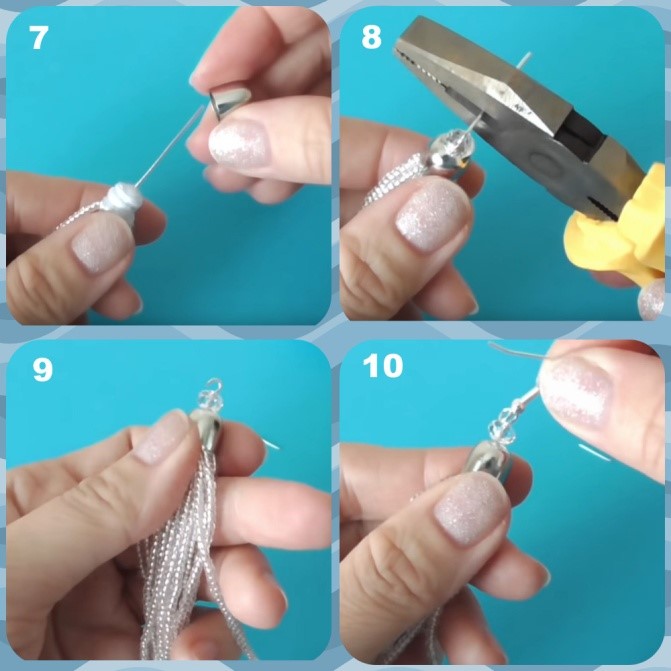
7. We tightly place the end cap and a 6 mm bead on top.
8. Bend the end of the pin and cut it off, leaving no more than 7 millimeters.
9. Tighten the end of the pin with round nose pliers, but not all the way.
10. We put a hook on the resulting hook and fasten it. The earring is ready, all that remains is to make a pair for it.
Earrings “Elegant drops”
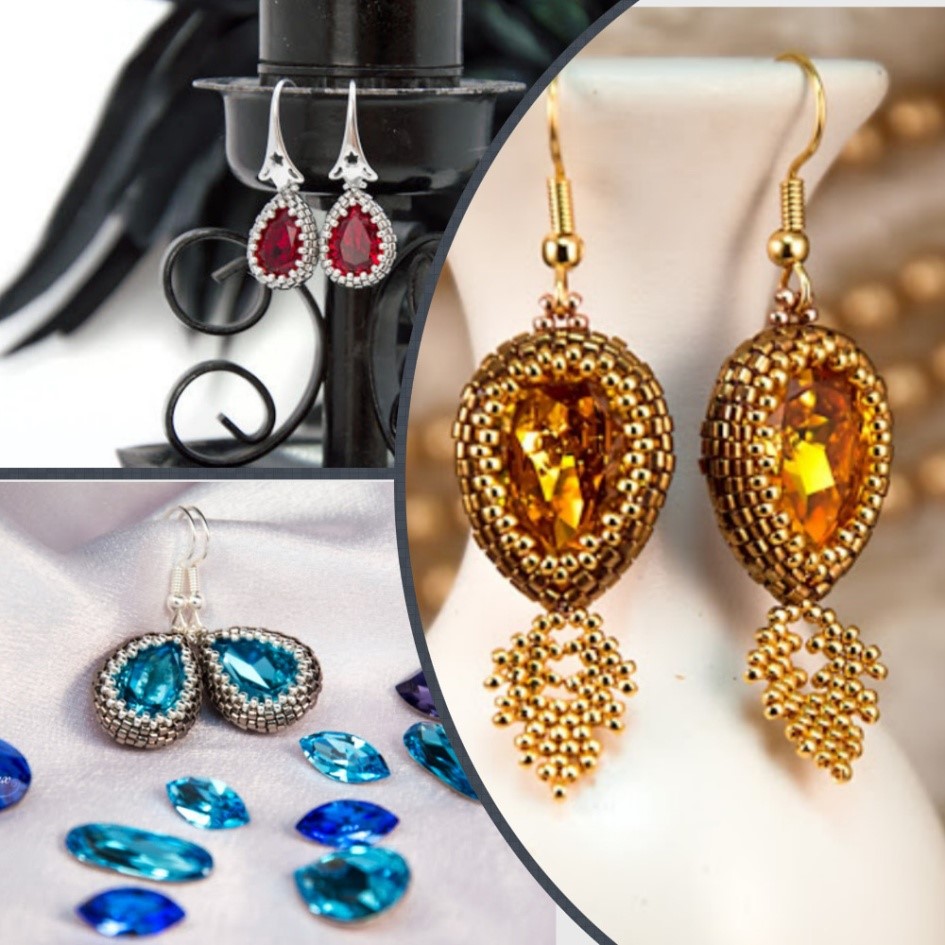
They look expensive and very impressive. Galina Dietrich is the author of weaving and creates wonderful jewelry.
Materials for work
The work was done using two types of beads: round Miyuki 15/0 and cylindrical Delica 11/0. Swarovski drops, size 14*10, are used for the braided base.It is not necessary to buy these exact materials, but it is important to follow the recommended dimensions. Otherwise, the droplet may jump out of the frame. In addition, you will need: two earrings, a beaded thread and a needle.
Progress
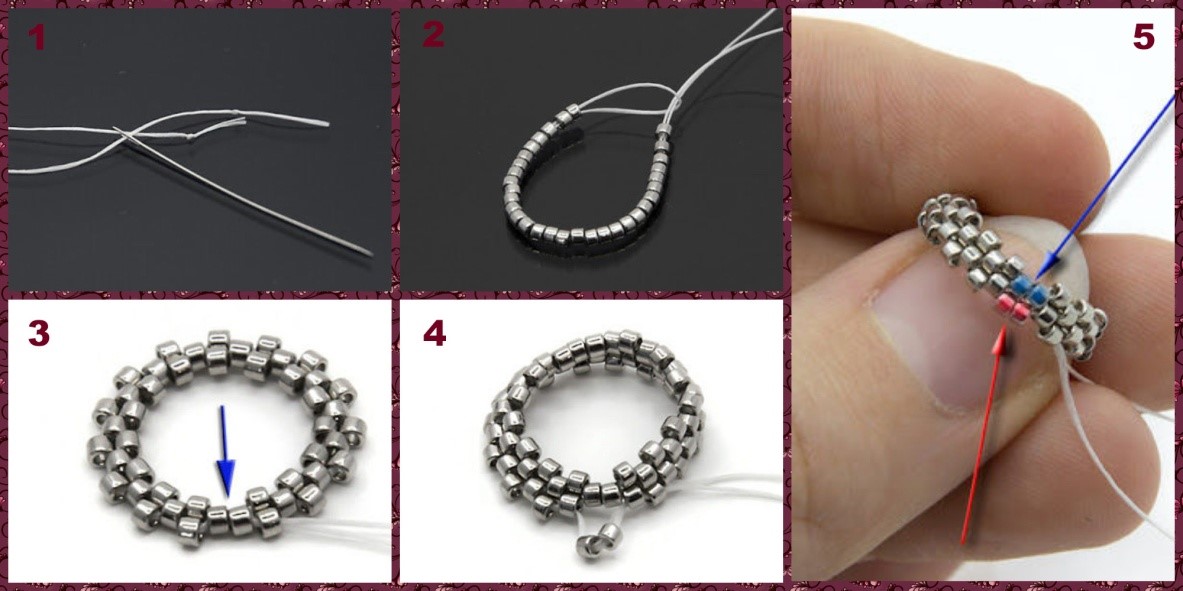
1. Thread the ends of the thread into a needle; you can tie a small knot on each to avoid losing the thread during weaving.
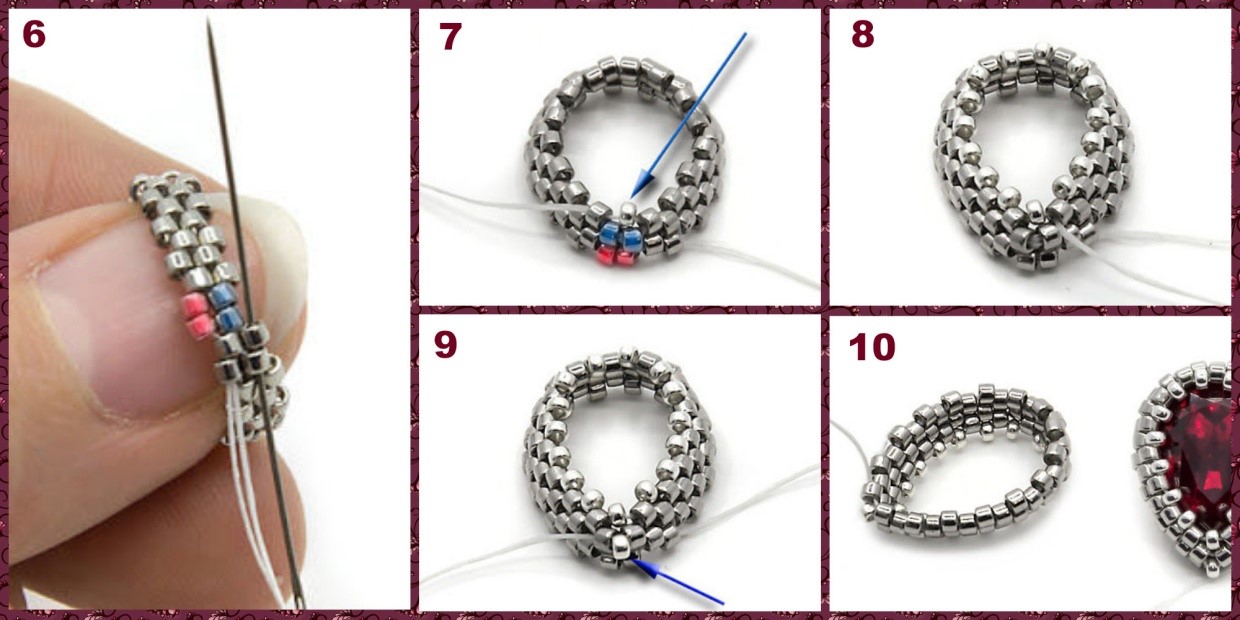
2. We collect cylindrical beads, in the amount of 31 pieces. We form a loop and tighten it well.
3. We weave the next row with a mosaic: beads are woven through one in the direction of movement. We leave the last two untouched.
4-5. The second row is similar to the previous one. At the end we add a pair to two lonely beads. The beads of the first row in the diagram are highlighted in blue, and the second in red. They will become the beginning of the future corner of the drop.
6. Turn the needle one hundred and eighty degrees, passing it through the adjacent bead of the first row. We split the thread and leave one of the ends on the wrong side.
7. Then we weave into one thread. We form the inner corner of the drop: add Miyuki beads and tighten.
8. We continue to weave the third row using the mosaic method using round Miyuki beads.
9. Between the beads of the first row (shown in blue in the picture), add one round one.
10. Try on the frame a little at a time.
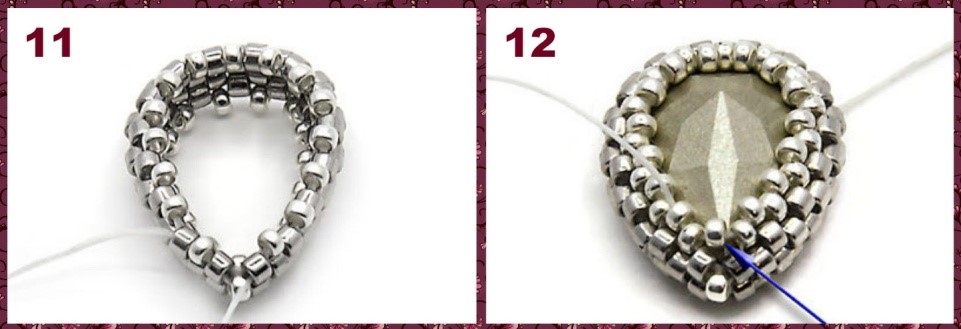
11. Let's do the wrong part. We braid the first row with round beads, and finally we pass through the outer bead of the acute angle.
12. Add one more to the previous row. We tighten the weave well so that it is tight. We finish this row with one bead (shown by the arrow in the figure) in the inner corner. The frame should fit tightly to the crystal. You can stop at this stage, but to protect the back of the crystal and the aesthetic appearance of the earring, we recommend braiding the back of the product.It’s easier to do this using mosaic weaving, decreasing the number of beads in each new row.
All that remains is to attach the earrings with a loop of several beads.
Handicraft helps not only to make a unique thing, but also to calm the nervous system. Turn on relaxing music and enjoy the process of creating a new accessory with your own hands. Go for it, and you will succeed!


 0
0