creativecommons.org
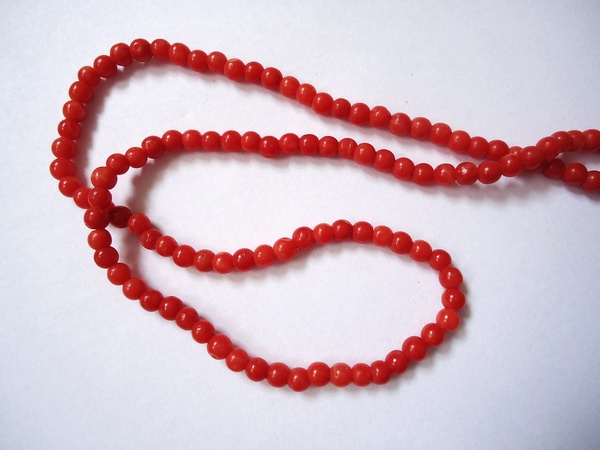
The coral reef impresses everyone who has visited the Red Sea. The delightful bottom is dotted with masterpieces of nature, which have been growing at an extremely slow rate over thousands of years. According to researchers, most corals grow one centimeter in twenty-five years. And the height of many inhabitants of the Red Sea reaches hundreds of meters. They are considered property and are protected by the state. That is why you can only admire the beauty in the sea. The export of polyps is prohibited by law. At the airport there is strict control to ensure that guests of the country are not transported across the border.
However, many people dream of constantly admiring this beauty, not only during a short vacation. It turned out that this is possible. It is enough to spend a little time and effort to make corals with your own hands. They are difficult to distinguish from the original, but they can be transported and used to create unique decor in the home.
How to make corals with your own hands - creating marine decor
The bright red colored sea inhabitants attract special attention. They catch your eye and look amazing. There are two ways to make them yourself. The first option is the simplest. It will take no more than twenty minutes to make. To make the base, you will need about three meters of wire. It must be cut into 9 pieces. Depending on the size of the composition, their length ranges from ten to thirty centimeters. All segments are bent in half and covered with glue.
The glue may not reach some areas, this is not a problem. The effect of natural uneven areas will be created. After the glue has dried, acrylic paint is used. The base is carefully painted red.
Afterwards, all the wires are grouped into a single composition. The special stand is also painted, and then the coral is fixed on it. The result is pleasantly surprising. There is a slightly more complicated method, but the product will turn out more natural. You will need:
- Several branches from any tree. They must have branches and bends.
- Rice or pea cereal.
- PVA glue.
- Acrylic paints, just one, any shade.
Let's start the workflow:
- We carefully coat each branch with PVA, avoiding any gaps. To make the color deeper and richer, mix it in a small container with some of the paint.
- Gently sprinkle peas or rice onto the composition, or use both grains to add naturalness. The irregularities turn out to be of different sizes.
- Leave the product to dry thoroughly.
- When the glue is completely dry, paint the corals with red paint. It is important not to skip.
- Let the composition dry again.
- We select a suitable vase and the product is ready.
The branches painted in silver and gold will fit perfectly into the New Year's interior. You can use bright colors to decorate your children's birthday party. The size of the branches is also not important, but it will be more difficult to work with tall products.
DIY corals - master class on how to make corals
creativecommons.org
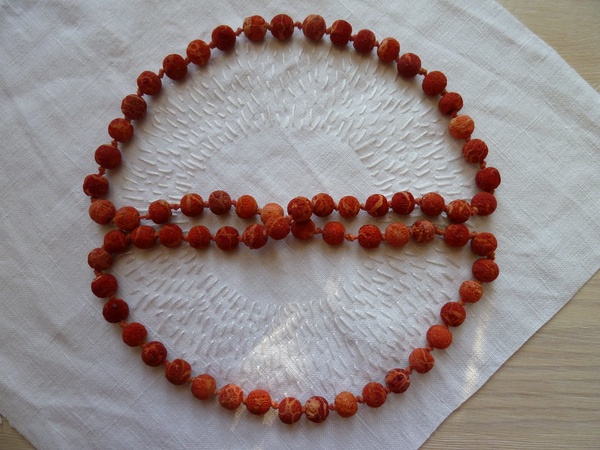
Most often, grayish, white coral structures are found on the seabed. You can also make similar beauty yourself. As a result, such a product is difficult to distinguish from a real polyp. To work you will need:
- Roll of toilet paper. It should be soft.
- Wooden skewers.
- PVA glue.
- Packaging of paper construction tape.
- A little wire for the frame, it is better to take floral wire.
- Bowl of hot water.
- Three quarters of a glass with flour.
- A little baby powder - talcum powder.
Unroll the toilet paper halfway, tear it off and place in hot water. It should sit in the bowl for about three minutes. You will notice how the paper swells. This means it's time to drain the water. It is necessary to shred wet paper. There will be a paper mixture left in the bowl. Add flour, mix with paper. Pour a small amount of baby powder into the mixture.
Create a base for the coral using floral wire. It is better suited for this task due to its thickness and strength. To get the shape of a sea creature, we twist the wire and make branches. All that remains is to apply the paper mixture to the base. To create a small coral, it is enough to do it once. For a larger polyp, you will need to repeat the process once or twice until the desired size is achieved. But between each approach it should dry completely. When applied:
- You cannot smooth the mixture, otherwise you will end up with a simple white branch.
- On the last layer, when it is half dry, we make holes with a skewer. This will create the appearance of natural coral pores.
- The last layer should dry very well. Then the product can be coated again with PVA, sprinkled with table salt, covered with furniture putty or gypsum mortar.
- After applying any additional material, the product is again left to dry.
 0
0