If you want to surprise with a decoration made by yourself, you need to do something truly original. Such a thing could be a chain made from ordinary copper wire. To make such an accessory, you need to try hard: the process requires skill, accuracy and patience. But the result is worth all the effort, because the decoration will be truly unique!
Tools and materials
Viking knit or “Viking Knot” is one of the oldest techniques for creating chains. It owes its poetic name to archaeological research in the Scandinavian countries, during which similar jewelry was found.
This weaving does not require soldering at all, which makes the task much easier. In addition, the gimp can be constantly lengthened, creating a product of the desired size.
To create the Viking Knot chain you will need the following: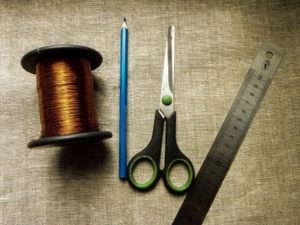
- A coil of thin copper wire;
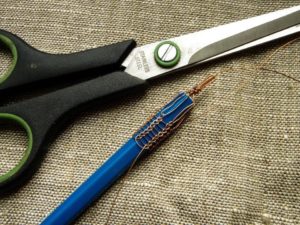
- Scissors;
- Pencil;
- Ruler.
Master class: How to make a wire chain with your own hands.
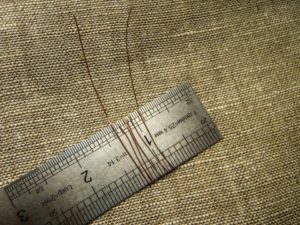
Making a chain in the Viking style is not difficult, you just need to follow these steps step by step: First you need to prepare the base on which the first loops of the future decoration will be placed.
This is done like this:
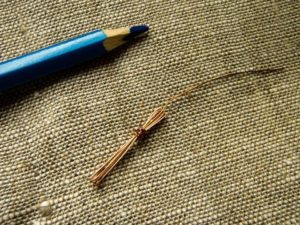
- cut a piece of copper wire about 40 cm in size and wrap it around the ruler 6–7 times.
- Carefully remove the resulting winding and, to secure it, twist it with the free end of the thread.
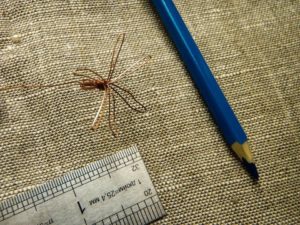
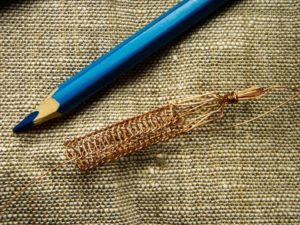
- After this, you need to move apart, literally open the “flower” of the attached loops. We do this as carefully as possible so as not to bend the wire and spoil the appearance of the product.
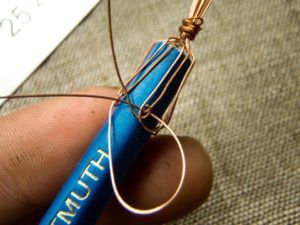
- After this, the resulting “flower” needs to go around the edge of the pencil.
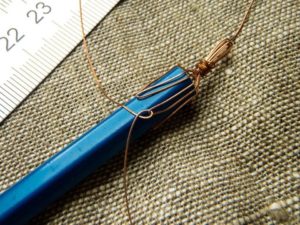
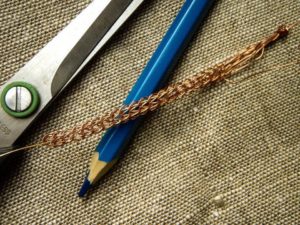
- Next, we take another piece of material (about 80 cm) and begin the main process - weaving.
- First of all, we make a loop around one of the so-called “petals”. It is important to remember to leave a small piece of free material.
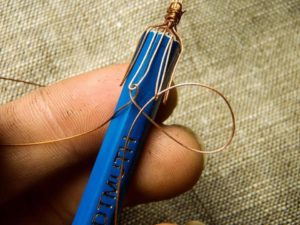
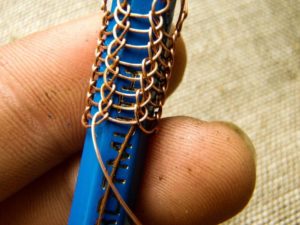
- For the next loop, we retreat to the right to the adjacent “petal”. To complete this row, you need to knit 4 wire loops and return to the first.
- Then we move on to a new level. To do this, we make another loop, catching on the first from the previous row.
Important! You need to act slowly and carefully so as not to accidentally damage the gimp. Otherwise you'll have to start over.
- In this way we continue to weave a new row. We do this until the free segment is shortened to 12–15 cm.
- To continue knitting, you need to lengthen the gimp. To do this, we take a new piece of material (70–80 cm), which we place under the vertical row. While weaving, you should carefully grab the new wire along with the loop from the previous row for a strong fixation.
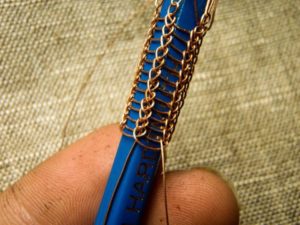
- Then, using the new segment, you need to make another loop. At this stage it is important to act as accurately as possible. We bring out the new piece to the left of it, pointing upward, and with the old working wire we cling to the right, leading down.
- We weave the old wire together with the loop of the previous row several times to ensure thorough fixation, then cut off all excess.
- Next, we continue weaving according to the above scheme to the required size - for a bracelet, necklace or something else. When determining the length, it is worth considering that the finished chain is usually stretched twice.
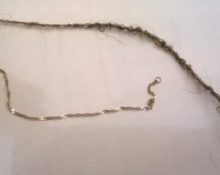
- To complete the work, remove the finished product from the pencil. Carefully take the ends, stretch the resulting weave without sudden movements and look at the result.
- Ready!
Useful tips for making a wire chain
There is another way to make a Viking Knot. It consists of using the most ordinary crochet hook and soft thin wire.
Important! The thickness of the gimp must necessarily correspond to the thickness of the instrument. Otherwise, the process will become significantly more complicated, and you won’t get a beautiful, even weave!
Crocheting a chain is quite easy and does not require special skills. This is done like this: when the first loop is ready, you need to carefully hook the next one and pull it through the previous one. It just sounds complicated, but in fact, a person can figure out the technology even without such experience. Next, carefully pull out the threaded loop to the required length. The process of pulling out the loops is repeated until the decoration reaches the desired size. That's all!
- If desired, the decoration can be made not from copper wire, but from brass, silver or steel.
- But don't choose one that's too thick.
- And in order for the metal used to become soft and pliable, it must be annealed. This can be done over an ordinary gas burner.
- The main thing to remember is safety precautions!
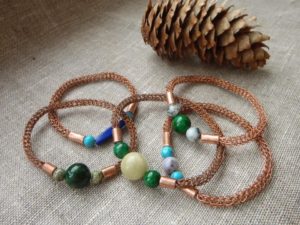
This chain, handmade from wire, is a unique accessory. It can be stylized as antique, creating a themed decoration as if from the Viking era. And if you add original beads and stones, you get something truly unique. This decoration will definitely not go unnoticed!
 0
0