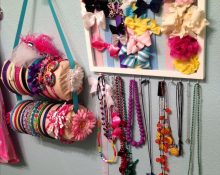
Scrunchies and hair clips made in the shape of magnificent flowers or butterflies using the kanzashi technique came to us from Japan. This art is several hundred years old, but it still resonates in girls’ hearts. I will tell you in this article how to learn how to make this incredible beauty with your own hands.
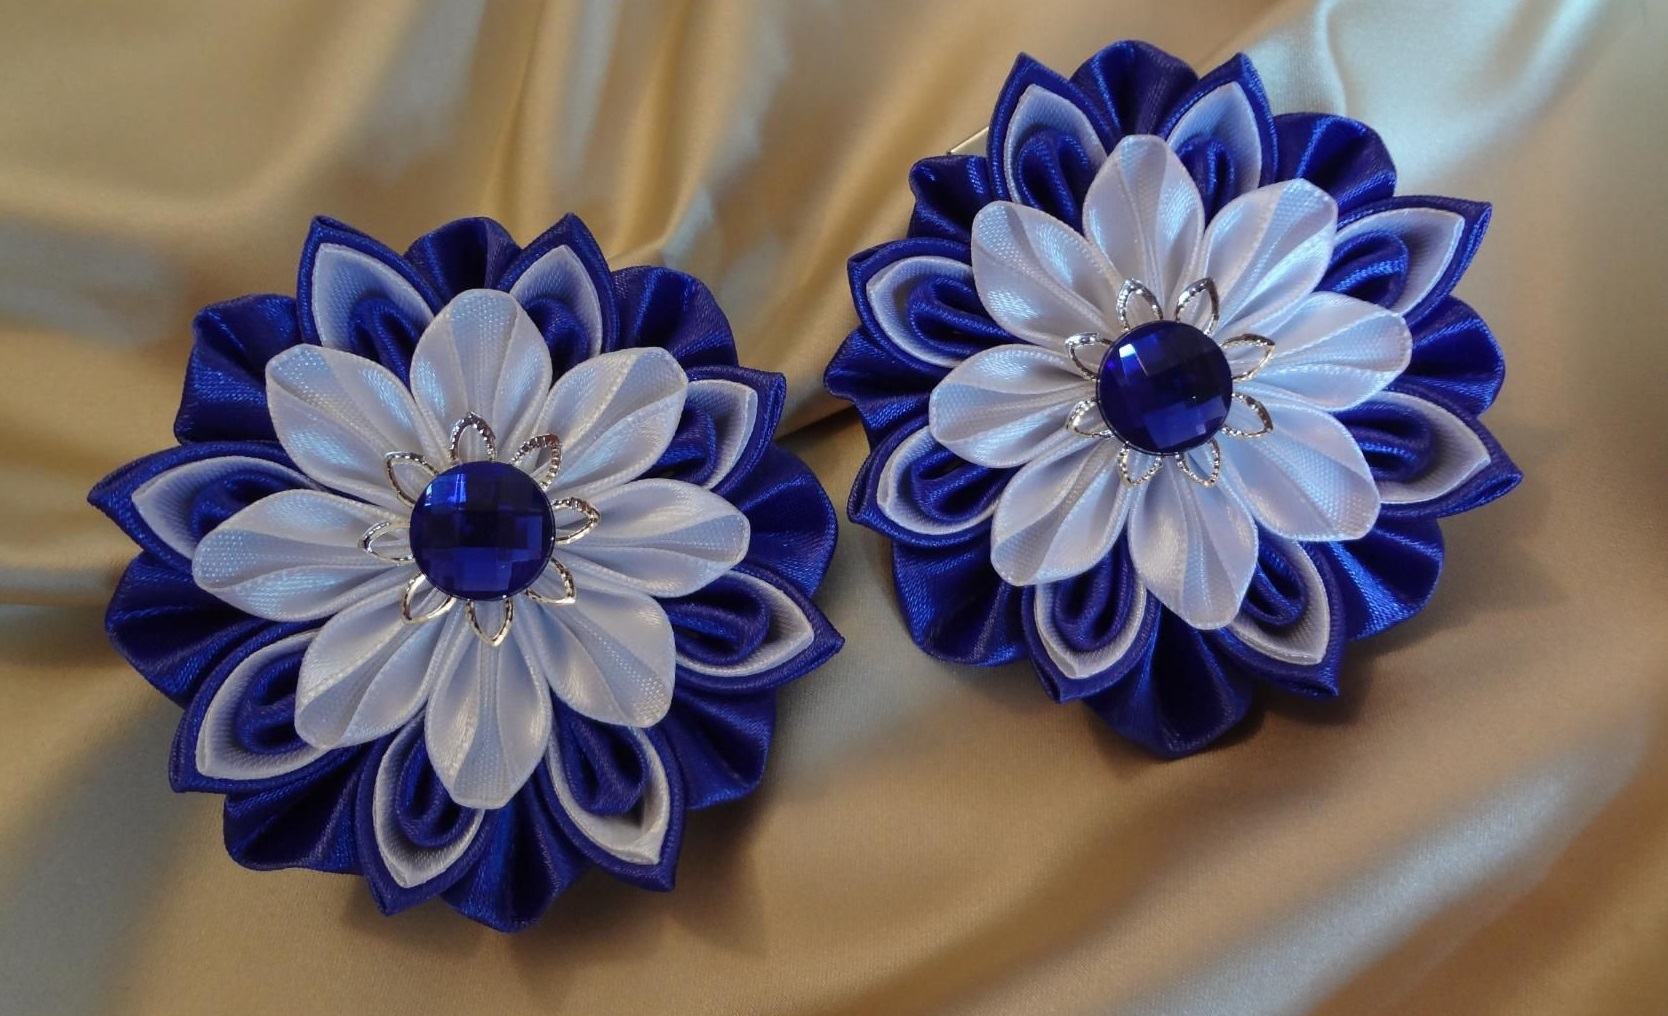
Hair bands using the kanzashi technique and their features
By the way, these decorations are not limited to rubber bands. Hairpins, headbands, hairpins, clips, headbands and even combs can be decorated with such flowers and butterflies. It all depends on the skill and imagination of the needlewoman. They are usually made from satin or grosgrain ribbons, organza, silk, fabric with lurex or lace.
The technology is not particularly complicated and is based on giving square or rounded pieces of tape a petal shape. Then the flower is collected and secured to the base. Pebbles, beads and rhinestones are used as decoration. To make the work easier, certain tools are used:
- tweezers;
- glue gun;
- scissors;
- ruler;
- lighter;
- threads with a needle.
Sometimes a wood burning tool is also used, which can also cut the satin while sealing the edges. You can’t do without the basics: various as simple as possible, transparent or plain hair accessories.
Advice! The use of beads and other similar elements can not only add shine and increase the attractiveness of the product, but also help disguise some shortcomings and flaws.
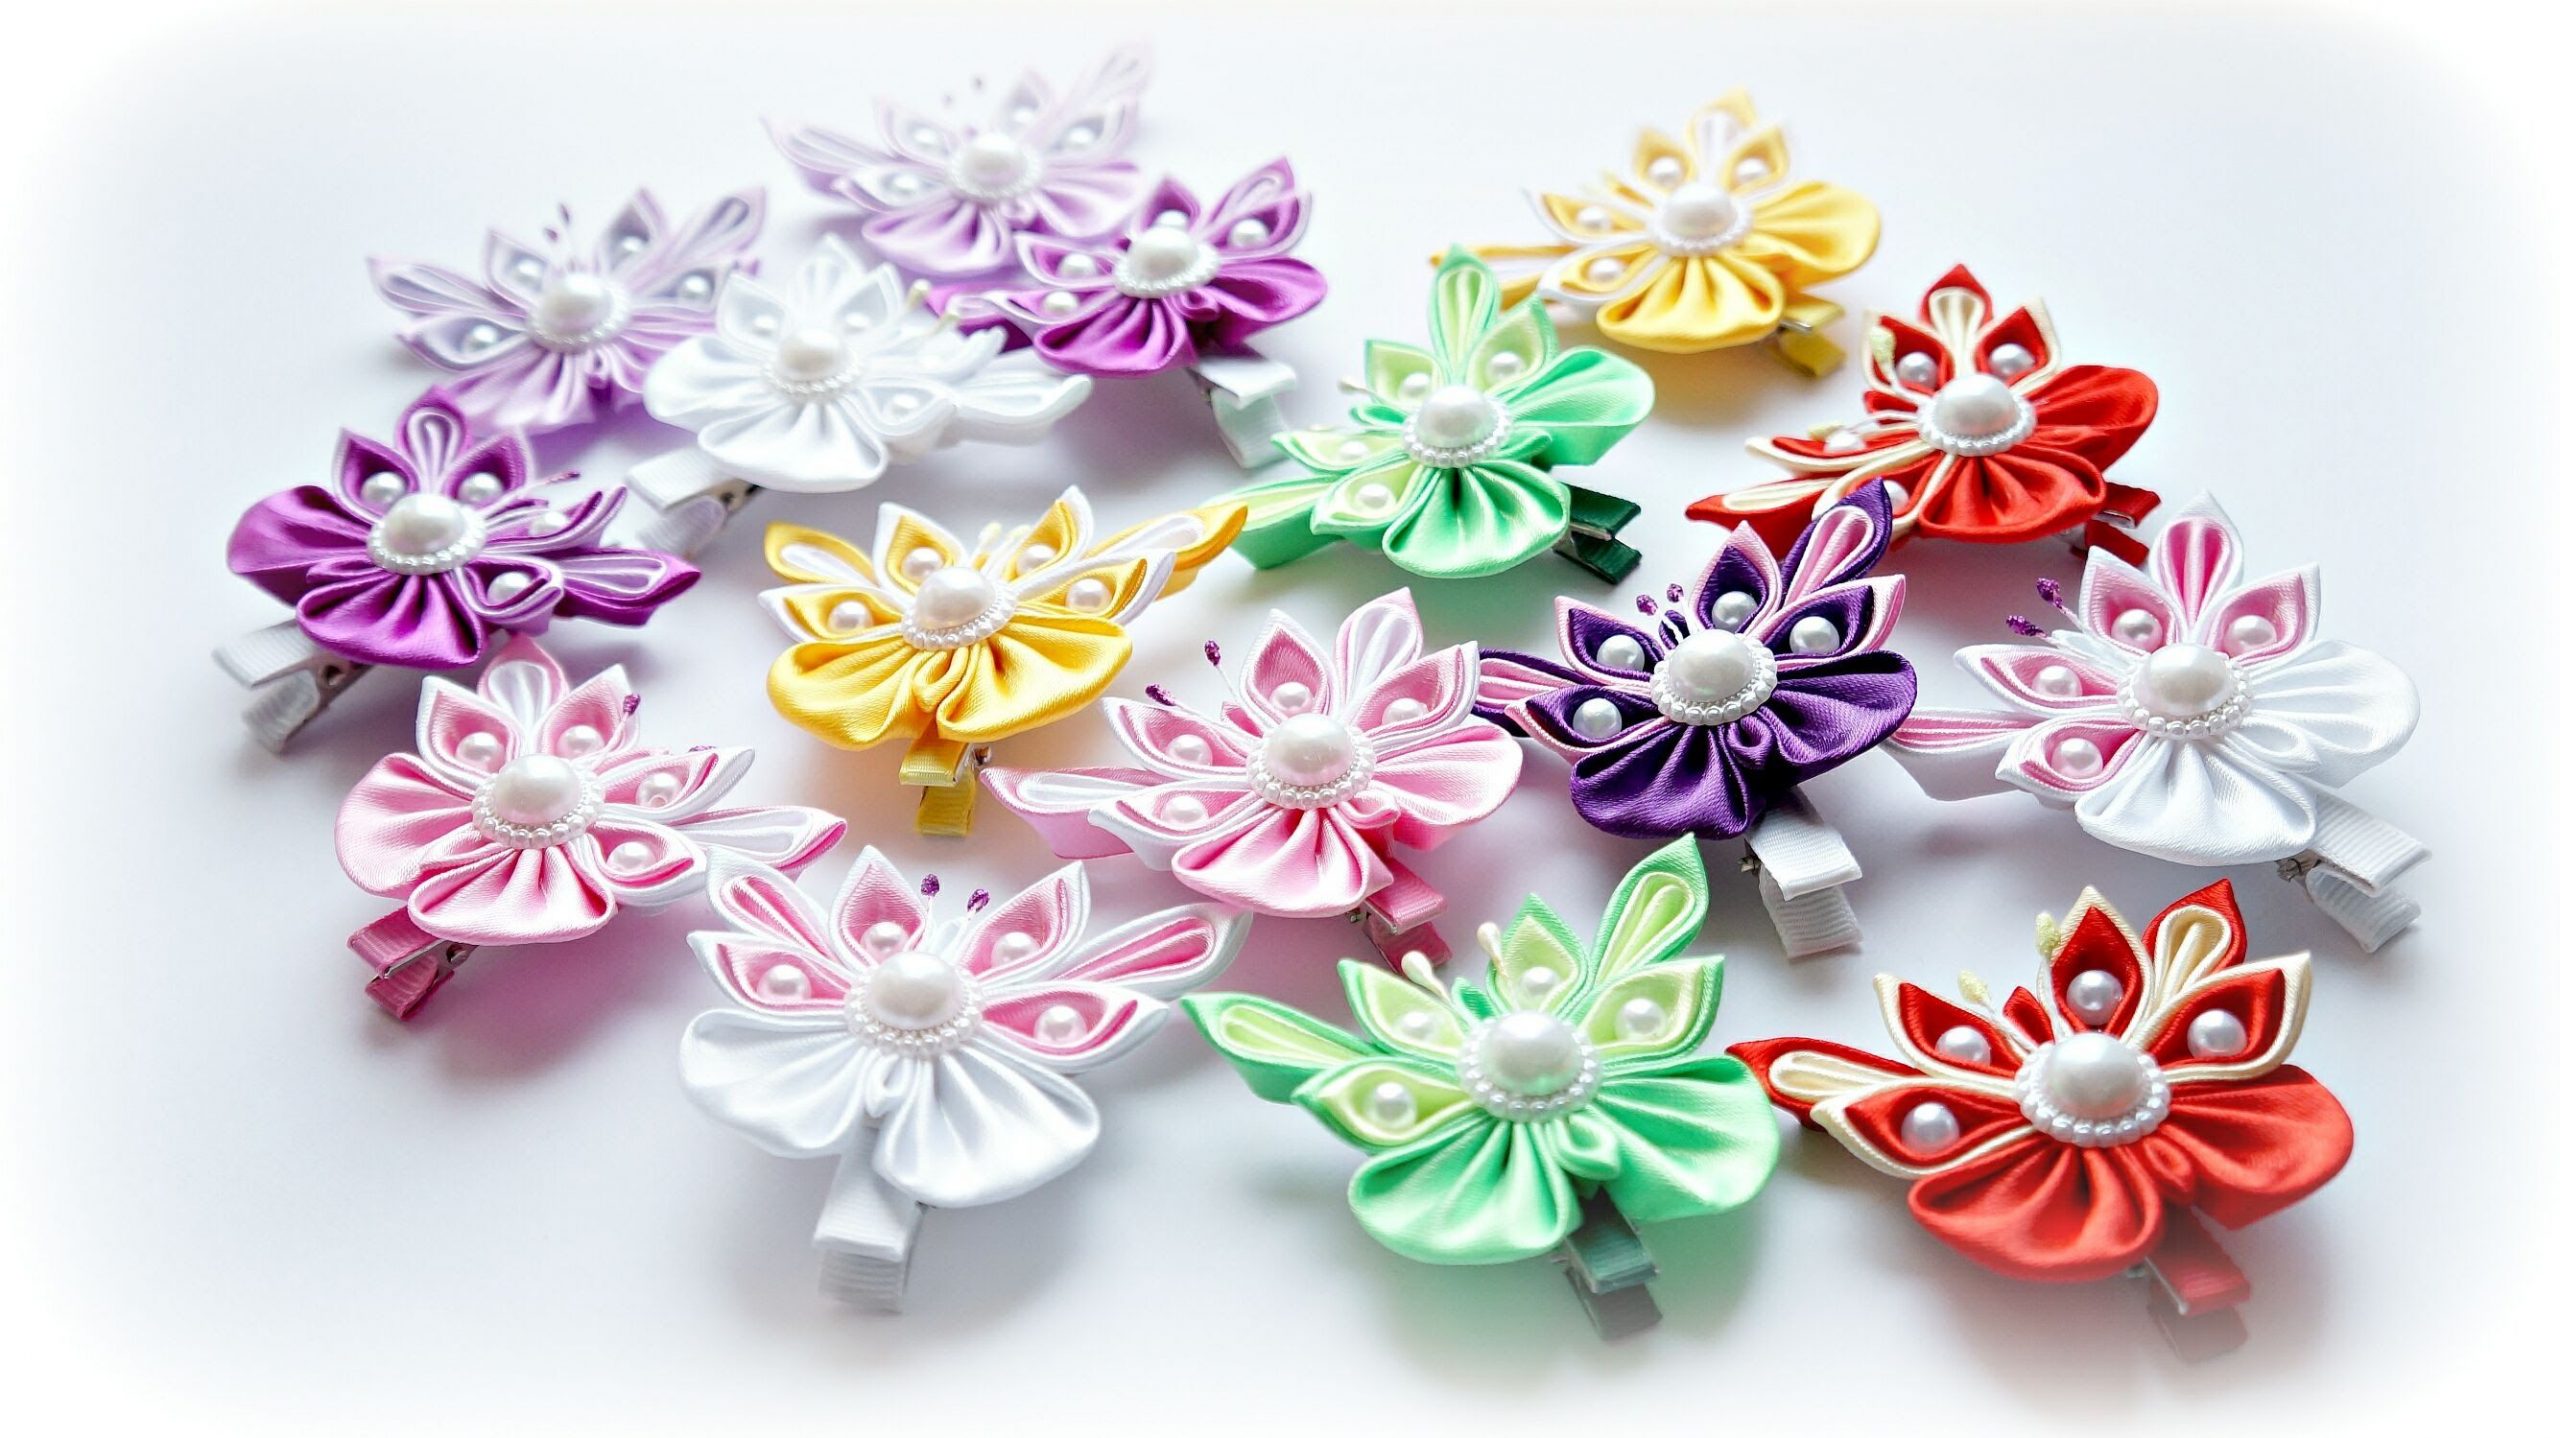
Unusual ideas for inspiration
The basis of fancy flowers and butterflies is ribbons. The most classic is the sharp petal (single, double or triple). But there are round ones and options that imitate a rose. Single-layer petals are often used. All these basic elements can play out in completely different ways if you approach creativity with imagination or are inspired by original ideas.
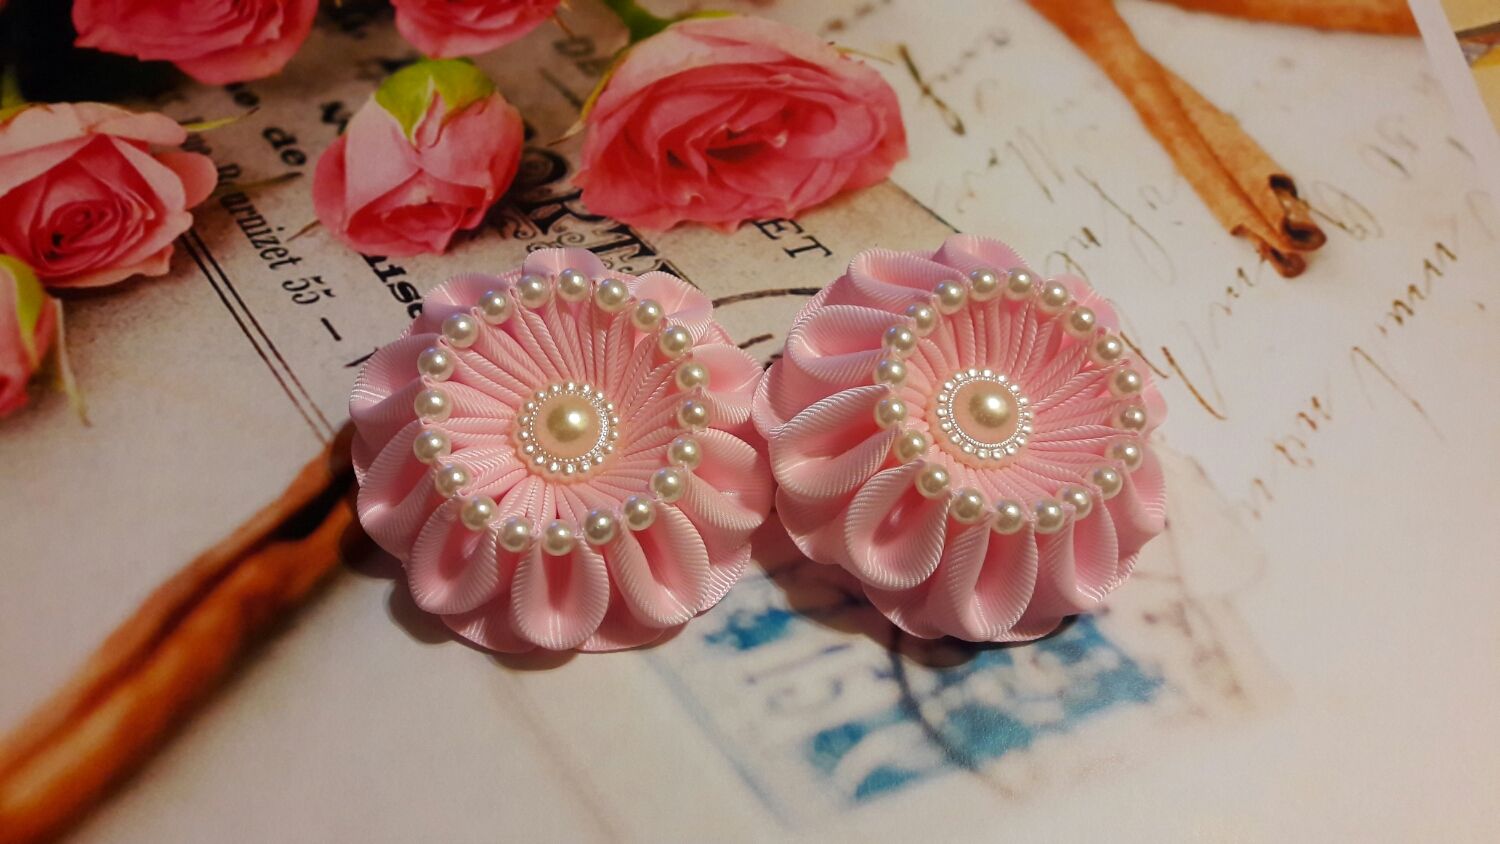
"Little Marshmallow"
I was very attracted by the appearance of such a delicate flower, or airy sweetness. To work you will need:
- grosgrain ribbon 2.5 cm wide and 60 cm long;
- needle with thread;
- lighter;
- glue gun;
- pearl beads - 10 pcs.;
- central rhinestone;
- base for marshmallows.
Burn the cut with a lighter, fold a triangle, fix its right angle with fire. Make a mirror triangle from the tape - you will get a large and isosceles triangle, which needs to be folded in half (we get the first petal). We fix the acute angle adjacent to the side edge of the ribbon using a thread and thus make 10 more petals. The end is trimmed, singed and inserted into the first element. The thread is secured with knots and cut.
Then each petal is stitched according to the pattern “lower right corner - top 3 - lower left along with the lower right of the next element.”The bottom of the “marshmallow” is glued with a base. Beads with a diameter of 6 mm are sewn between the peaks pulled to the center in a circle, the thread passes along the peaks. The main decoration, about 1.5 cm in diameter, is glued into place.
Advice! To attach this beauty to an elastic band, you need to take a felt base, cut two strips of about 1 cm in it at an equal distance from the center, and lay an elastic band between them. Thread a narrow ribbon through the slits, gluing it on top and on both ends to the back side of the base.
Dandelions from foamiran
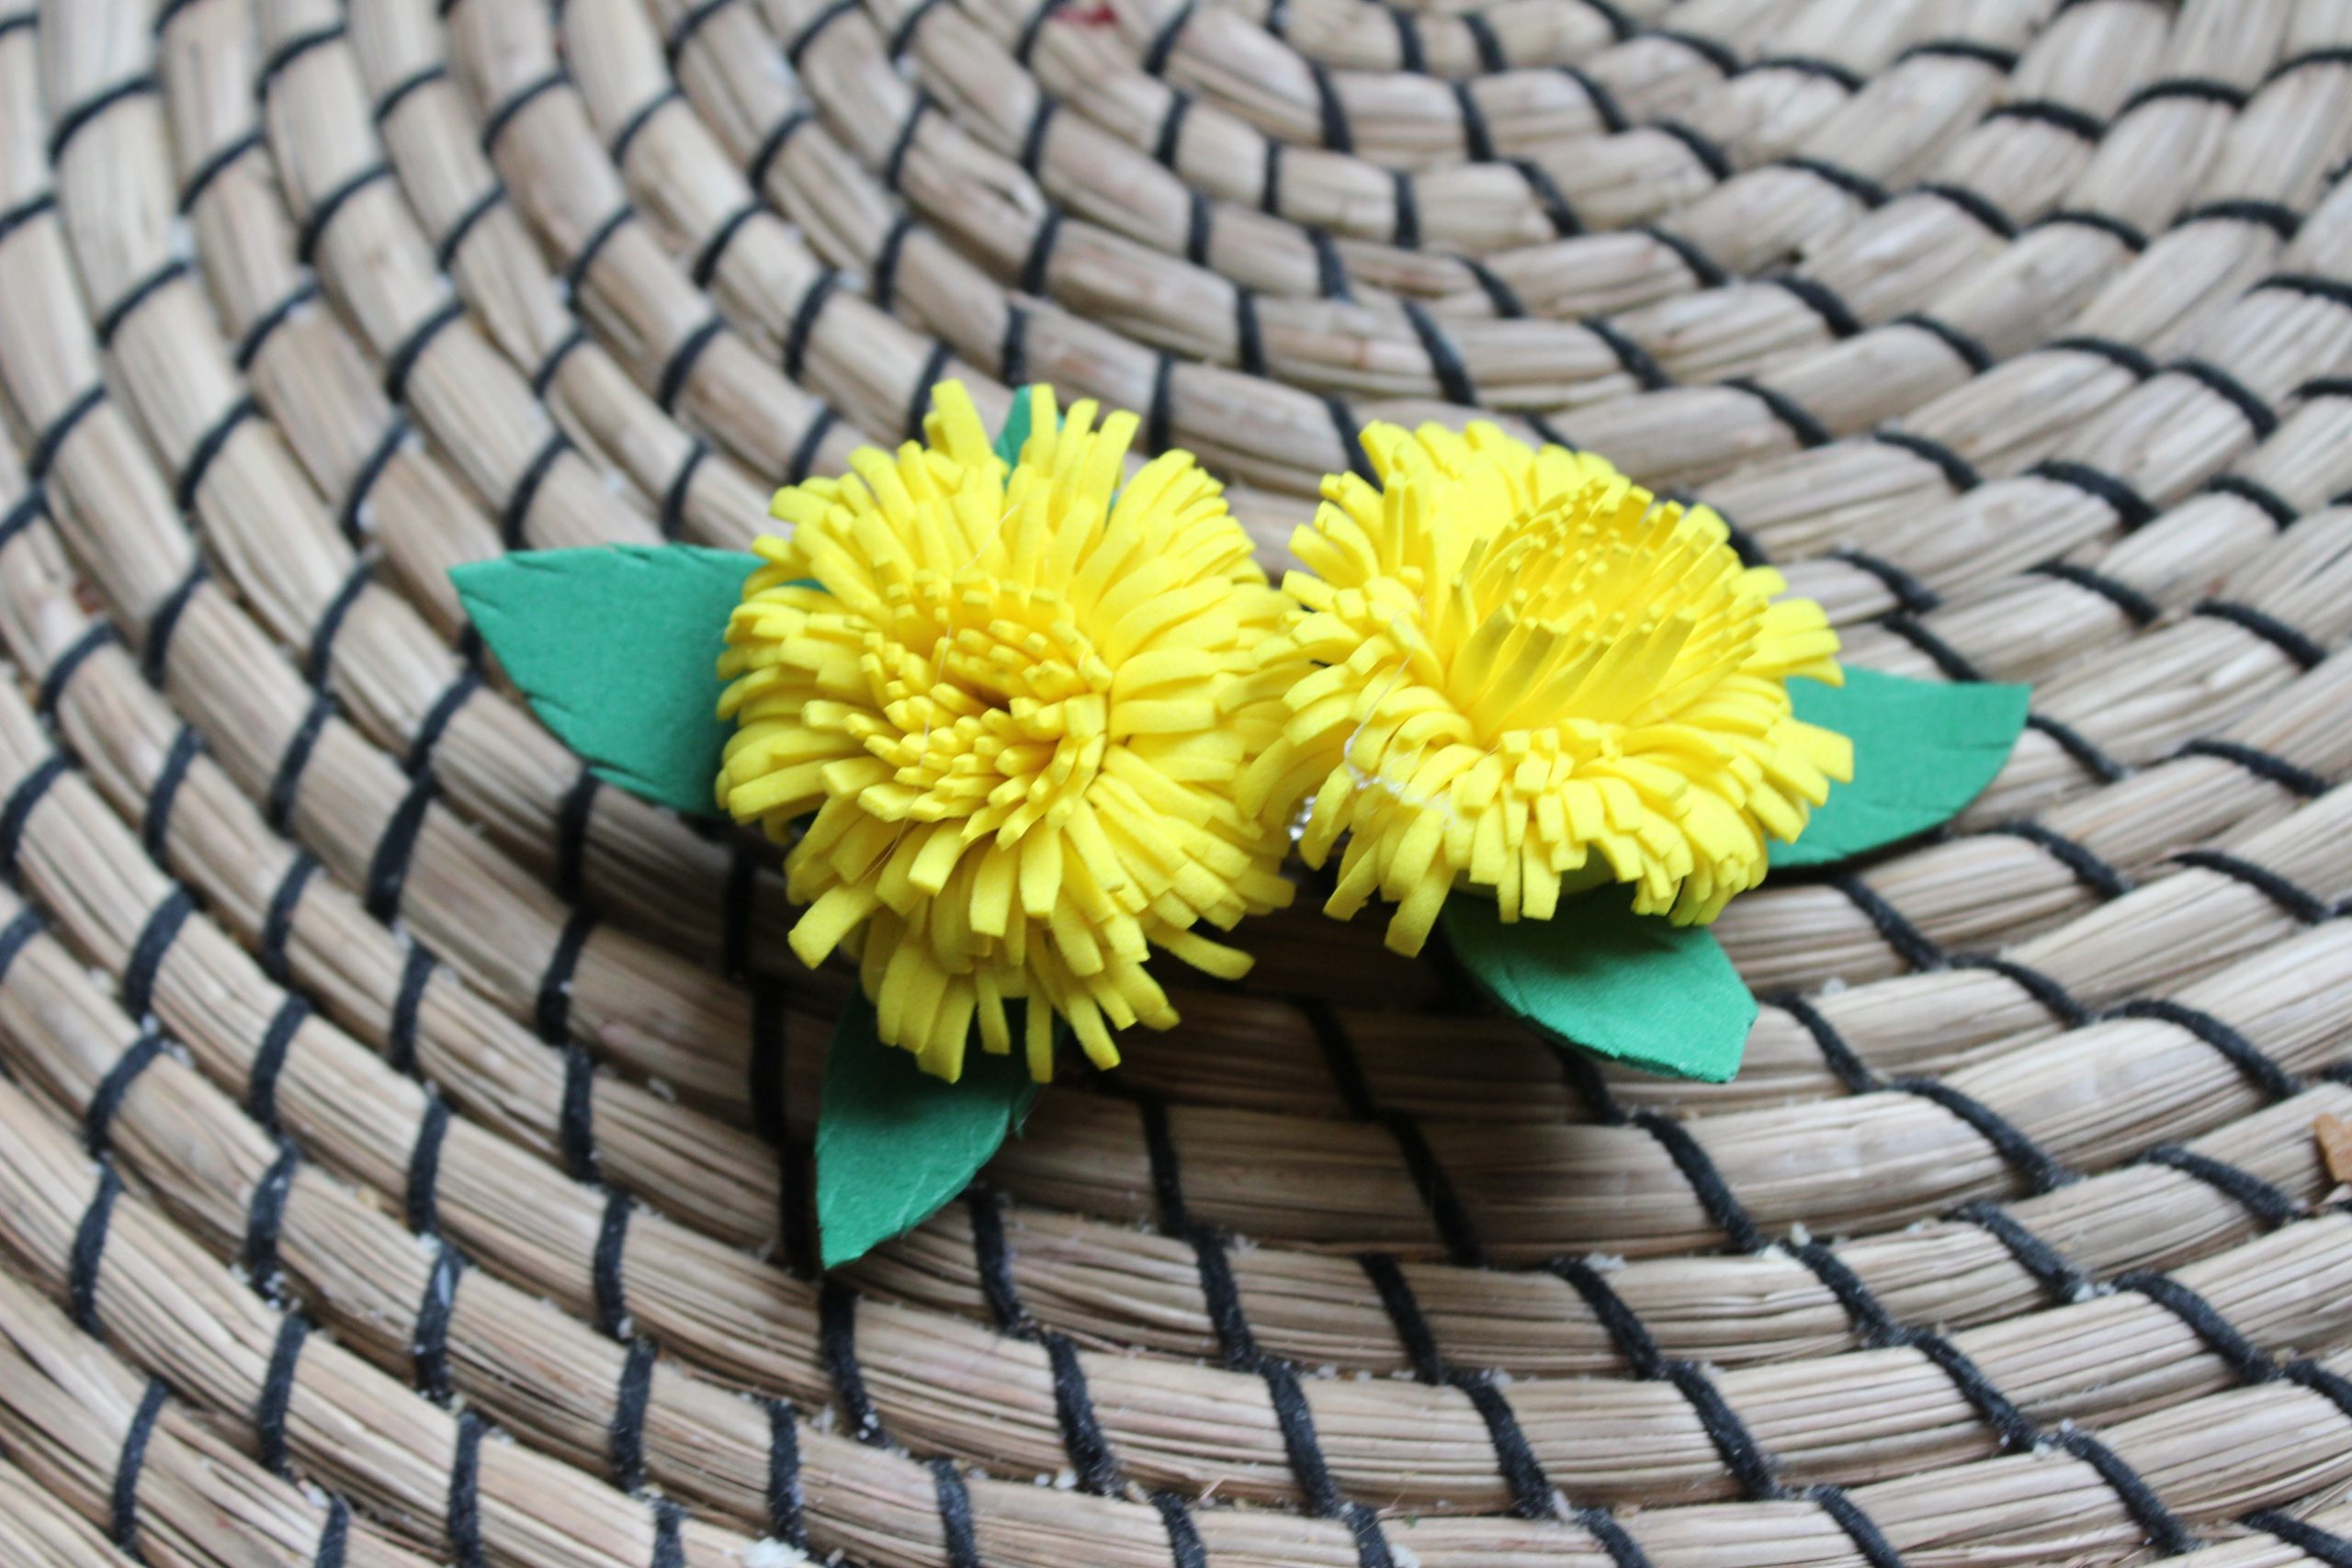
This foam material is perfect for simulating a shaggy summer flower. For one elastic band you will need three strips of yellow foamiran, 30 cm long and 2.5 cm wide (1 mm thick). And a strip of 2.5*20 cm - green. The yellow ones are fastened, for example, with a hairpin, and thin strips are cut across one edge, not reaching the opposite 4–5 mm.
The same is done with the green one. We glue the yellow elements, covering the indentation with glue, as if rolling them into a roll. For convenience, we use tweezers, the tips of which will grab the edges. The foamiran will be wound around it. Then a green strip is glued along the side surface of the resulting roll, and the remainder is cut off.
Further processing can be done over a gas stove, not too close to the heat source. The material softens and takes the desired shape - the “dandelion” seems to open up, maintaining the position of the leaves as it cools. The back of the flower is decorated with twigs, which are given a more realistic shape from droplet blanks using heat from a lighter.
Bows made of rep and eco-leather
Quite an impressive combination, but provided that the eco-leather is contrasting and has sparkles. A 4 cm wide tape is cut into pieces:
- 2 - 8 cm each;
- 2 - 16.5 cm each.
The longer strip is visually divided into 4 parts, the outer 2 are folded and secured with pins. The short one is wrapped around the finger and folded in half so that its ends are on one side of the fold. Then the strip is folded in half inward, forming a “house” with a triangular roof. Actions are duplicated with the remaining elements.
A bow is formed from eco-leather, with triangular grooves made in the sides. A small rectangular strip is cut out separately. The edges are processed by fire. The longer rep elements in the center are assembled on one thread one after another into an accordion with a “forward needle” seam. The thread is wrapped around the center, forming and securing a bow with 4 petals. “Houses” of shorter strips are similarly assembled onto a thread, which stitches the base of the element at a distance of a couple of mm from the edge. The thread is tightened to form a bow with 2 triangular petals sewn to each other.
Everything is assembled on the elastic in sequence: a large bow made of reps, a medium one made of eco-leather, a small one. The first one is glued and sewn to the elastic band, the rest are only fixed with glue to the previous element, wrapped at the end of the work with a strip of eco-leather.
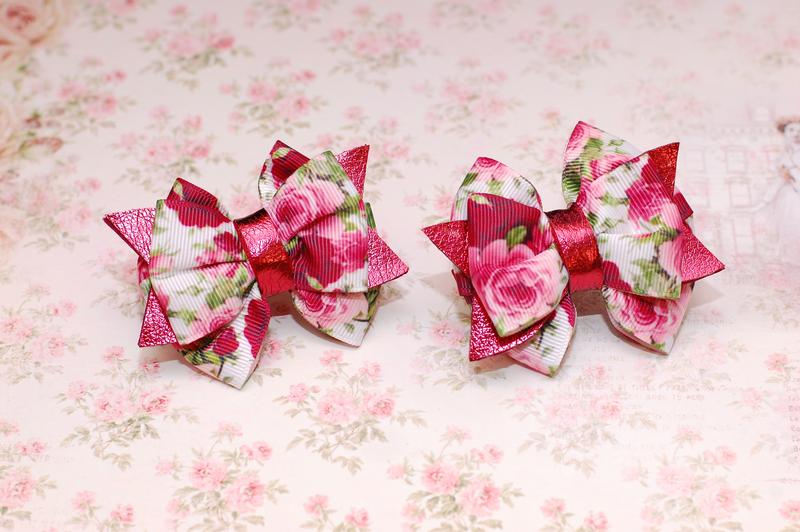
@shafa.ua
Some useful tips for beginners
The beauty of the kanzashi technique depends on the symmetry of the details. To get as close to the ideal as possible, there are several secrets from experienced craftswomen:
- Flower bases can be cut out of felt using a soldering iron and a mold (for example, an iron cap).
- To give a satin sheet a structure, you can heat a table knife or tweezers on a soldering iron and push through the desired texture. If you don't have a similar tool, use a hair straightener. In this case, by the way, it can be used without a knife.
- To cut the tape evenly, you can draw a stencil with the required dimensions on a thick sheet of paper.
Hair decorations using the kanzashi technique can be very different depending on the materials and design options. They look extremely original, are quite easy to make and do not require large material costs.


 0
0