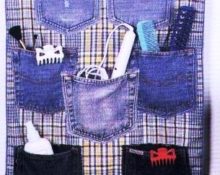
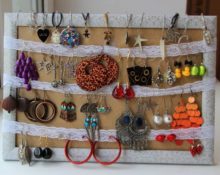
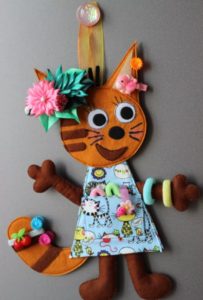
 Girls always have a problem with how to put things in order with a lot of hairpins, elastic bands, bows, clips, bobby pins, headbands, etc. Finding a pink bow with your favorite cartoon in the morning is not so easy. A do-it-yourself organizer using improvised materials will help you put all the hairpins together. Children will be happy to make their own organizer to suit their taste and color.
How to make an organizer for hairpins and elastic bands with your own hands?
Boxes are often uninteresting, you want to be creative, so we offer an idea with ribbons. Involve children in creativity, give them the opportunity to take their first independent steps - choosing a picture and creating useful things with their own hands.
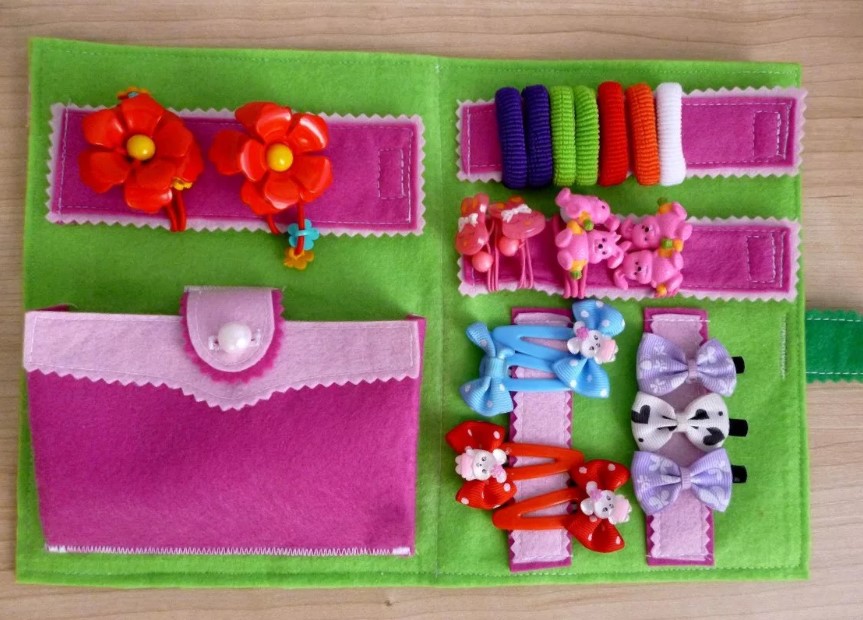
Organizer - doll!
All girls love to play with dolls, so why not create a doll organizer?
To do this, it is advisable to have a small stick - the hands of the future doll. They may be flat.In proportion to this stick, glue (nail) a smaller stick perpendicularly, and “put” a doll’s head created using any technique on it.
Sew on a horizontal stick flared doll dress. It is easy to attach clips and hairpins to the sides.
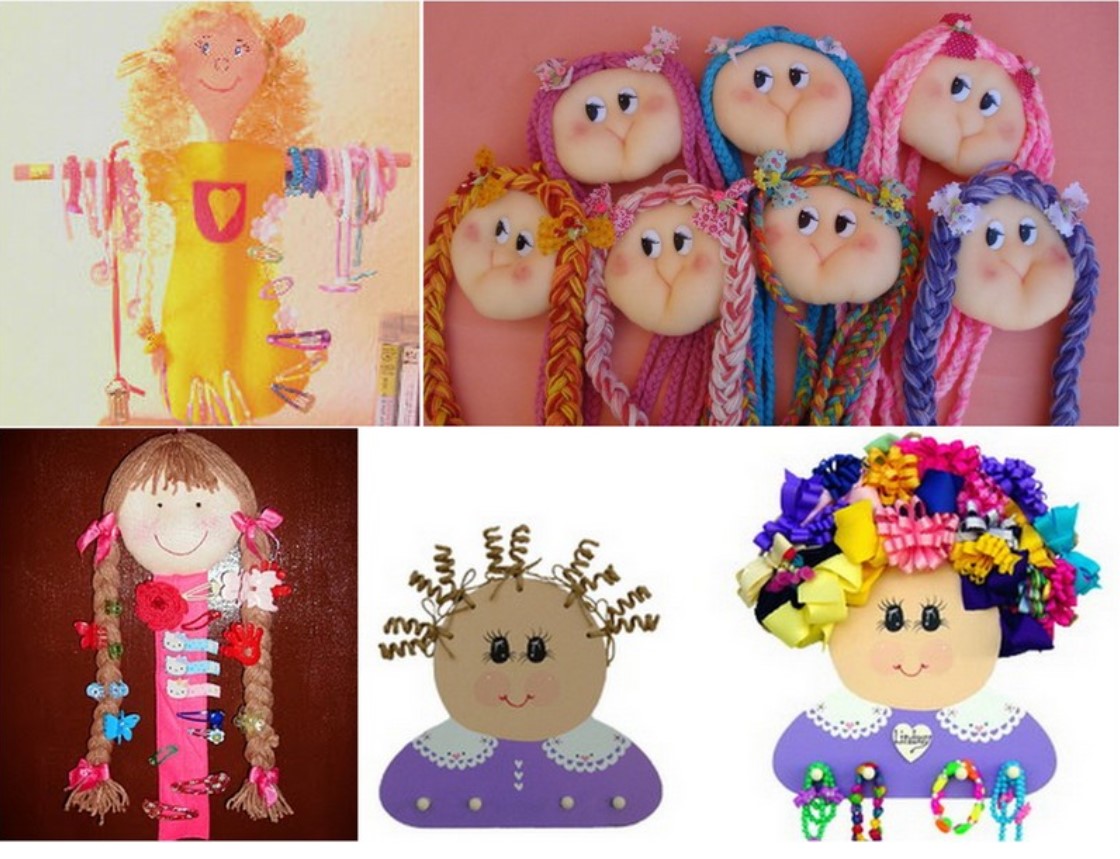
Doll face can be made from cardboard and glued to a flat stick. You can make a face out of fabric, fill it with stuffing, sew on buttons-eyes, a red mouth. You can decorate the doll’s head with colored threads (floss, wool, etc.), weave braids or make small ponytails.
It’s easy to attach any hairpins and bows to the braids; the doll will become cheerful.
Rubber bands will be freely placed on horizontal sticks - the doll's hands.
Such a mischievous doll in the nursery will always cheer up the child, and you can quickly choose the right hair decoration.
The doll can stand, hang, decide for yourself.
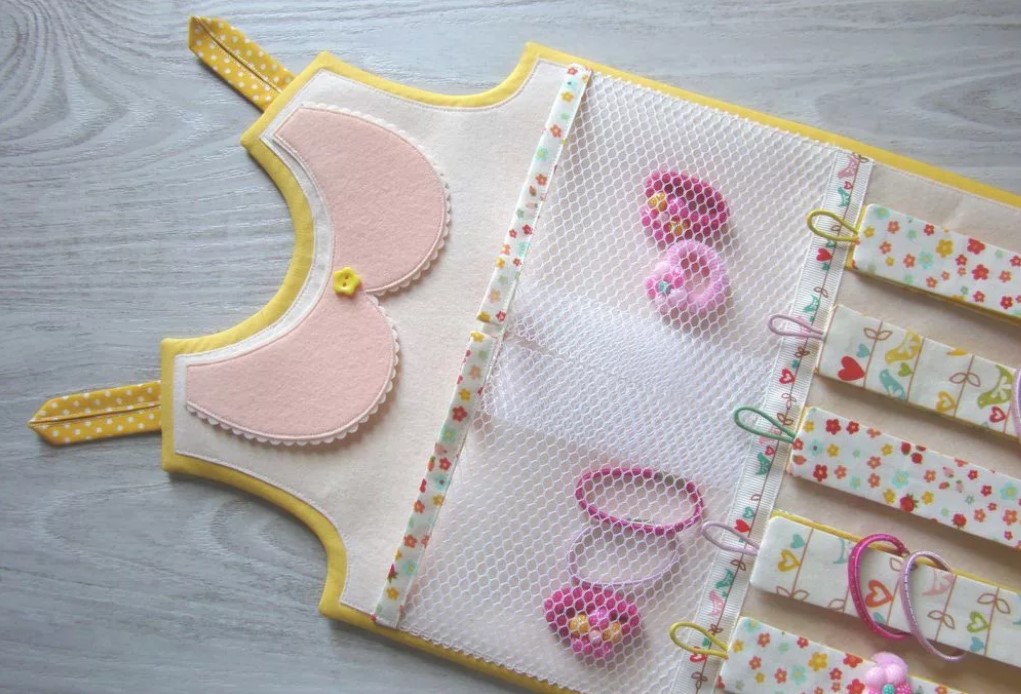
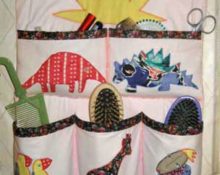
Wall organizer for hairpins and headbands with ribbons
Original product for the wall.
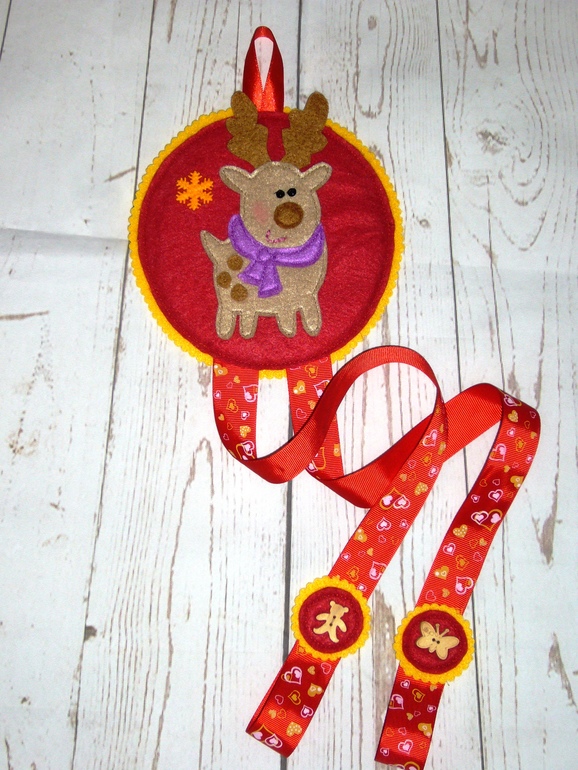
We will need:
First you need to choose a material that will serve as the basis. These can be pieces of felt, wool, silk or other fabric. For a girl, it is better to choose bright colors: yellow, orange or red.
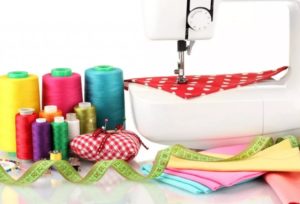
Sewing machine, needle and thread to match the selected fabric and ribbons.
Stencil templates of your favorite animals can be found anywhere. You can cut out little animals from children's fabric, transfer them onto tracing paper from a coloring book, fairy tales, or find them on the Internet and print them out.
Two wide satin ribbons to match the color of the base, possibly with a pattern (polka dots, stripes, hearts, etc.).
One thin ribbon for a loop for easy hanging on the wall.
Contrasting color braid for finishing.
Stages of work
Choose your favorite picture with a cartoon or animal from a book or fabric. According to the drawing, cut out an animal on the fabric; the entire model of the organizer for hairpins and headbands will depend on its size.
The best option would be circle approximately 15-25 cm, it needs to be made in several layers so that it sticks tightly. You can use a circle of cardboard inside the fabric, pre-cut 0.5 cm smaller.
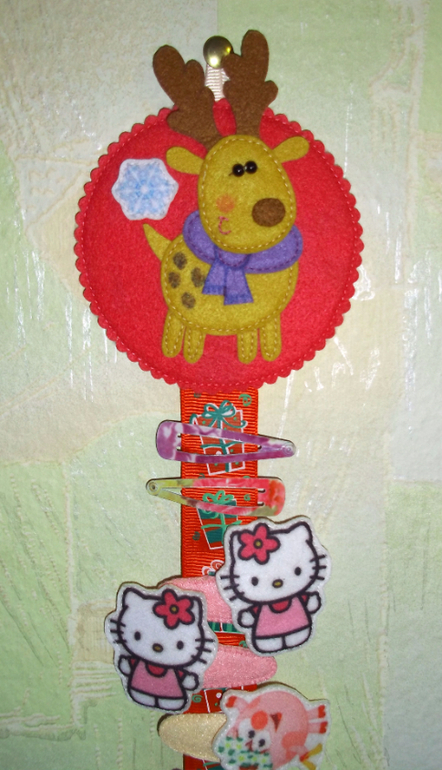
The background of the base depends on the color of the selected picture; the animal should stand out against its background. For example, the cartoon is red and blue, the background may be yellowish, it is better to apply it to different fabrics to choose the most suitable beautiful combination of colors.
The satin ribbons will be placed vertically; they will need to be sewn at the bottom of our circle base.
For beauty don't forget the tape, it will become a contrasting trim around the circle.
For convenience it is better to do 2 more small circles with animals (small copies of the large circle), but it is better to take other characters. We make them in the same way as the base, just 6-10 cm in size, as desired.
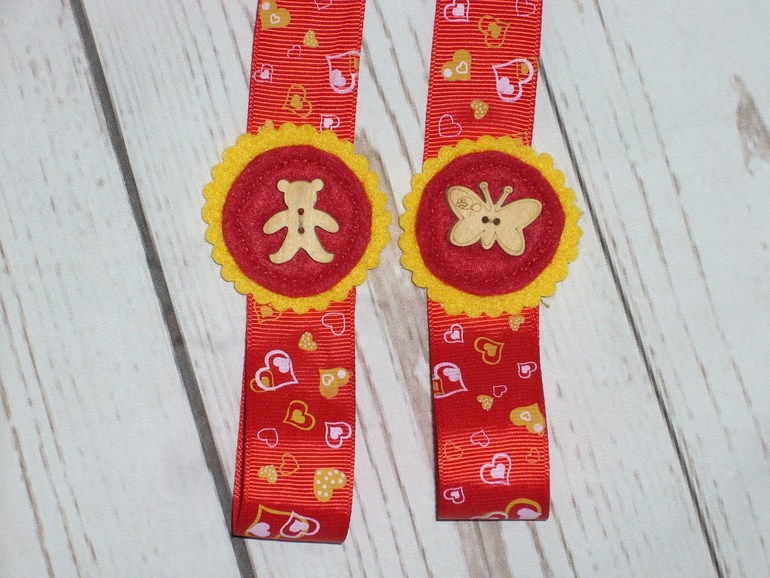
Sew the folded ends of long ribbons to the smaller rings with thread to make loops. They are easy to thread hair bands into.
Important! Don't forget to cut a small piece of thin ribbon for the loop at the top of the product. It is needed to secure the organizer to a decorative nail, hanger, etc.
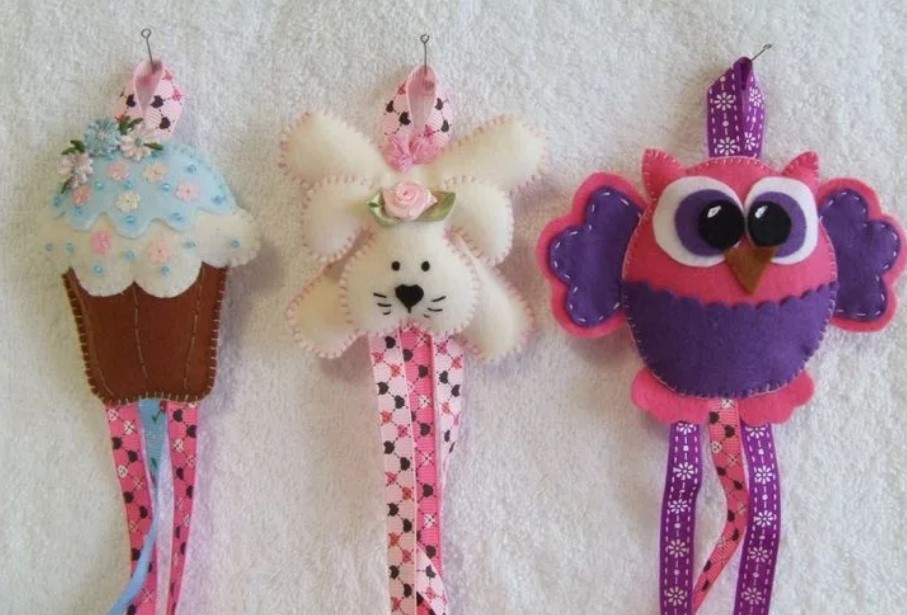
The organizer is ready! Various hairpins, clips, bobby pins will be placed on the ribbons, and headbands will be placed on the loops at the ends. Rubber bands can be placed in any toy or candy box.
Ideas for storing rubber bands and bows
An easy way to store elastic bands and various bows is carabiners, these are good holders for light items.
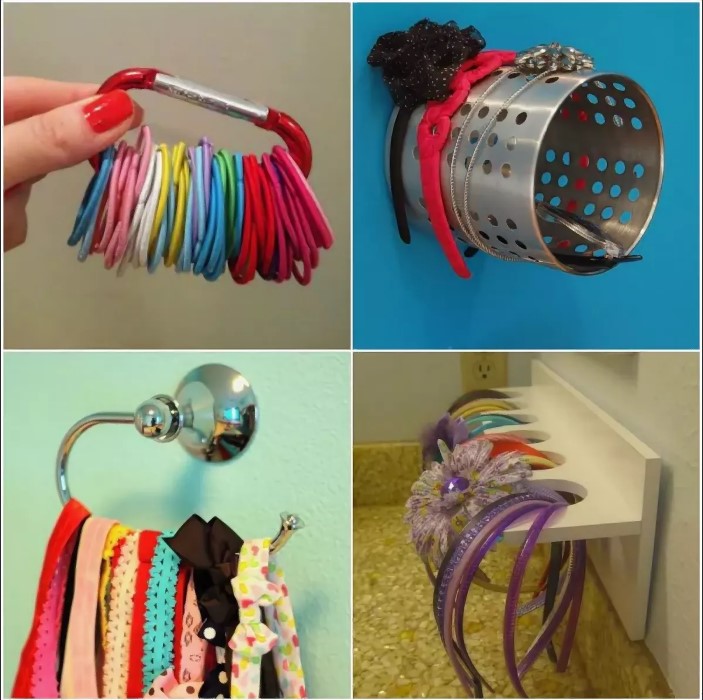
This way the little princess will immediately see all her “treasures” and quickly find the right color of the elastic band (bow).Such a thing can also be hung on the organizer described above or placed separately in a box, small box, or stand for hairpins.
Its style will add zest to the interior of a children's room.


 0
0