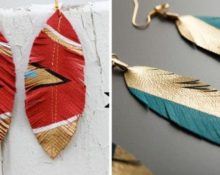
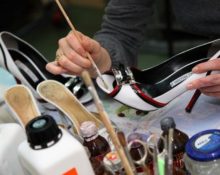
There are old jackets, bags or boots that are a pity to throw away in almost every home. In order for the item to serve its full purpose, you can make a stylish accessory or decoration out of it. One such option is a leather hair clip. It doesn’t require much time or effort from you, and the result can be given to a loved one or worn by yourself.
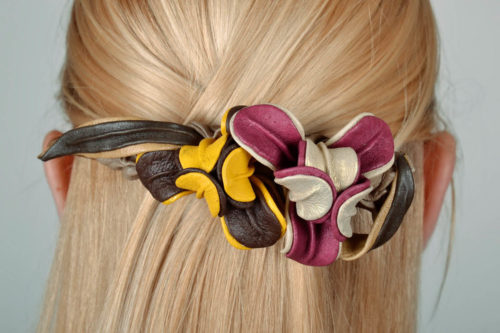
DIY leather hairpin: manufacturing features
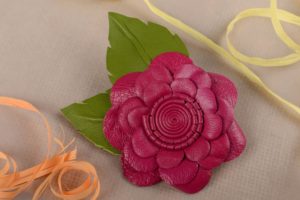
Before you start creating a fashion accessory, you need to decide on the design. It can be a painted hairpin, in the shape of a flower, or embroidered with beads.
Based on this, a list of necessary items is formed:
- pieces of leather. Thin leather is suitable for soft or multi-layer hairpins;
- pinning mechanism. But it is not necessary to use a standard fastener. You can attach the decoration to your hair using a thin stick;
- stationery knife. It must be sharp to cut the skin without roughness or defects. In some cases, the corner of the knife is cut off - this gives a more even cut;
- sandpaper, to even out the edges at the cut points;
- glue, threads and everything you need for fastening;
- the last point and the most interesting - decor. This can be leather paint, a burning device, PVA glue, beads, rhinestones and much more.
How to make a leather hairpin at home?
All necessary items for needlework are prepared. Let's start making the hairpin.

First you need to decide on the form. You can cut out a template from soft cardboard and apply it to your hair. If this is your first experience making hairpins and working with leather, you should not choose a very complex shape with a lot of bends and angles.
So let's get started:
1. The outline is transferred to thin paper (for convenience, use tracing paper), within which the drawing is outlined. If you know how to draw, do it yourself. Those who are not confident in their drawing skills can print a drawing from the Internet and transfer it to a template.
2. A small piece is cut from the skin, a couple of centimeters larger than the template.
3. Tracing paper is laid out on the front side of the leather, and it is secured along the edges with double-sided tape. So, the drawing will not move during translation. The tape should extend 2–3 mm onto the skin so as not to tear it when removed.
4. You can transfer the drawing with a written pen or an awl, depending on the thickness of the leather. You need to move confidently along all the lines. You shouldn't push too hard.
Before starting to translate the drawing, some needlewomen soak the skin in water. This can make the process easier, but is not required.
5. When the drawing is translated, the tracing paper is carefully removed and the drawing begins to be burned into the skin. For this you will need a special device. You must handle it carefully so as not to get burned or damage the skin.
6. The device is carried out with confident and smooth movements along all lines of the drawing. If your hand holds the rod unsteadily, the lines will turn out shaky and uneven.
7. Now we cut out the hairpin along the contour. For this you need a sharp stationery knife. As a rule, thin skin is cut through in 2–3 approaches. First, use a knife to follow the contour, then cut off the corner of the knife and walk again until the cut is made.
8. Using sandpaper, level the cut of the resulting accessory to an even and smooth edge.
9. At this stage, you can paint the hairpin to your taste or leave it as is.
10. Next, the reverse side of the product is cut out from another piece of leather using the same pattern.
11. The pinning mechanism is applied to the front side of the back side and secured. This can be done with a small piece of leather and sewn on, or you can glue or cut holes. An elastic band will also work.
All that remains is to glue the front and back parts, let the hairpin dry and you can enjoy the new thing.

Leather brooch - how to make?

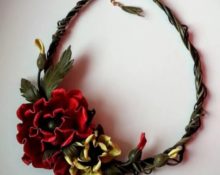
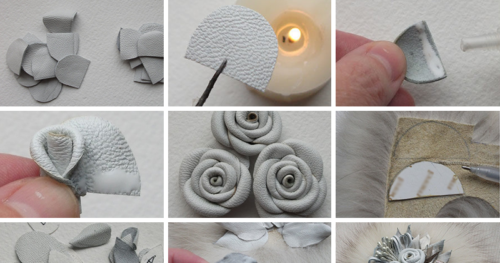
In addition to a leather hairpin, you can also make a brooch. It can be made according to the principle described above, or it can have the shape of a flower.
To do this, petal patterns are cut out of paper and then transferred to the skin. To give the leather texture, it is coated with PVA glue and allowed to dry. The resulting petals are connected and secured with a bead.
A pin is attached to the reverse side. The hairpin is ready!
To get a unique and stylish hairpin or jewelry, you don’t need to spend money or be a talented craftswoman. In just 2-3 hours, with patience and accuracy, you will receive a decoration better than in many stores.


 0
0