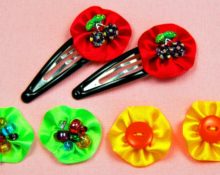
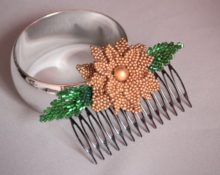
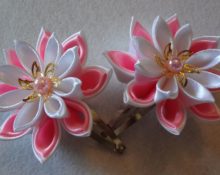
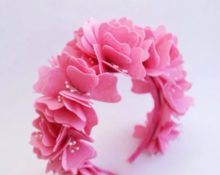
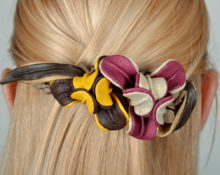
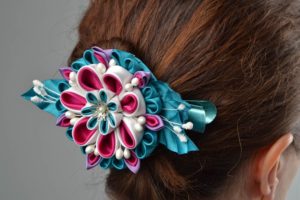
 Beautiful hairpins are not only a way to secure your hair when creating a hairstyle, but also an additional decoration. It will transform your appearance and give it a finished look. A wide range of this accessory is offered to us by retail outlets. But it’s much more interesting to make a hairpin with your own hands. This way you will get not only a stylish, but also an original decoration that will make you stand out from the crowd. To create it you will need some free time, as well as patience and attention.
What you need to make your own hairpins
In order to get started, you need to be properly prepared.
Preparing for work
To do this, you need to perform the following steps.
- Decide on the model and appearance of the accessory.
- Select the necessary materials and tools.
- Prepare a place to work. You will need a flat surface that is well lit.
Attention! If natural light is not enough, use additional devices, such as a table lamp.
Hairpin base
All hair accessories can be divided into the following types:
- elastic bands;
- headbands;
- hairpins of different models: crabs, clothespins, bobby pins and so on.
The choice of base largely depends on personal preference and the future use of it.
Advice! To make it, you can use an object that has lost its attractiveness or purchase a base at a craft store.
What can the top be made from?
Different hair accessories may have a different base, but the top part is identically designed. The following techniques are used to decorate the top part.
- "Kanzashi". This is a method of creating floral decoration from pieces of satin ribbons.
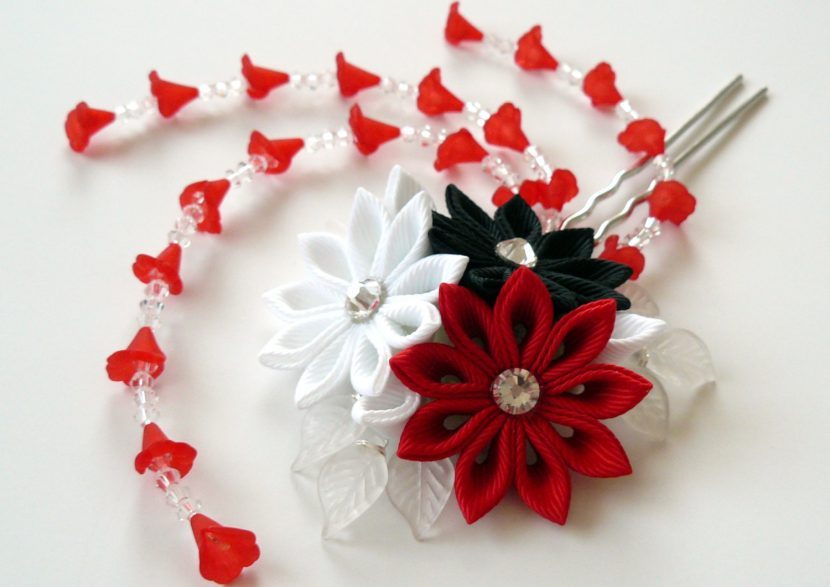
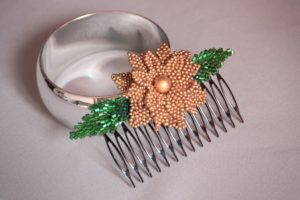
- Beading. Pattern Formation from beads, beads and sequins.
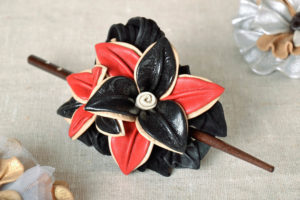
- Application. Creating a decoration from pieces of cloth, leather or other materials.
These The techniques can be used either individually or combined in one product.
Important! When combining different techniques, the main thing is to maintain moderation. There should be no clutter of various details and the elements should be in harmony with each other.
Materials and tools for work
Before you start, you should prepare everything you will need in the process. As material The following items are used.
- Base: headband, elastic band, hair clip.
- Fabric: satin, velvet, chiffon or organza.
- Satin ribbons, lace, braid.
- Beads, beads, rhinestones, sequins.
- Pieces of leather, suede.
The following tools may also be required.
- Scissors.
- Needles and pins.
- Tweezers.
- PVA glue or special transparent gel.
- Source of open fire: candle, lighter.
Reference! Instead of an open fire source, you can use a wood burning device.
How to make baby hairpins
Little fidgets often have very unruly hair. Therefore, they need many different devices to create beautiful hairstyles. But purchasing a separate hairpin for each outfit is too financially expensive. Therefore, young mothers will find it very useful to be able to make these accessories themselves.
For the little ones
Best for little girls various rubber bands or clothespins. They are easy to use, but will nevertheless decorate a child's head. The main thing is that the products do not weigh too much and at the same time be beautiful and bright. It's best if they are decorations in the form of bows or flowers.
Let's take a closer look at the creation of this accessory using a couple of examples of varying complexity.
Bow hair clips for girls
Simple clothespins decorated with flirty bows will greatly decorate the little princess. They can be simple or look like a complex design. Let's look at both methods in detail step by step.
First way
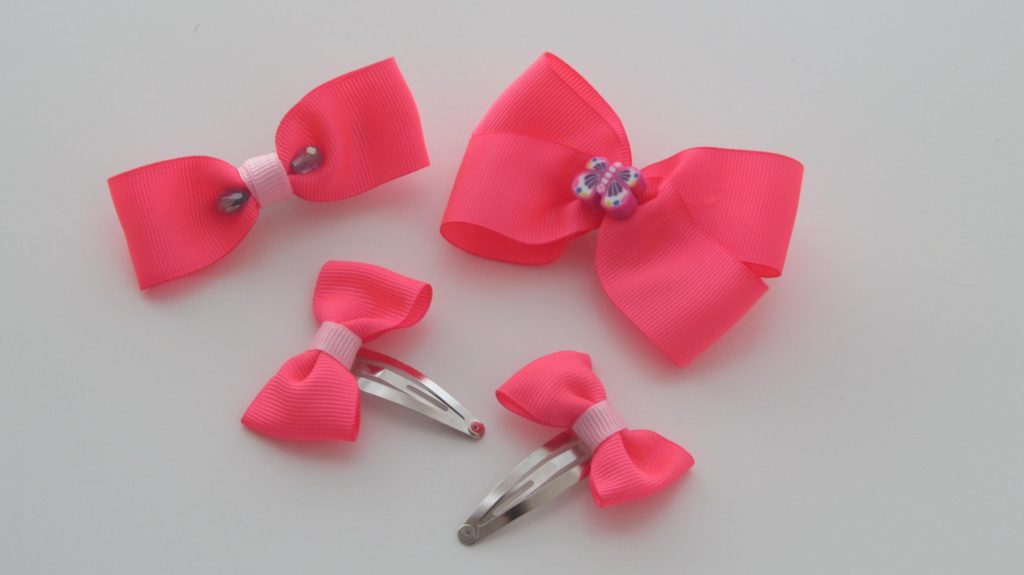
For work you you will need pieces of a brightly colored ribbon or bow and a metal clothespin base. You will also need transparent fixing gel.
- Cut a piece of tape to the desired length.
- Close the workpiece into a ring in any way (sew, glue).
- Fold the ring in half and tie it with braid in the center. At the same time, mask the connection point.
- Using gel, fix the decoration to the base.
Advice! If desired, decorate the bow with a pair of drop-shaped beads or stasis, placing them on both sides of the waist.
Second way
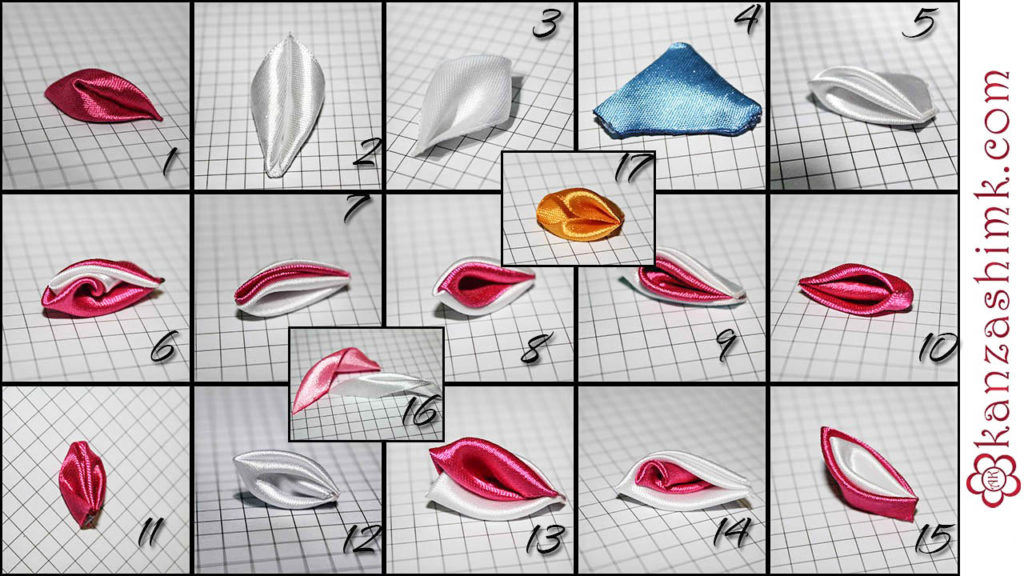
The second variation is a butterfly created using the kanzashi technique.
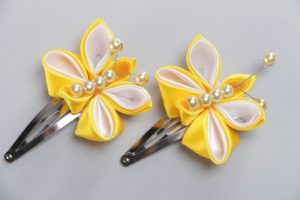
- Take the following materials and tools: satin ribbon of two colors, beads, thin wire, tweezers, lighter and glue.
Cut square blanks from the ribbon to make petals according to the pattern.
- Glue the petals onto the base, arranging them in the shape of a butterfly.
- String beads onto the wire and form a body and antennae.
- Attach the beads to the workpiece.
Elastic clips
To braid long hair, it is better to use a variety of elastic bands. They can also be performed with different levels of difficulty.
Simple elastic band
The first variation is easy to perform and will not require much effort on your part.
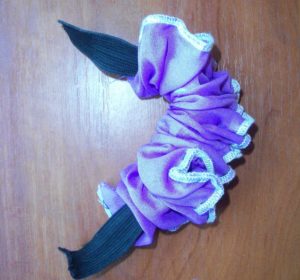
- To realize you you will need a regular elastic band, small pieces of fabric and chiffon. You can use ribbons 5 cm wide.
- Cut two identical pieces from the satin and chiffon ribbon.
- Sew them together along the width.
- Connect the long ends of the workpiece.
- Insert an elastic band inside and sew the ends together.
- Gently baste the edges.
- Use self-adhesive rhinestones for decoration.
Complicated version
A more complex design will keep your hair in an elegant bun.
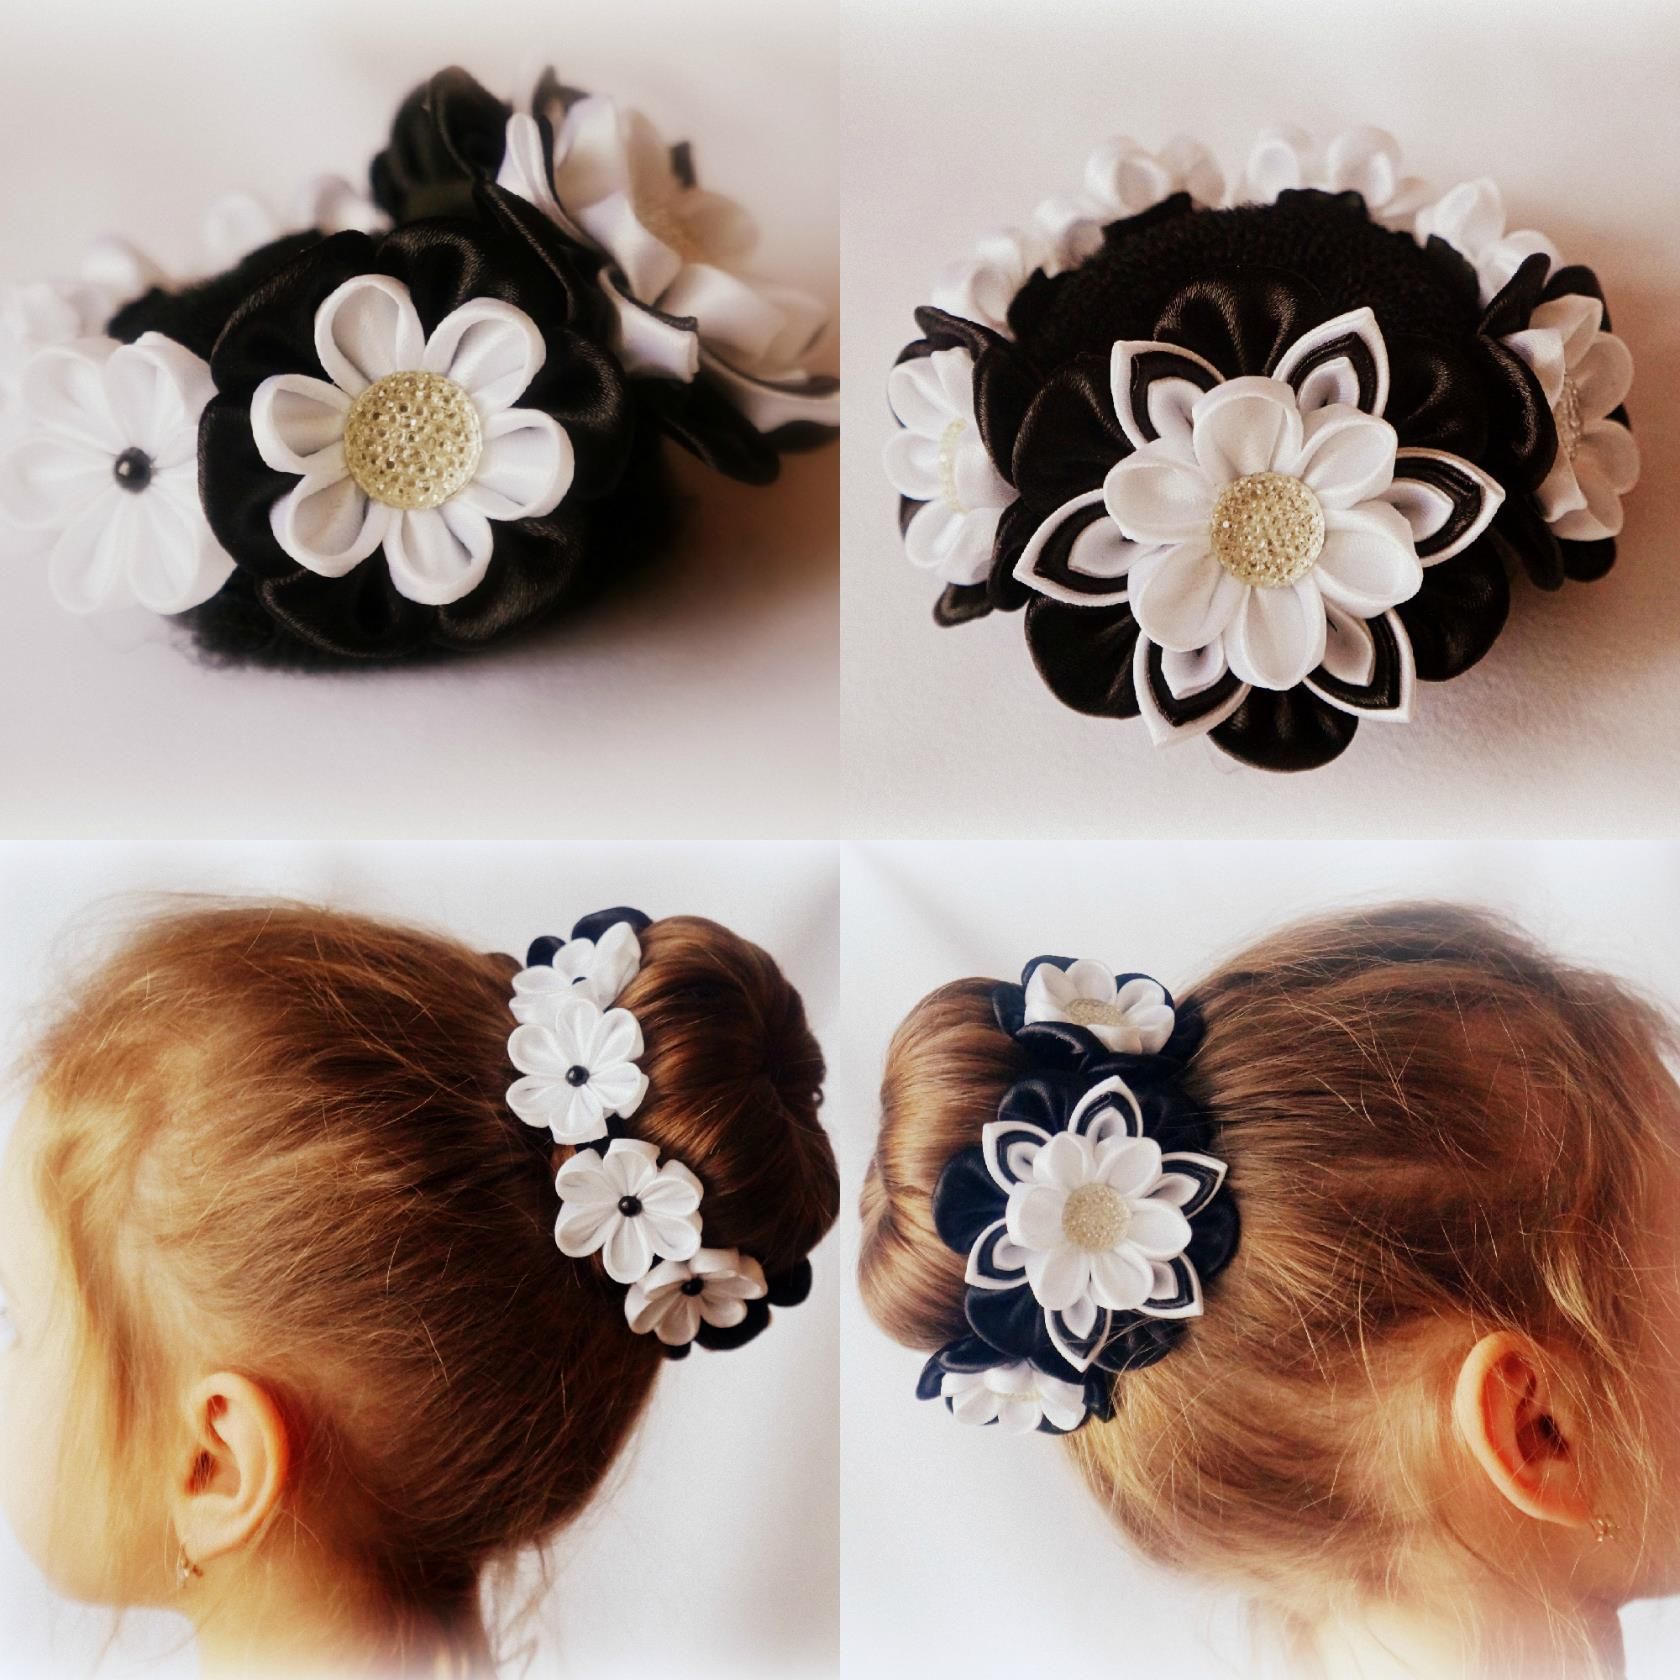
- To realize you you will need satin ribbons of two contrasting colors, beads, and a tool for working with the kanzashi technique.
- Make the base from ribbon and elastic according to the method described in the simple version.
- Using the “kanzashi” technique, create decorative flowers and fix them on the base.
- Place a bead in the center of each flower.
Attention! The length of the elastic should be several times less than the main part.
Original DIY hairpins
You can also create unusual accessories that will highlight your individuality.
With roses
For example, an easy-to-execute option is shown in the photo below.
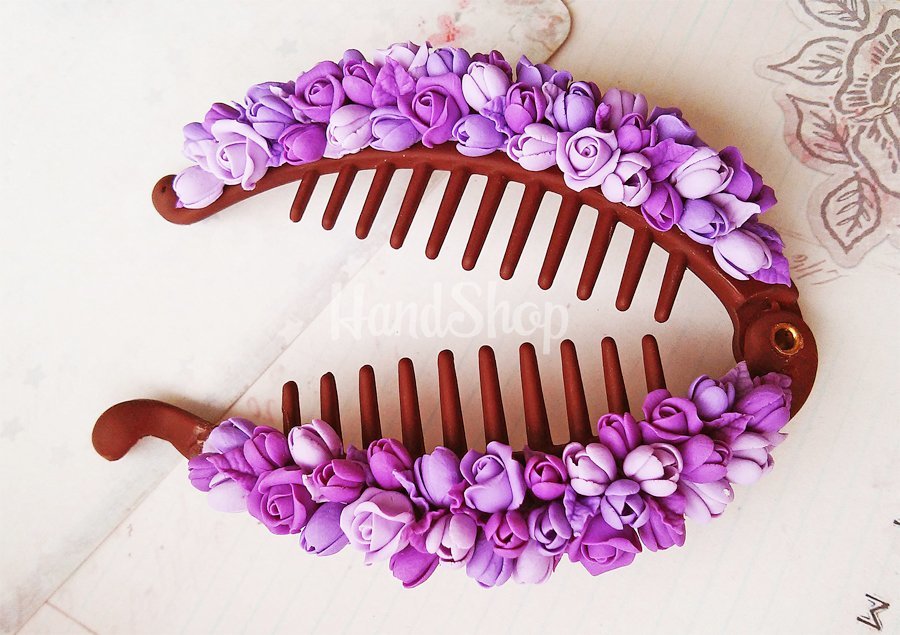
- To make it, use a banana hairpin as a base.
- Using glue, fix the decor on its surface.
Reference! As a decoration, you can use decor in the form of small rose buds, purchased in a store or made from a sample yourself.
![]()
Elastic hat
A beautiful bun or high ponytail can be decorated with an elastic hat.
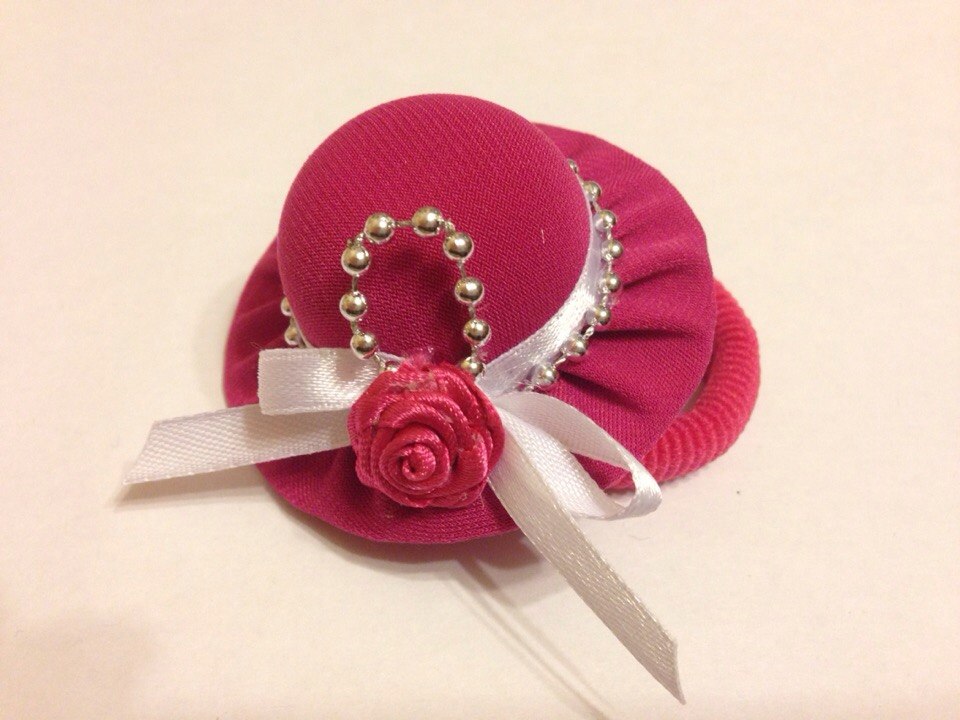
- Make a frame out of cardboard.
- Cover it with fabric.
- Attach a circle of felt to the elastic band.
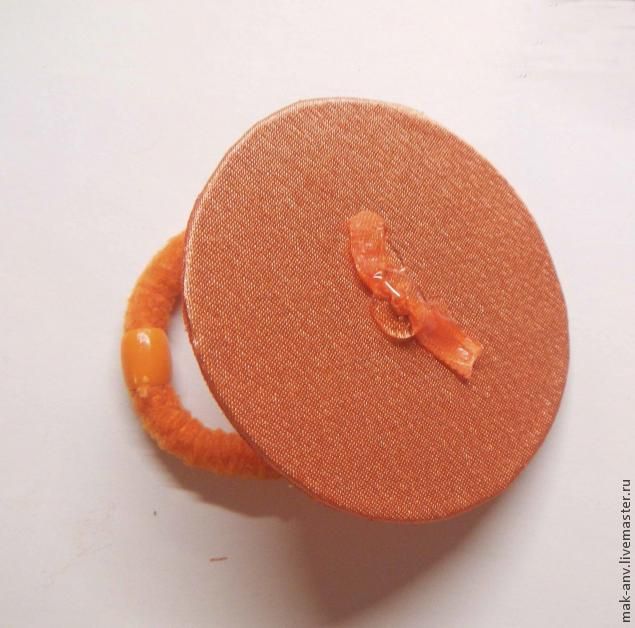
- Glue the hat to the felt.
- We make a decoration for the hat from a ribbon and a decorative flower.
Advice! For a more elegant version of the hat, you can use decor in the form of feathers and a veil.
Beautiful DIY headbands
Another stylish hair decoration is a DIY headband. This product is suitable for both little girls and older ladies.
For girls
For little princesses you can make such an accessory.
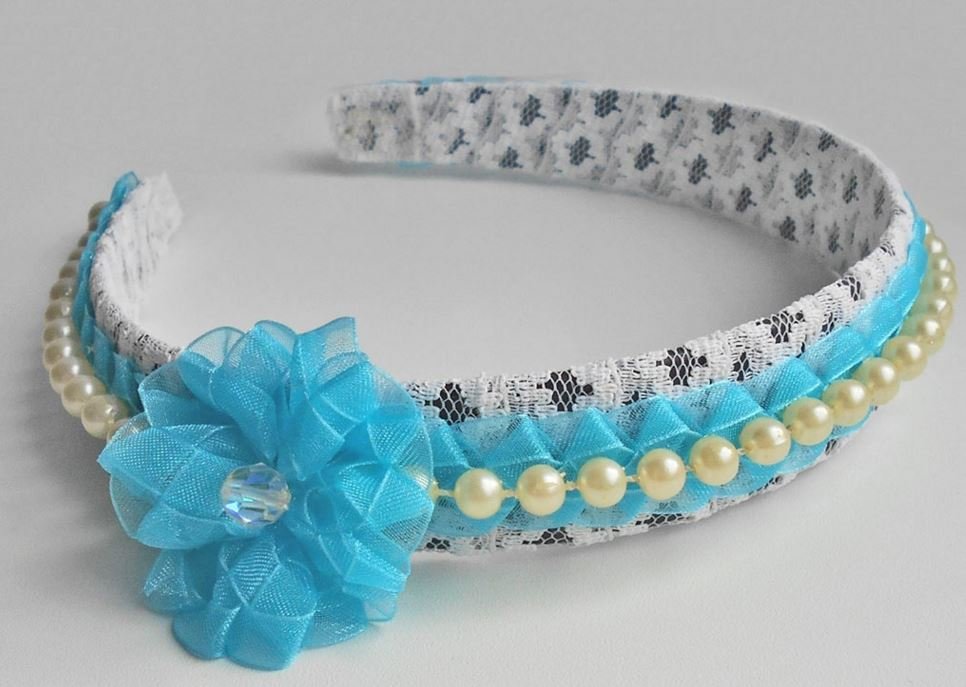
- Cover the workpiece with lace.
- Make a central weave from the chiffon ribbon and secure it to the base.
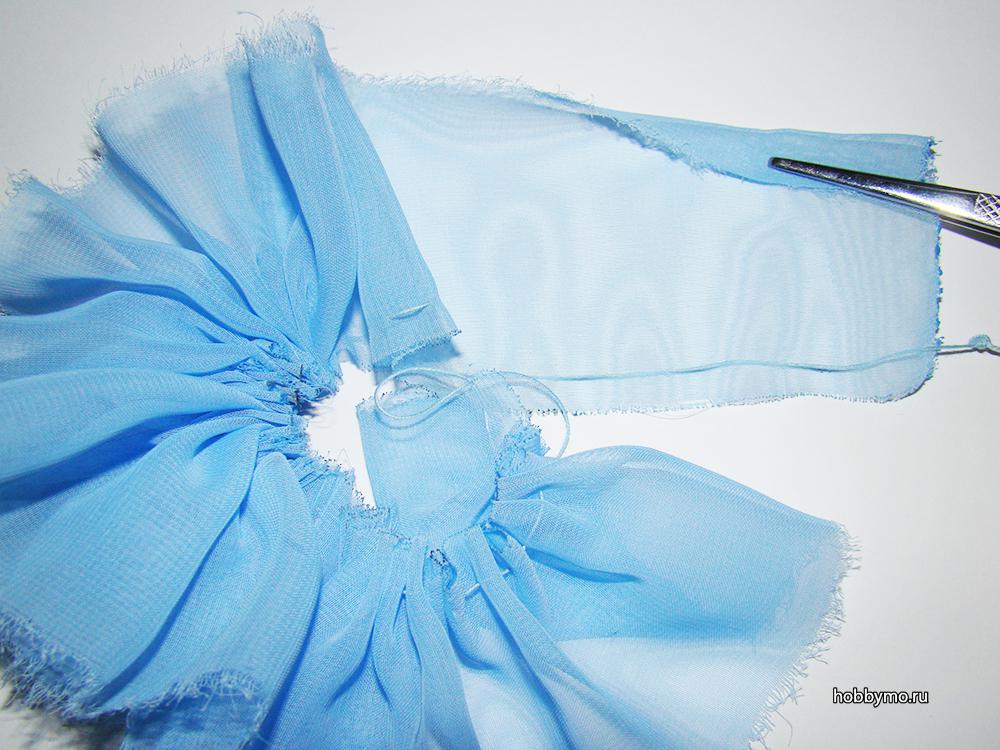
- Glue beads strung on a thread over the braid.
- Glue a bead into the center of the flower.
For women
For women it is better to build a more strict variation.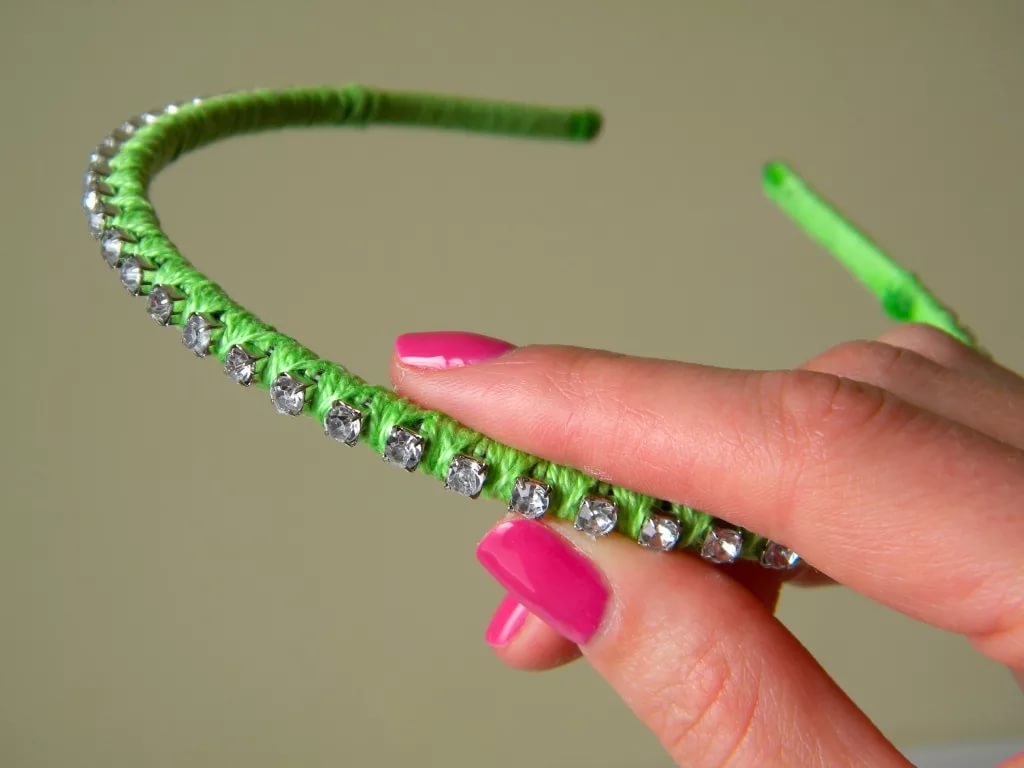
- Take a thin base.
- Use clear gel to secure onto the bead base.
- Wrap the yarn tightly around the base.
- Secure the ends.
By creating such amazing objects, you can show your creativity. And also create a wonderful thing that will please a loved one.
Creative flights of fancy and creative solutions for successful implementations!


 0
0