creativecommons.org
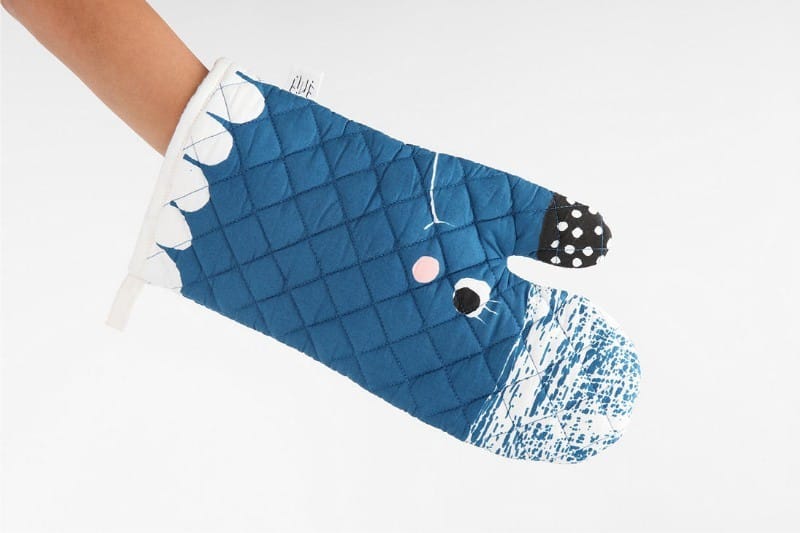
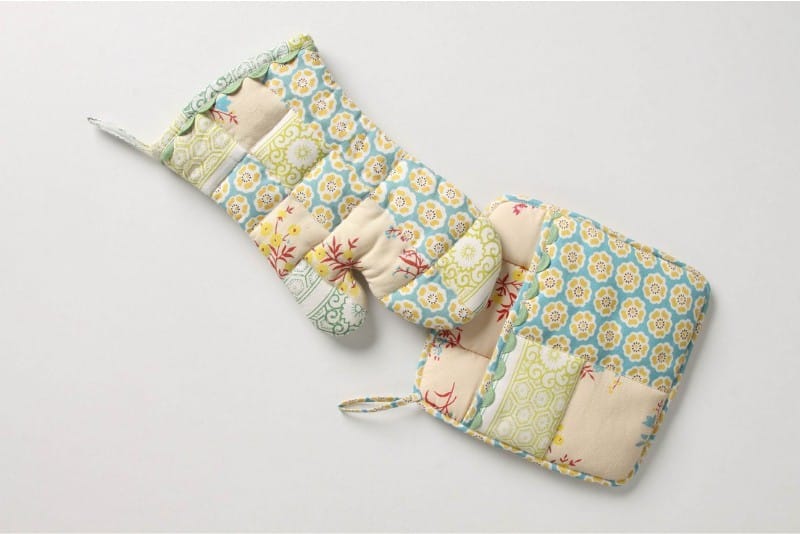
Every housewife wants to make her kitchen beautiful and comfortable. Each has its own secrets. An oven mitt is an indispensable item in the kitchen. With its help, we remove hot objects from the oven or remove hot pans from the fire. You can, of course, buy ready-made oven mitts, but if you make oven mitts for the kitchen with your own hands, they can become a real work of art - refresh, enliven the kitchen, give it originality and uniqueness.
We will tell you how to crochet a pot mitten in this article. Let's look at several models of potholders.
Model 1
DIY mitten knitted with multi-colored rings.
The knitting should be tight to reliably protect the hand when it comes into contact with hot weather. The length of the mitten is 27 cm. We will need cotton yarn - 50 g (125 m) each in three different colors and a 4 mm hook. A mitten template can always be found on the Internet.
We will knit in 2 threads.
We cast on 4 chain loops and 1 single crochet, close them in a ring, knit single crochets in a circle in the following sequence:
- First circle – 8 air loops;
- Second and third - evenly add 5 loops on the circle (you get 18 single crochets);
- Fourth - add 4 loops (it turns out 22 single stitches);
- Fifth - we do not add anything;
- Sixth - add 5 loops (27 columns b/n);
- Seventh - plus 4 loops (31 columns b/n);
- Eighth - add 7 loops (38 double crochets);
- Ninth - add 6 loops (44 stitches in total);
- Knit 20 circles without adding anything.
This was the main part, now we knit the finger. We cast on 4 air loops, collect 1 semi-cable in a circle and knit semi-cables around the circumference in the following sequence:
- First round – we knit 8 stitches around the circumference;
- Second - add, evenly distributing, 5 stitches (13 stitches in total);
- Third - add 3 loops (16 columns without / n);
- We knit 8 rings without adding anything.
Place the mitten and finger next to each other and then knit a ring of all 60 stitches.
After 22 rings at the end, tie another 14 air loops (this will be a ring for hanging) and tie 18 posts. b/n.
Close the ring with a half single crochet.
Model 2
Crochet mitten potholder.
For this model you need yarn of one main color, from which the mitten will be knitted, and a few different bright colors (optional). They will be used to knit large flowers located on the wrist of the mitten. This will give them brightness and uniqueness. The edging is made in two rows of the main color and completes the work.
- Let's knit 44 air loops;
- We knit st. without crochet 9 rows;
- 10th row – make a slot for the finger by knitting 7 chain stitches;
- We continue knitting with single crochet stitches;
- Above the 7 chain stitches, knit 7 single crochets;
- Divide into 2 halves in the 10th row and begin to decrease along the edges (like 2 double crochets with one top);
- Reduce until there are 10 single stitches on each side;
- We connect the tips and knit a finger;
- We decorate our potholder with flowers
It turns out very original.
Model 3
How to sew an oven mitt in the shape of a monkey.
The potholder glove will measure 24x12.5 cm.
We will need: a 3.5 hook and threads of 4 colors (brown - 50 g, yellow - 50 g, the remains of black and white threads to decorate the face). Mittens template - on the Internet.
creativecommons.org
Begin:
- We knit 54 air loops with brown threads and close the ring with 1 half double crochet. The product will be knitted in a spiral;
- We knit 7 rows without adding loops;
- In rows 8, 10, 12, 14, 16, 18, 20, 22, 24, add 1 loop on each side (4 per ring);
- From 25 the rings are divided into the base and the finger and continue knitting;
- Decrease by 2 stitches on each side in 25, 27, 29, 30 circles (for the neck);
- Add 4 loops in 32 and 33 rings and knit 7 rings without anything;
- 41 rings – decrease 4 loops;
- Connect the two sides of the monkey's head with 8 pillars. b/n. Having tied the 4th loop, make a ring for hanging (connect 10 chain loops with a ring on the front side, 1 half-column b/n in 1 chain loop and tie the monkey column b/n);
- We knit the fingers - knit 10 rings of 18 loops each, then start decreasing - two rings we knit 1 single stitch, 2 double stitches knitted together. Knit until there are 8 stitches left that need to be picked up, pass the thread through all the stitches twice and sew. We also do the second finger;
- We knit the ears and face with yellow threads, and around the eyebrows we knit two rows of posts with white threads. without a crochet.The nose is made of brown thread;
- We sew all the details to the base, embroider the mouth with thread (a chain stitch is suitable) and sew on the eyes (buttons).
Our pot mitten - the monkey is ready!
Model 4
Crochet mitten - “black cat”.
This idea can be brought to life in a couple of evenings. And your girl can help you decorate. The pot mitten is crocheted quite quickly. Length – standard – 24 cm.
What do we need:
- Threads: black - 70 g (300 m) and white - 20 g;
- Hook No. 3.5 mm;
- Buttons for eyes (green) and noses (pink).
With black thread we collect 30 air loops and close them into a circle.
- Let's make 22 rows of columns. b/n in a circular manner, then proceed to the finger;
- We knit 9 chain stitches on the side and skip 9 stitches from the previous row. We strengthen with a single crochet stitch;
- Again we knit 22 rows in a circle, then we begin to evenly cut the loops in each row until there are 6 of them left. We pull them together and fasten them;
- Finger - we knit 19 single crochets along the edge, then 12 rows without decreasing. Then we begin to gradually reduce 4 columns. Pull the top;
- Eyelet - we collect 3 air loops and connect them into a circle. The first row is made in the center of 6 b/n columns, the second - we add 3 b/n columns to every second loop;
- Muzzle - knit 6 air loops with white threads. Using uncapped columns, we make 3 rows along the chain, adding 3 b/n columns at turns;
- We assemble the cat - glue or sew small elements to the body. We embroider the mustache with a chain stitch and sew on a loop of braid for hanging our craft.
Model 5
Kitchen oven mittens can be knitted or combined.
Let's consider a model in which the top is made of crochet, and the bottom is made of several layers of fabric.
The mitten template is taken from the Internet or drawn yourself.
For a combined potholder you will need: beige yarn - 50 g, black and red threads for decoration, padding polyester or batting, thick fabric for the bottom side and a hook.
- We crochet the top part of our potholder;
- We take 3 layers of fabric and 1 layer of padding polyester or batting - stack them on top of each other and cut out the outline of the mitten. We lay it in this order: 1, 2 layers - thick fabric; 3 – batting; 4- fabric again. Let's baste and sew them together, we can quilt them. It will be very original. Turn it inside out and smooth it out. We bend the edge of the mitten and stitch it;
- We sew the finished lower part to the upper one. We make a ring for hanging from a cord.
I assure you that such a mitten will add originality to your kitchen. It's quite simple to do. You can decorate the product with a variety of decorations. New Year's and holiday potholders look great. Such models are suitable as gifts for relatives and friends.


 0
0