creativecommons.org
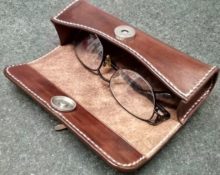
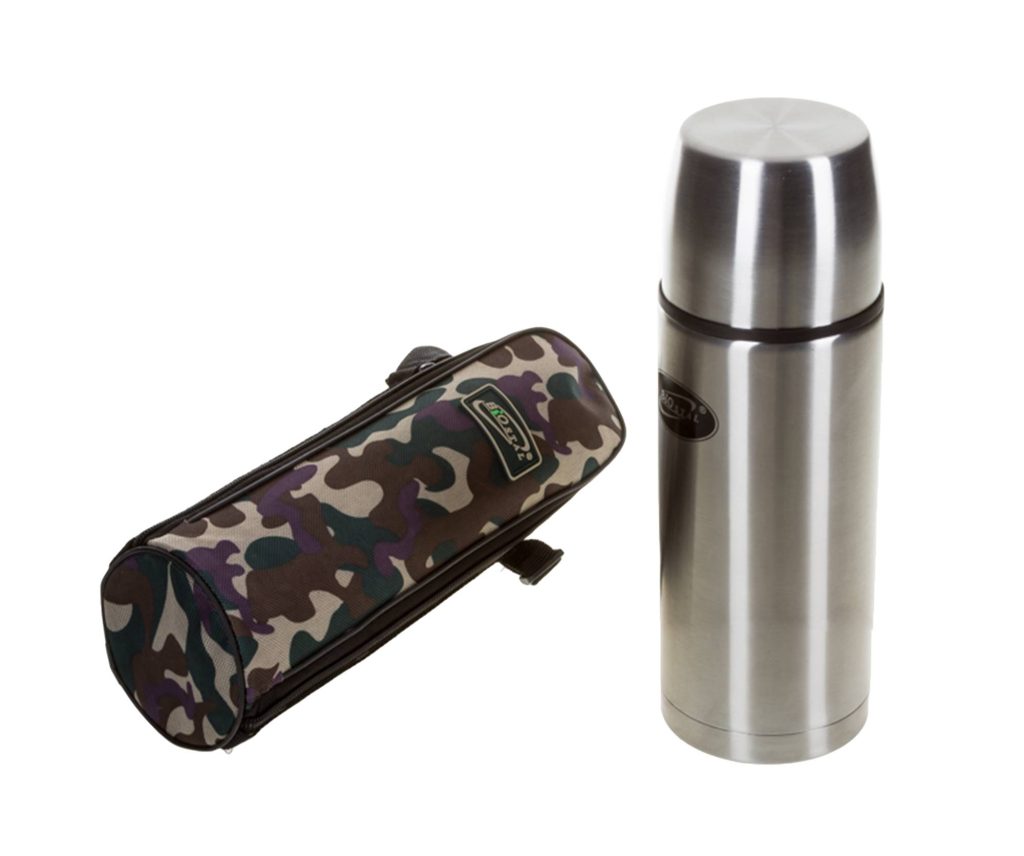
The thermos cover allows you to reliably retain the heat of the liquid poured into the container. In addition, it gives an ordinary bottle an original appearance. Recommendations on how to make a thermos case can be found in many travel magazines or on the Internet. It can be used not only on hikes, but also at work, at university or on the road. Sewing a thermal bag with your own hands is much more difficult than making insulation for a bottle or thermos. Let's look at the brief instructions for sewing the product.
How to sew a cover for a thermos - insulate the thermos with your own hands
For work, you can take plain or multi-colored material of several types. It is advisable to choose cotton fabrics. You will also need an elastic band, batting or padding polyester filling and a standard sewing kit. You should prepare a ruler, thread, chalk, needles, sewing machine and scissors.
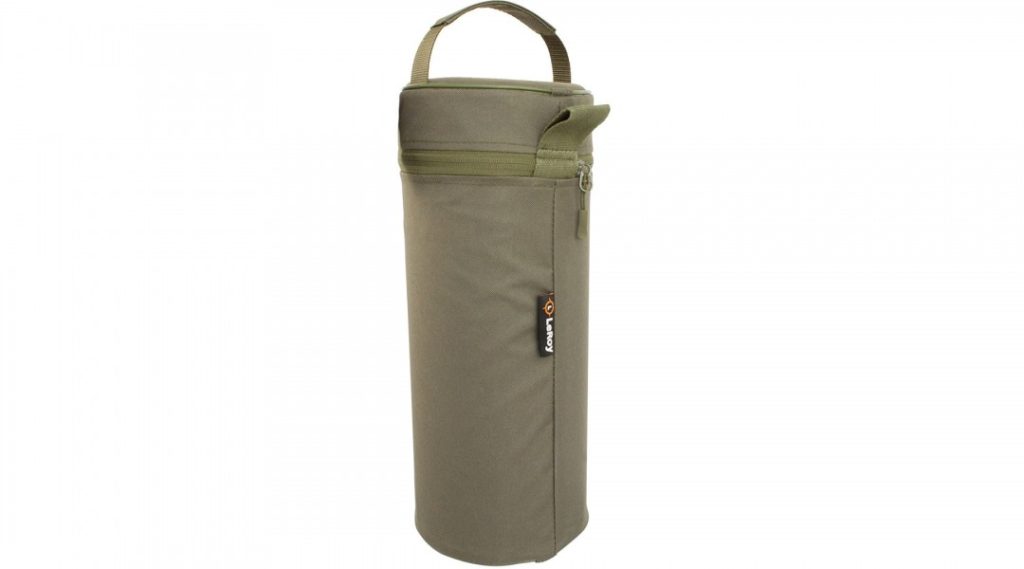
Before sewing a thermal bag with your own hands, you need to prepare other materials, since these products function in different ways. For the bag you will need special foil for the inside, a zipper and special tools. Let's make a thermal cover for a thermos:
- We cut out two fragments of the sidewalls - the outer and inner sides. They have a rectangular shape. We calculate the parameters: the height of the mug with the addition of allowances and two centimeters is one part. The circumference of the bottom - its length - is the second part.
- For the bottom we will make round elements. Measurements - add two centimeters to the diameter of the bottom and a seam allowance. We get the first fragment. To get the length of the circle, multiply the diameter by Pi - 3.14.
- We make a rectangular shape from the seal. The sides are smaller by the allowance parameter used to cut the walls. We make the circle in the same way without allowance.
- The handle for the thermos is made by hand from a thin strip of canvas. The optimal length is 45 centimeters, width is 4 centimeters.
- We make two tight-fitting parts. They will be tightened along the top of the thermos with an elastic band. The length of the bottom circumference is equal to the long side, making the short edge 4.5 centimeters.
- We work with filler and lining. We mark the inside and attach the insulation with stitches.
- We sew two parts for the upper part of the product with the outer side inward along the long edge. We will apply an elastic band along the length of the stitch.
- We sew the elastic with a machine using a suitable seam. As you work, you need to tighten the elastic band. Upon completion, close the fragment with a ring, connecting along the short, straightened sides.
- Fold the element along the wrong side, face up, place it along the length of the previous seam and repeat the stitch again. The result is a nice frill.
- We fold the product along the long edges, make a handle by stitching a strip of fabric. Turn it inside out, steam it, and get the finished part of the cover.
- Let's move on to the sides. Take the front part and fold it with the short outer sides inward. We make a stitch and sew the handle again so that it holds not only to the elasticated outer skirt, but also to the base.
- Let's move on to working on the bottom. We baste the round fragment to the side, sweep it and straighten it. We make a line, remove the running seam. You can also re-stitch the bottom.
- We take the wrong side of the sidewall and connect along the short edges, forming a pipe. Three centimeters from the edges, draw a chalk line around the entire circle.
- We put a piece with an elastic band on top of the main part, smooth out the contours and sew it on. Now you need to bend the fragment with the elastic band and stitch the product again. Let's turn out the resulting cover.
- By analogy with last time, we will baste the bottom, sew the details and connect the front part of the cover with the inside. All that remains is to turn the finished product inside out and sew up the hole with a hidden seam.
creativecommons.org
How to make a lid for a thermos - do-it-yourself thermal mug
If the lid of a thermos is worn out, then not a single cover will be able to retain heat. Characteristic consequences of wear are rapid cooling, leakage of fluids, subsidence. However, this is not a reason to say goodbye to the thermos and go to the store for a new one. You can try changing the cover yourself.
At the first sign of damage, wrap the plug in foil. It isolates the cork particles from the contents of the thermos. Instead of a cork lid, you can choose an alternative option. Many craftsmen use standard polystyrene foam.
A piece of a certain length and width is cut out of the material, the diameter and dimensions are selected.Foam products are lightweight, almost weightless, so they are not subject to deformation.
The only negative is that steam from boiling water can push the lid out. To avoid this, take a large needle and make a puncture strictly in the center.
 0
0