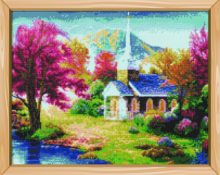
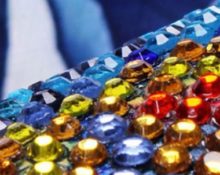
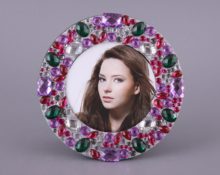
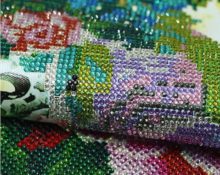
At the time of its inception in China, diamond mosaic was initially laid out on various types of fabrics with natural precious stones. Now there are sets with paintings that can decorate the interior of any room from the dining room to the bedroom. Household items, furniture, clothing, and accessories decorated with voluminous shiny rhinestones also look chic. These are, of course, not Swarovski or diamonds, but they also look great in the finished product.
What is diamond mosaic with glass rhinestones?
 Diamond mosaic consists of square, oval, triangular acrylic stones or round miniature crystals that sparkle in the light with all sorts of tints. To create them, they use glass with a cut similar to the technology for making precious stones.. They have a huge color palette, which allows you to create real masterpieces even from the simplest compositions.
The paintings are divided into themes and genres, each of which has found its admirers.Some people love floristry, while other people prefer images of people, animals, landscapes, still lifes, architectural structures and even cartoon characters. Recently, images of multi-colored mandalas, icons in round glass and volumetric 3D rhinestones with partial or full display have come into fashion.. So there is plenty to choose from that suits your home.
Ready-made sets usually consist of:
- canvas, with a drawing diagram applied to it, a key to it and an adhesive layer;
- metal or plastic tweezers;
- a set of rhinestones of various colors, packaged by number in bags and corresponding to the sketch;
- tray for scattering;
- double-sided stylus with gel pad;
- instructions;
- can be supplemented with special glue in a tube with spot application in case the sticky layer dries out.
The finished paintings are a bit like beadwork. Professional images sometimes reproduce original paintings by famous artists. When decorated with a diamond mosaic, such a work of art deserves the most honorable place in your home. In addition, it will be the most desired gift for your friends and acquaintances.
How to embroider with rhinestones in diamond mosaic?
 Laying out a pattern on a diagram applied on a base with a sticky layer is a quite exciting and creative process. Those who are fond of this type of needlework are familiar with the feeling of euphoria, which intensifies with each new fragment that brings them closer to the completion of the process.
Paintings in sets are sold on a fabric or plastic basis. Simpler designs on small plastic with partial coverage will help beginners master the technique.. For experienced craftswomen, manufacturers offer a huge assortment of full-fill embroideries, the dimensions of which can cover the entire wall and consist of several separate fragments.
Important! If you are going to do this with a child, then it is preferable to opt for larger material.
Each package comes with instructions, but if it is missing, we will give some tips for working with mosaics:
 Lay the canvas on a flat surface. If it looks wrinkled or wrinkled, iron it with a lukewarm iron from the inside out through a thin cotton fabric. Are you afraid of breaking the sticky layer of the base? Then just leave it overnight under a stack of books or a large heavy box;
- Prepare everything you need for work right away. To glue square rhinestones, you can use tweezers; round stones are easier to pick up with a stylus pen. It should be in your kit. Prepare a pillow with gel, pierce it with a stylus, after filling it it will be convenient to grab the bead and fix it on the picture;
- The set includes a tray for rhinestones, pour out a small amount and fill it again after laying out. We suggest using a special organizer in which you can place several flowers at once;
- Now that everything is ready, separate a small piece, about 5 sq.cm., of the protective film from the upper left edge. You can simply make a fold or cut it out. But keep in mind that then you will have to fill this area immediately, otherwise the sticky layer will dry out and become dusty. As a result, it will be impossible to fix diamonds on it. If this does happen, then glue in a tube, which should be in the kit, will come to the rescue;
- when the process has come to an end, lay out the finished work face down, cover with a soft towel and go over the entire backside with a rolling pin or other cylindrical object;
- Finally, you can coat the surface with a colorless varnish, preferably a spray from a can, especially if you are not planning to design it under glass. This will help preserve your creation for a long time and even allow you to periodically wipe it with a slightly damp cloth.. But we still recommend covering the product with glass for greater reliability.
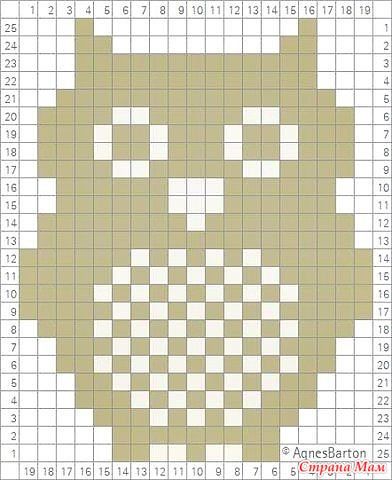
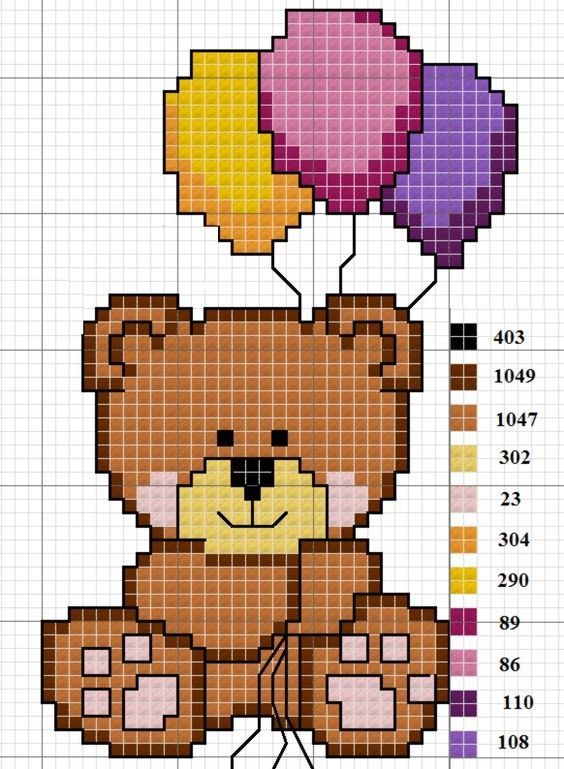
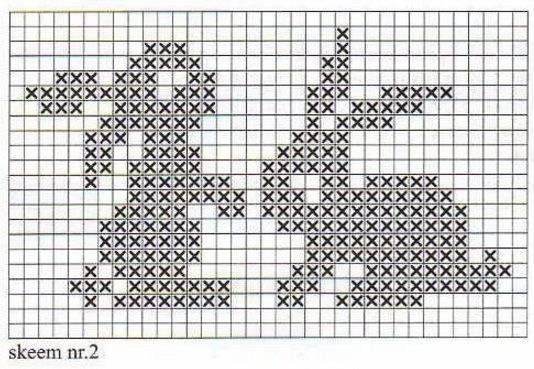
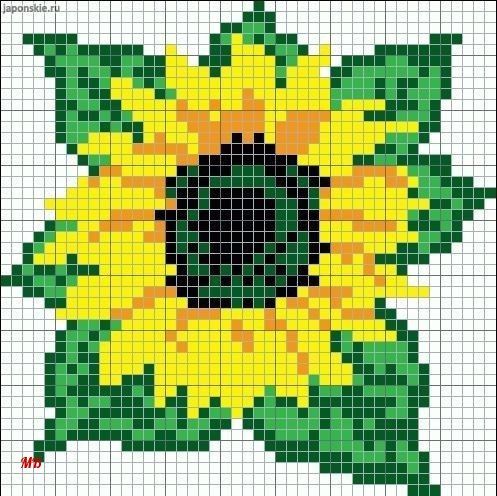
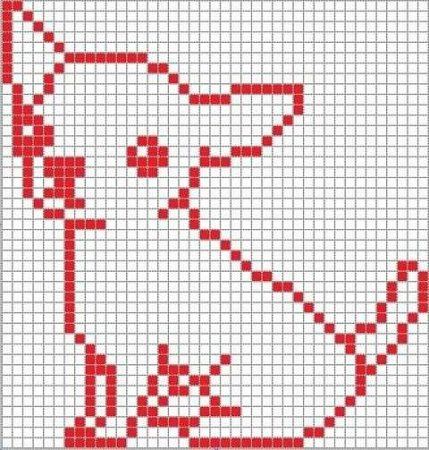
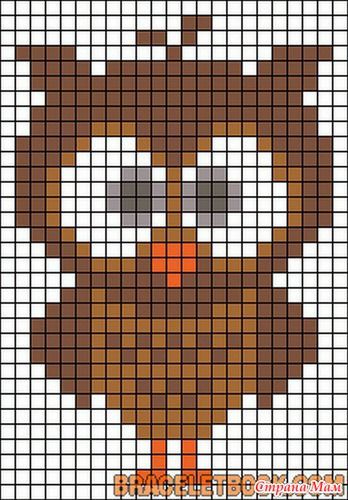
Examples of simple embroidery patterns
Check out a few simple photo designs for kids or desperate beginners who want to make their debut in this type of handicraft. Happy creativity.




 Lay the canvas on a flat surface. If it looks wrinkled or wrinkled, iron it with a lukewarm iron from the inside out through a thin cotton fabric. Are you afraid of breaking the sticky layer of the base? Then just leave it overnight under a stack of books or a large heavy box;
 0
0