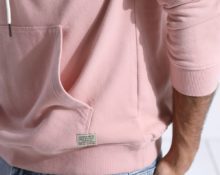
 A pocket is a detail of an apron that carries a double load: functional and decorative. Thanks to this detail, home clothes become comfortable and practical. You can put a lot of things there: glasses, a lighter, chewing gum, a phone, a watch, so that they are always at hand. Elements without spacers are customized onto aprons. All parts are first completely processed and only then sewn on in finished form.
How to make an apron pocket
We consider step by step the procedure for manufacturing the invoice version.
We plan the location
First, we determine where the parts will be located and how it will all look visually. Previously We cut out the layout on paper and, by testing, determine the place where the future pocket or pockets on the apron will be located.
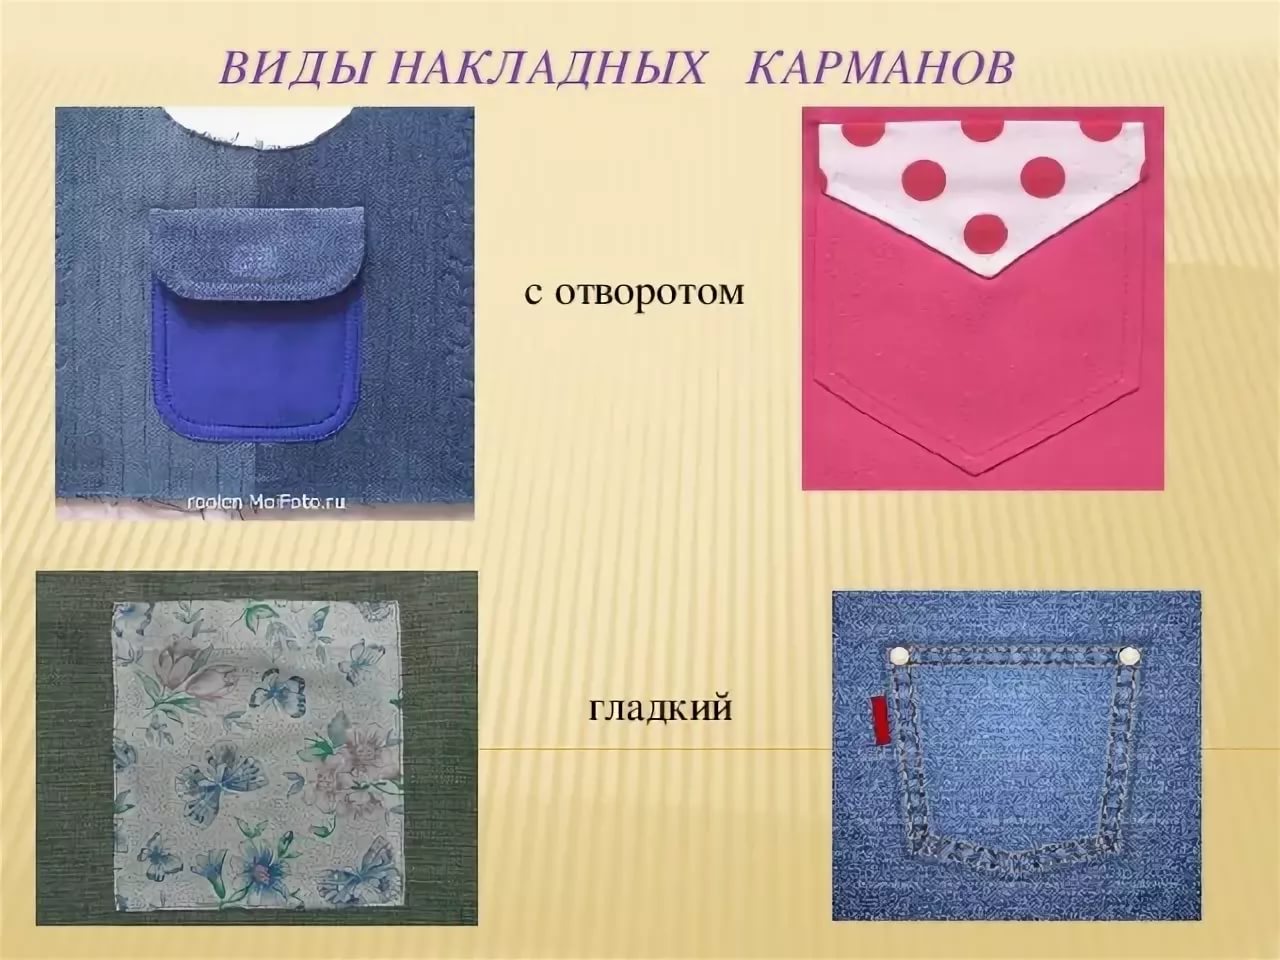
Determining the size and shape
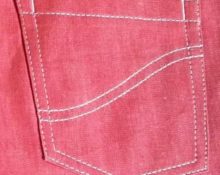
Reference! There can be one, two or three pockets on the apron. They can be located both in the upper part of the apron and in its lower part.
So, in the upper part, a one-piece option is certainly suitable. But in the lower part there are possible options: two or one.
The size can be either small or large. It all depends on the functions required for this part of the apron.
As for the shape, most often it is rectangular or with rounded lower edges. If desired, you can decorate with applique or lace.
Making a pattern
To create a pattern, draw a rectangle with the main dimensions without allowances for hems.
To make the corners round, cut out a rectangle, fold it in half and cut it so that the corners are rounded equally.
We cut out the pattern and it is ready to use.
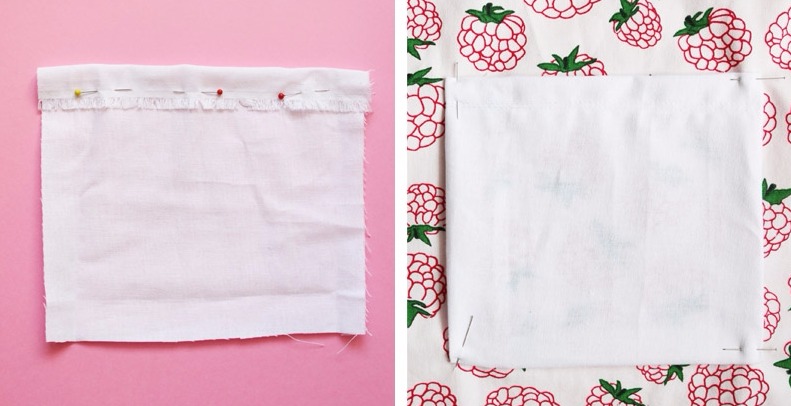
Uncover
- The material needs to be decomposed. To avoid any folds or creases, moisten and iron before cutting to prevent further shrinkage of the fabric.
- Place the pattern on the material and trace it along the outline with chalk. This will be the outline of the part. We lay the pattern strictly along the grain thread. When cutting, be sure to leave fabric allowances on each side: the top edge is at least 3 cm, the bottom and side edges are about 1.5 cm. We cut out the part taking into account the allowance. The pocket is almost ready for use.
Important! You can use either the fabric from which the product is made or a completely different color and thread composition.
How to sew a pocket to an apron

- Before sewing the pocket, all seams outlined along the contour must be ironed. Direct the seam allowance in one direction, securing with an iron.
- If there are rounded corners, then you need to make notches on them with scissors.
- We iron the entry line into the pocket 2 times, since there are 2 marks there. One mark prevents the thread from unraveling by at least 0.7 cm into the inner part. The other main one is the entrance to the pocket.
- There is an option for one hem. Then it is necessary to overcast the edges leading inward using an overlocker to prevent open sections of fabric from fraying.
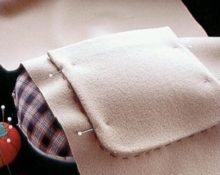
- We take the finished product and connect the parts by placing them on top of each other and select the location.
- Then we draw a line around the edge with chalk so as not to displace it during further processing. Secure with pins and baste with stitches 1–3 cm long.
- Now all that remains is to sew the finishing stitch. In this case, leave a distance of at least 1–2 mm from the edge and at least 1 cm from the bottom and side cuts. The stitching should be even, the width of the seam should be uniform.
- Be sure to make securing stitches so that the pockets do not come off. Usually they are secured at the beginning and end of the line.
Attention! If you want to decorate the product with decorative elements, this is done on the blank, when the two bases are not yet connected.
We can say with confidence that even a beginner can cope with the task of sewing an apron with a pocket.
 0
0