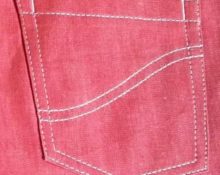
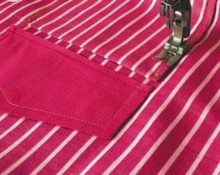
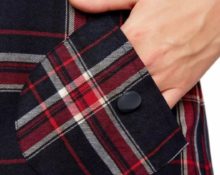
The patch pocket is considered one of the most popular types of pockets. Even an inexperienced master can quickly master the assembly technology. In order for the finished product to look decent and neat, you need to know the tricks of processing.
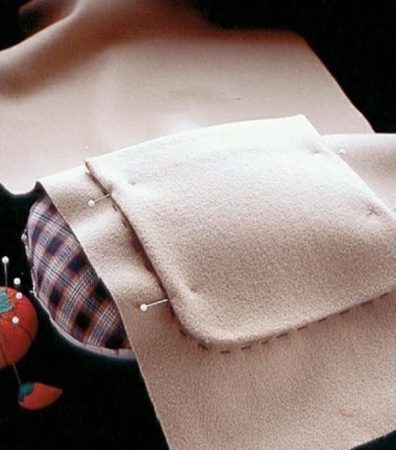
Patch pocket - basic concepts
The pocket can be of various configurations: in the form of a circle, square, with pointed tips. It is better to take a whole top facing for processing. The following types of elements are used:
- without lining;
- with a one-piece lining;
- lined with additional fabric;
- with an inclined entrance, the upper edge of which is made with a narrow hem.
What seam is used to sew a patch pocket?
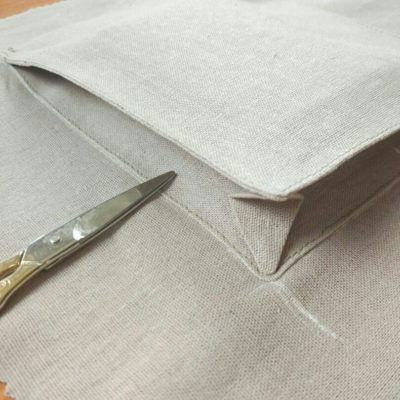
In most cases, the part is stitched to the main product using a sewing machine. In some cases, this is done manually, using an imitation of a machine seam. In this case, a connecting patch seam with one closed cut is used.
How to sew a patch pocket smoothly

Each master with experience acquires his own secrets of sewing on overlays. Let's look at the basic recommendations that will help make your work more accurate.
From the inside
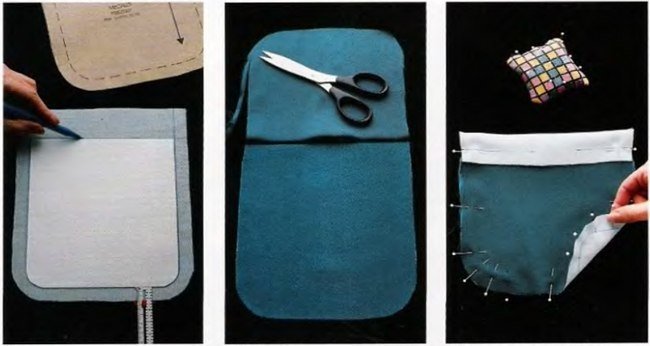
Before sewing the element, it is worth ironing the hem allowances along the entry line. In the rounded areas, notches are made using scissors. To make the corner oblique, it, together with the ironed seam allowances, is folded in and fixed with an iron. The entry line is ironed twice: starting 1 cm inside the part, and then the line marked with chalk. You can simply set aside the edge, turn the fabric over, stitch along the side and trim off the excess fabric on the side. That's it, the internal work is completed and the part is ready for grinding.
To get the perfect edge, cardboard stencils are used when cutting out. With their help, you can delicately tuck the side. The workpiece is inserted under the upper cut and, tucking in the seam allowances, is ironed.
For a square frame, first fold the allowance diagonally in the corner area.
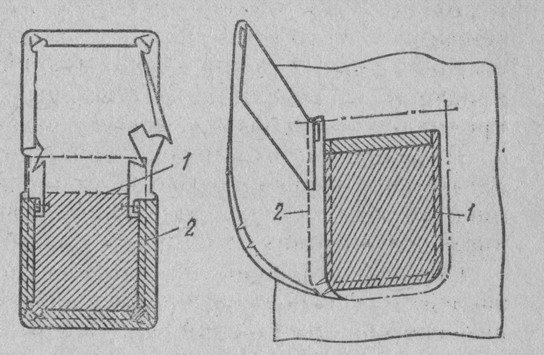
When choosing a one-piece facing for work, a piece of fabric is folded in half with the right side inward. Next, a stitch is laid, making an indentation of 1 cm from the edge. In this case, it is necessary to provide a notch in the seam measuring 3 cm. To achieve the correct shape, the allowances are cut off: for a rectangle diagonally, and for a circle, notches are made using scissors. Next, the element is turned onto the face and ironed. If a lining is used, then the parts are folded right sides together and stitched along the top edge, also leaving a recess of a few centimeters. In this case, the allowances are ironed towards the lining. By bending the lining and the edge of the part along the fold line, stitch the side parts and the bottom edge.
An open gap after connecting the lining and the pocket on the coat can simply be sewn up by hand or with a finishing stitch.
Outside
The patch pocket is placed on the cut in the designated place on the front side of the cut along the visible marks. To prevent it from moving during the sewing process, it can be basted or secured with pins. In this case, the pins should be perpendicular to the pocket. This will protect the element from unwanted shifts. The product is connected to the hem of the bottom of the pocket, making sure that no threads are visible from the face. The pocket is attached with one or two lines. The second line should cover the open parts of the hem.
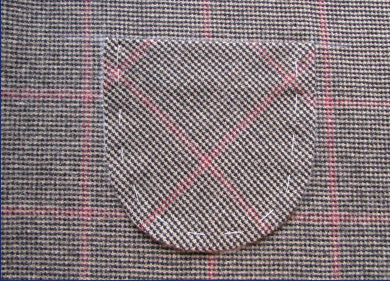
Over time or with intense wear, the corner parts wear out and become unsightly. To strengthen them, additional decorative stitching is required, at the end of which small triangles are placed. A tight zigzag bartack at the end of the main stitch is also suitable.
Features of sewing patch pockets on different fabrics
There are many types of sewing parts. They depend on the product model, material and selected processing method. For example, the denser the material used, the more regulations there are for it.
Items for outerwear and suits require the use of cushioning and lining materials. In products made of light textures, such as robes, dresses, children's clothes, lining is not used. Particular attention should be paid to elements cut along an oblique thread. The facing from the inside must be duplicated with an adhesive film. In other options, it is enough to process the facing with a hem seam with a cut pre-processed on an overlocker.
The patch pocket is used for different types of products. Knowing the basic nuances, it is easy to cut and process even for a novice seamstress. We hope that the recommendations offered will help in your work.


 0
0