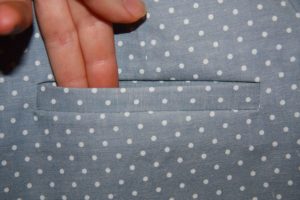
 A modern person cannot imagine his clothes without pockets. But in the past, additional accessories were used instead of this element. Throughout the history of its existence, this piece of clothing has had many guises. But the most common and universal is the welt pocket. And in order to decorate this element, tailors invented a special detail - a leaf. It is a rectangular piece, folded in half, the length of which is equal to the length of the pocket inlet. Besides its decorative purpose, it helps to strengthen the sides of the hole. Let's take a closer look at the types of leaves, their installation and additional touches.
Types of leaves
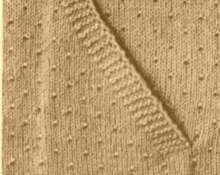
This design serves to process the edge of a clothing pocket, strengthen it and decorate it. The leaf (bar) can be rectangular or shaped. According to the sewing method, there are two options for leaves.
With set-in ends
This type is easier to install and therefore better suited for beginners. With this method, all seams remain on the wrong side.A narrow strip runs parallel to the bottom layer.
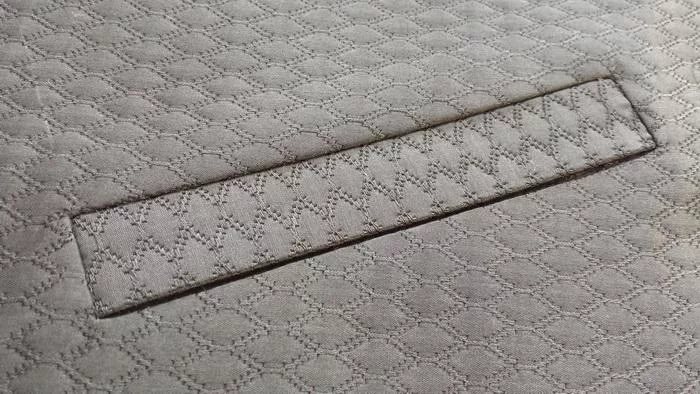
With stitched ends
It is most often used for outerwear. Visually, this variation differs from the first by external finishing stitches on several sides. And also the method of their manufacture. Such a strip is often wide enough to install a locking mechanism: buttonholes, buttons, and so on.

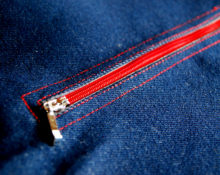
Attention! Any of these variations can be equipped with a zipper.
How to make a pocket with a leaf
When sewing a pocket with a leaf, several steps must be followed.
Making leaves
The first step is to manufacture the part itself.
- To do this, a rectangular blank is cut out of fabric. Usually its dimensions are 20x10 cm.
- Fold the piece in half with the wrong side up.
Attention! To strengthen the structure and give it rigidity, the element can be duplicated with lining material: non-woven fabric or dublerin.
- Iron and machine stitch on three sides.
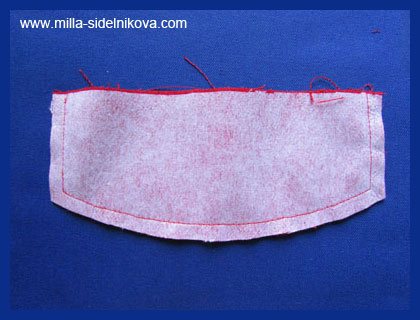
- Turn it onto your face and iron it thoroughly.
Interior
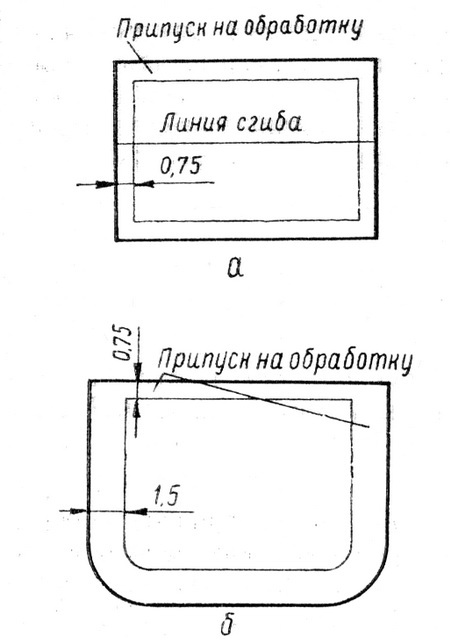
Next we prepare the inside of the pocket. To do this, we make two blanks from additional material. To make a pattern, place your hand on a sheet of paper and trace the border of your palm.
Important! When making this part, do not forget to add allowance for allowances and a loose fit.
Marking
Then we mark the location of the pocket.
- On the front side, use tailor's chalk to mark where this part will be located.
- We measure the length of the finished plank.
- Draw a segment according to the size of the bar.
Then we begin the process of installing the structure. Let's take a closer look at how this happens.
Processing a pocket with a leaf
For each type, the processing will be slightly different from each other, so we will consider them separately step by step.
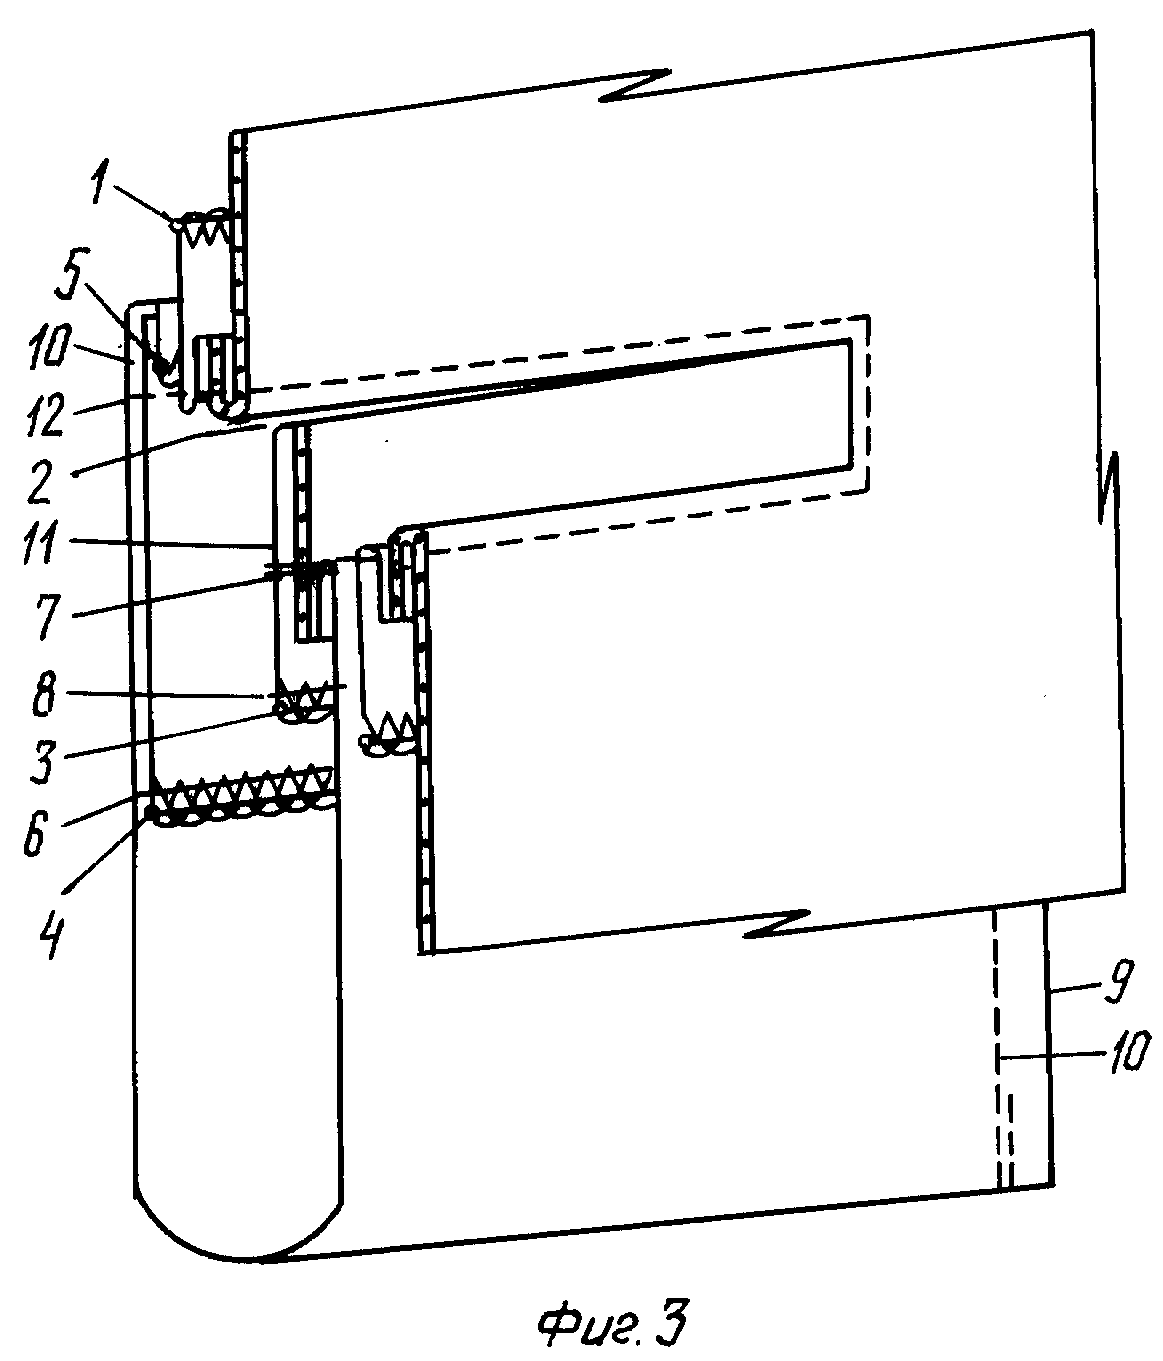
Variation with stitched edges
To install it, we carry out preparatory work as described above. We then follow the procedure outlined below.
- The plank blank is laid with the open edge to the pocket cutting line.
- One piece of the inner part of the pocket is placed on top.
- Sew the structure, starting and ending the seam at the level of the narrow sides of the leaf.
- The second inner part is attached just above the cut line.
- Cut the pocket.
- Fold the inner part inside out.
- Connect the inner parts of the pocket.
- Stitch the placket and pocket.
Variation with set-in edges
The preliminary stage is carried out in the same way. Then follow these steps:
- Sew the leaf to the inside of the pocket.
- Straighten the seam and iron it.
- Sew the part with the leaf and the second inner part on both sides of the cut marking.
- Cut the fabric.
- Turn the pocket pieces inside out.
- Straighten all the elements and sew both parts, while securing the ends of the leaves with a double stitch.
- Iron the design.
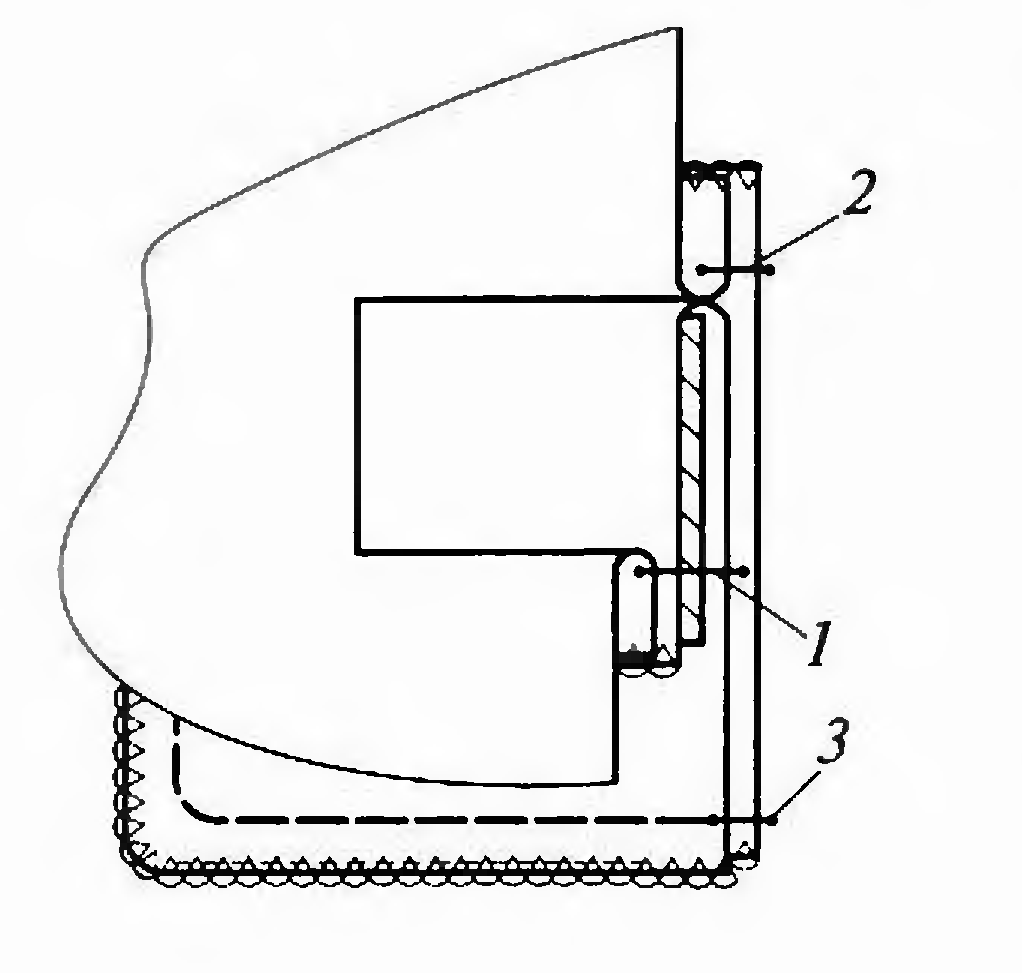
Reference! To strengthen it, it is better to duplicate the cut site with lining fabric.
How to make a fake pocket with a leaf
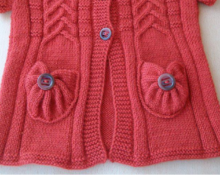
Sometimes when designing a clothing model, designers resort to a very interesting decorative option. This is a fake pocket that It has no interior and is used only as decoration.
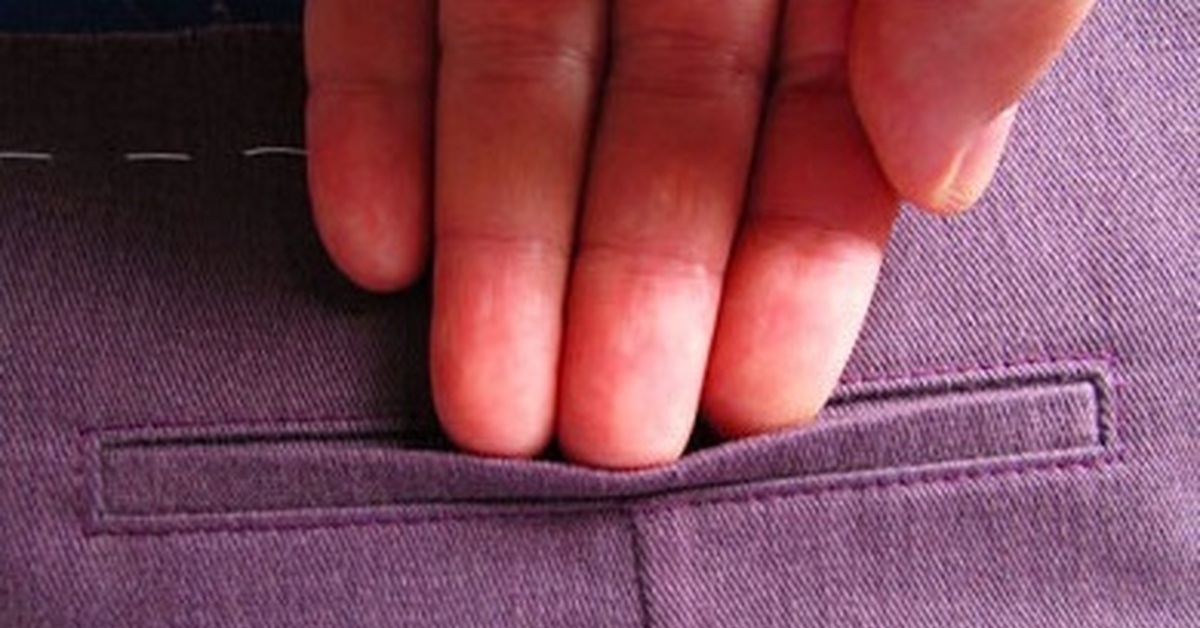
Important! Before you start making the blende, complete all the darts, seams and other work at its location.
Execution Process
- Mark the future location.To do this, draw a horizontal line and build a frame of the required size along it.
- Then you need to strengthen the material. On the wrong side, we iron a piece of duplerin or non-woven fabric, which will protrude beyond the contours of the frame by 1–1.5 cm.
- Complete the leaf element.
- Complete the valance detail. To make it, take a piece of fabric, the length of which is equal to the length of the bar, and the width is equal to four times the width of the frame.
- Strengthen the trim and valance detail with duplicating material using an iron.
- Finish the edges of the valance.
- Draw a line in the center of the frame and place the leaf face down on it.
- Baste the strip to the main part.
- Make a connecting seam.
- We lay the valance so that two thirds of the material is above the sewing line.
- Make a cut.
- Turn the valance inside out.
- Sew along the seam line.
- Mark the hem of the plank.
- Turn the strip along the basting line to the wrong side.
- Iron the fold.
- Perform a preliminary outline of the contour.
- Perform finishing stitch.
Reference! The product can have a fake pocket in either a single or paired version.
How to make a pocket with a zipper leaf
In many products, the leaf is adjacent to the zipper. Many people know how to perform these elements separately. But combining them can lead them to a dead end. In order to avoid such trouble, we suggest that you understand this method in detail.
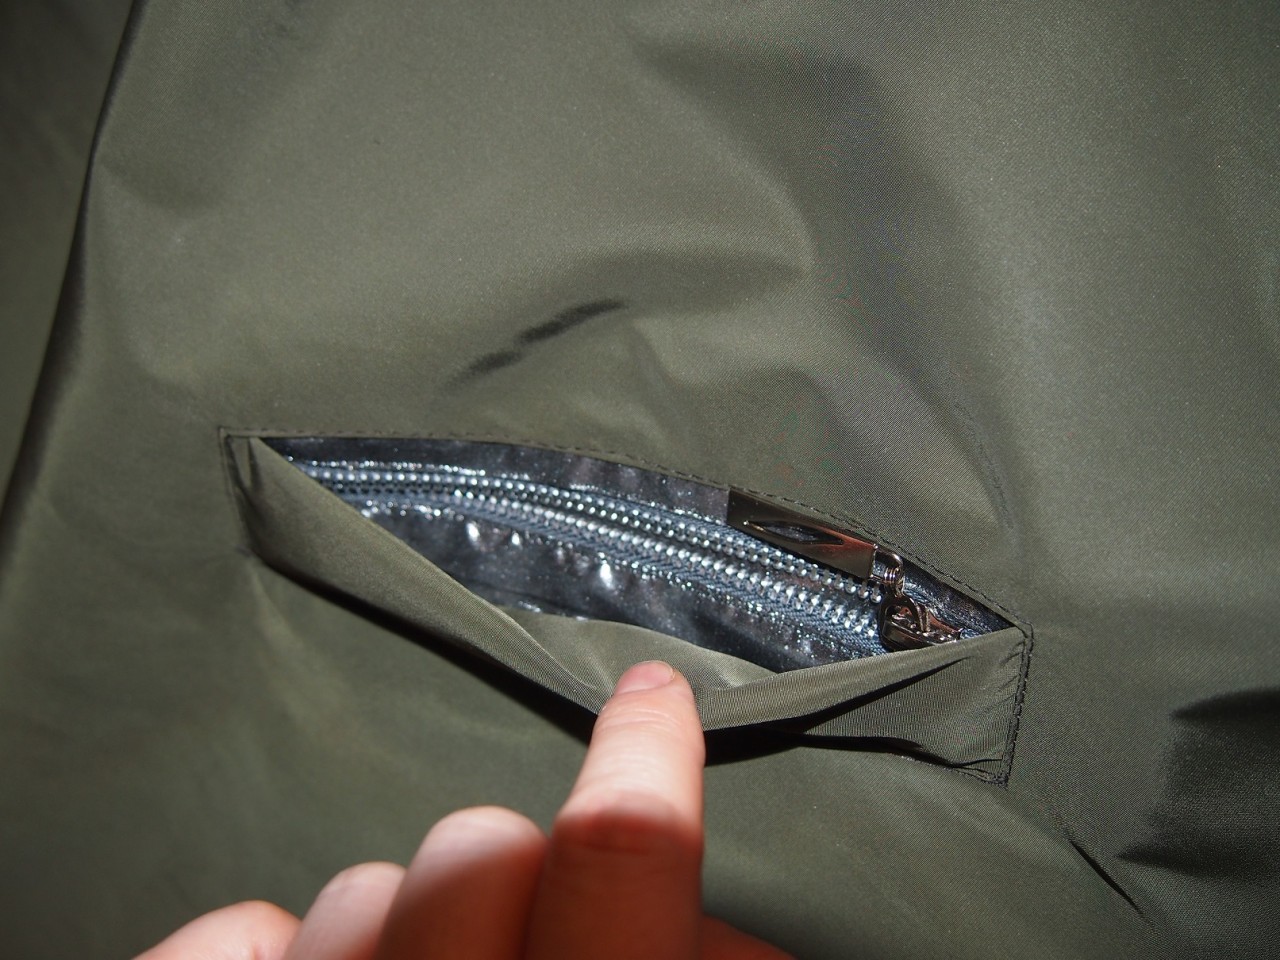
To work you will need: a leaf, additional fabric for the inside and a zipper of the required length.
Execution Process
- Draw a frame for the work on the front side of the product.
- Perform the plank element as described above.
- Duplicate the pocket area with additional material.
- Place the trim piece in the desired location.
Attention! If necessary, sew a valance to the clasp.
- Carefully stitch the strip to the product.
- Sew the corresponding edge of the zipper to the second side.
- Make a connecting seam.
- Cut the frame.
- Turn the elements inside out and secure in the desired position using safety pins.
- Sew the zipper and leaf.
- Perform decorative stitching on the pocket.
- Sew the inner parts of the pocket to the left seam allowances.
- The design is ready for use.
For inexperienced needlewomen, often encountering such trifles can be fatal. After experiencing failure, few will dare to try again. But using the experience of others, you can avoid such troubles. And by repeating the same operation several times, you hone your skills, each time becoming closer to perfection. Therefore, if you fail, you should not give up. Even seasoned professionals make mistakes sometimes. Just take it for granted and luck will smile on you. Happy creative work!


 0
0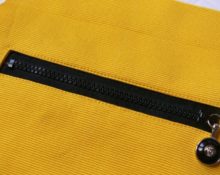


Could you show me a diagram for processing a fake pocket with a leaf?