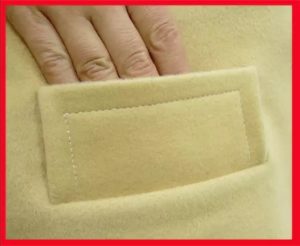
 Many things have pockets. It will not be difficult for craftsmen to create a beautiful, even and neat pocket. But beginners will have to initially choose the product itself. And at this stage questions may already arise. More details about the types of pockets, a few words about creating such types later in the article.
What types of welt pockets are there?
There are more than 10 different types of pockets for things. Each one is unique in its own way, but you need to create them without haste, and it’s better to measure the sides once again before taking up the scissors. Then there are photos of the pockets and a brief description for each, as well as design tips for DIYers and those new to sewing.
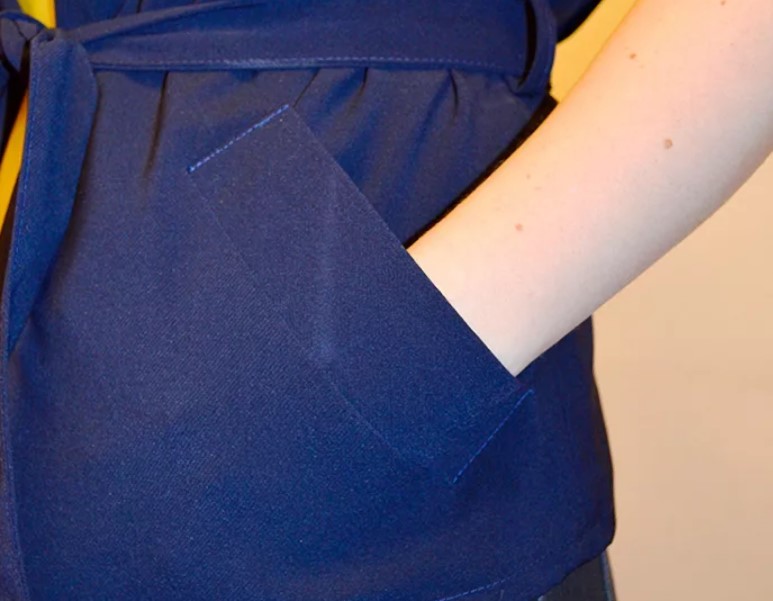
Welt pocket “in a simple frame”
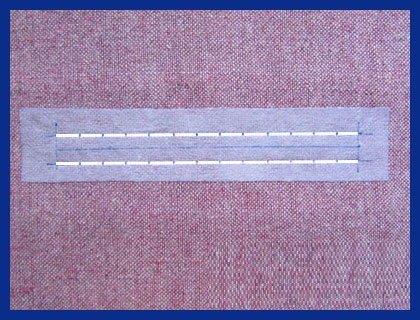
In the photo we see a rectangular frame and insert where there is already another fabric. To do this, you must first measure the sides, then draw with chalk or special pencils for fabric.
Then make a slit in the center of the frame and carefully tuck the edges inward. Next you will need an iron. It is necessary to iron the edges of the frame evenly.Only after this can you insert additional fabric, turning the ends of each fabric in one direction.
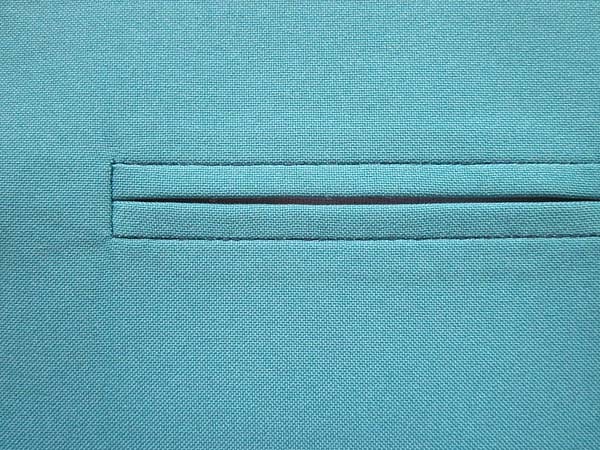
To ensure that everything turns out smooth and without displacement, also iron the additional fabric and initially use needles for joining.
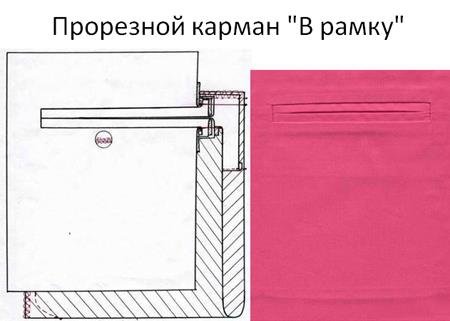
Welt pocket “in a complex frame”
This option is simply a variation of the first version. But it additionally includes a special detail made from an additional piece of scrap.
Welt pocket with flap
This option with a valve looks very nice.
It is divided into an element with one facing and two. When making the product, this option is practically no different from a simple one with a frame, but it will require a special valve. It is made to size separately.
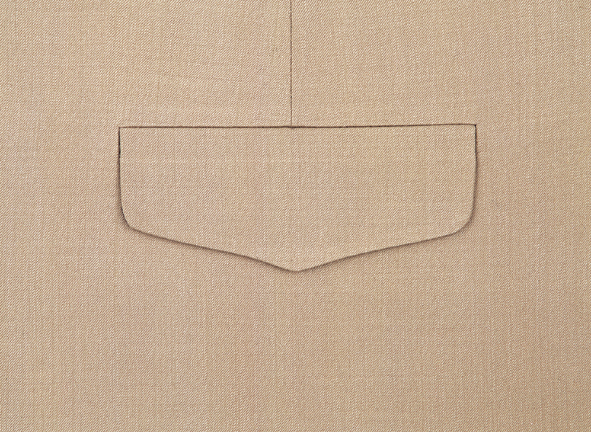
The valve itself is initially created on the wrong side. Then cut the part that was made so that the sides do not diverge and insert the valve there.
The second option is carried out by analogy, but the frame will have two facings and therefore there will be additional stitching above the flap.
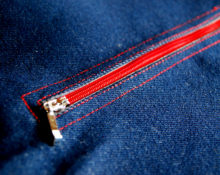
Welt pocket with zip fastening
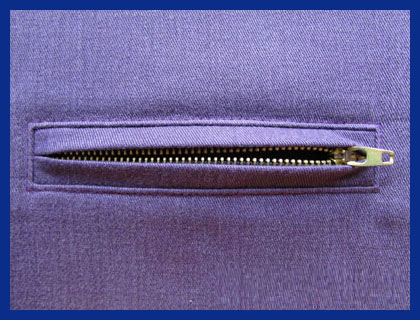
This difficult appearance immediately three varieties. It's a simple zipper. For it, use a zipper, which is initially sewn to additional fabric. Then create it as a simple element with a frame.
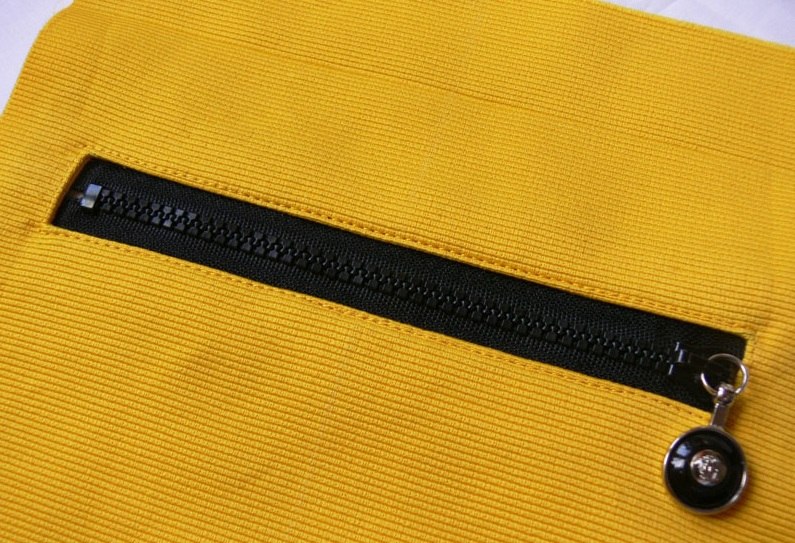
With a leaf It will be useful, in addition to the blank with the zipper, to create a leaf, and insert it first when sewing in so that it is on the front side.
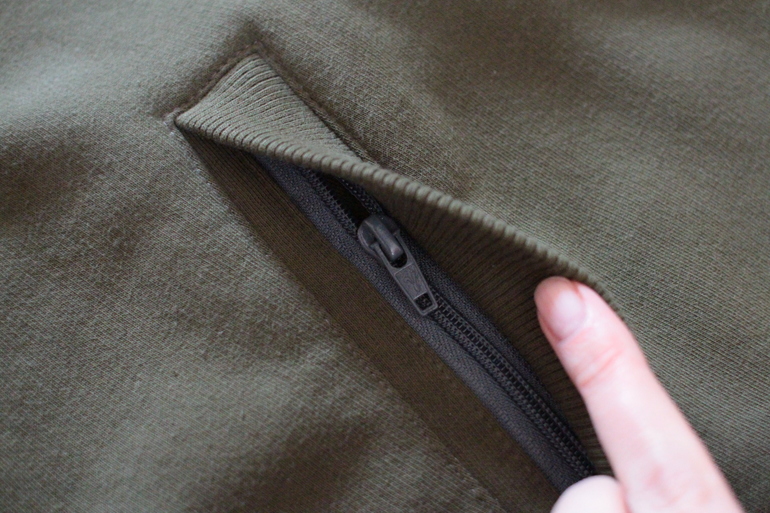
Framed slotted zippers
Models such as zippers in a frame should be considered very common options.
Welt pocket with leaflet
The leaf represents a separate part, which is combined with the product, and the creation takes place using a simple frame technology.
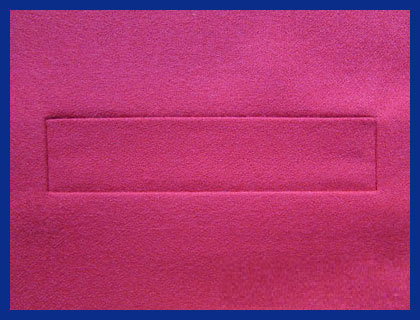
Here the sides of the leaves will be stitched, rather than stitched, with a visible seam along the front side.
But there are also ones with stitching on the front side, this is the type with a leaf and stitching ends.
Welt pocket
The execution of this model is located next to a simple frame, only here no backing parts are required, but only a narrow strip and additional stitches that will secure the leaves.
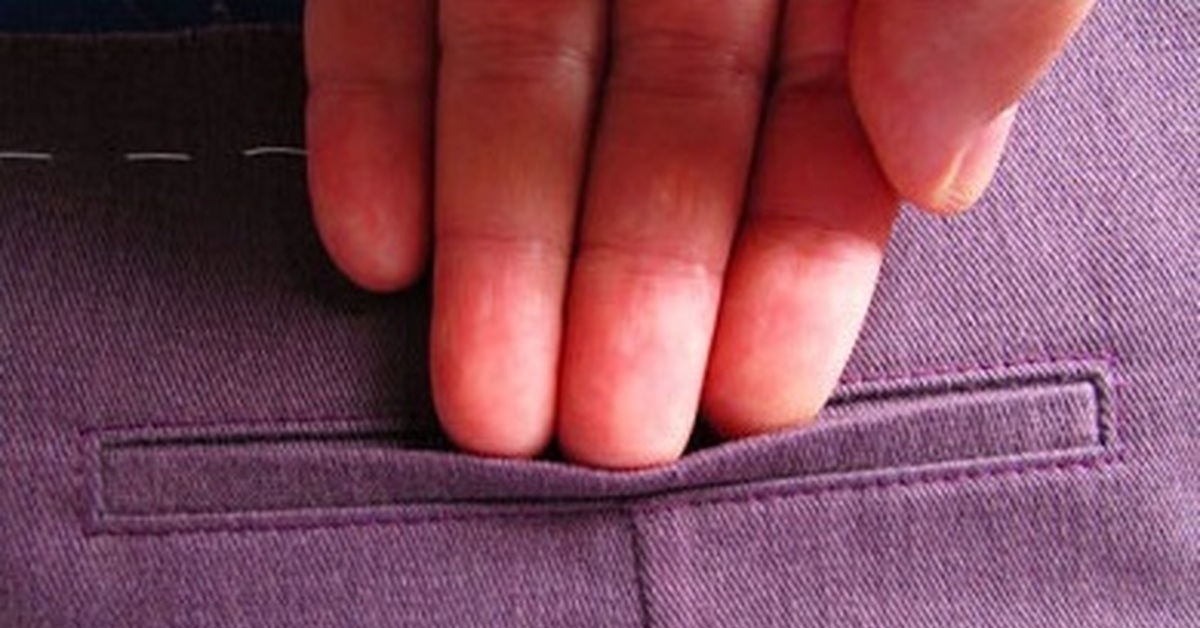
Externally, it will be difficult to distinguish it from the usual one with a leaf. But you just have to touch it with your hands and try to put something there and you realize that there is not much space there, or rather, your fingers immediately rest on the seam of the leaf.
Framed welt pocket
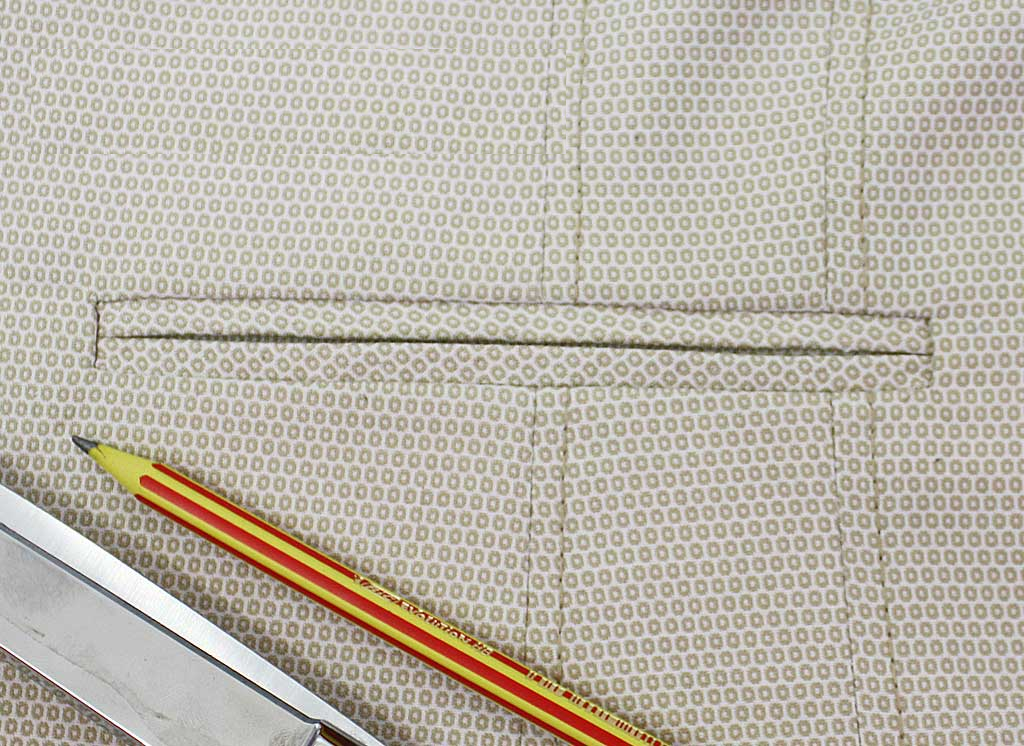
The fake can be not only with leaves, but also a regular “framed” model. It also does not require additional parts for the internals, since the compartment itself will not be there. Only the same elements as in the previous version for creating a frame.
Welt pocket with flap
Initially draw the edges - this is an elongated rectangle. Then create an additional part. There will be no need to make a compartment, and therefore the inside is only a small part that will align with the sides outside the frame. But this model needs a flap; it should be made along the width of the dart and sewn on the wrong side. After the front side is cut, the sides are turned out and the already ironed product will require an even stitch for the edges of the cutout.
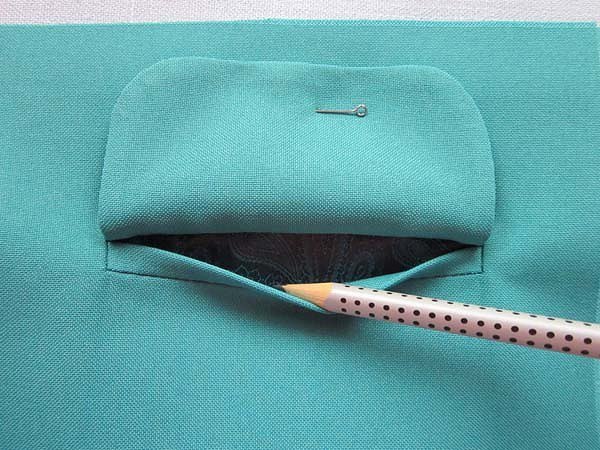
Slit pocket
A very interesting model. It will be difficult for beginners to understand. The drawing itself is presented here in three lines. Next, create all the necessary internals - these are the walls of the product and an additional part that will fix the seams of the gap.
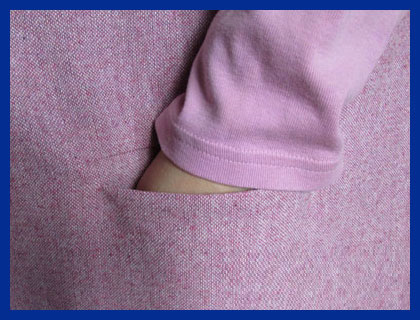
Cut after seams do only one line at a time.
Edge welt pocket
In structure, this type is very similar to model 9 and even 1. But its feature is that externally all the details are hidden with the help of a small and thin edging.
Valves
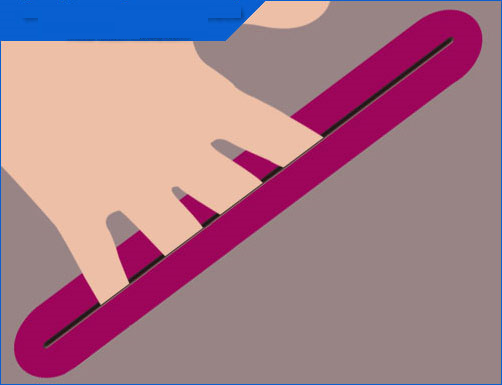
Valves are a kind of “lid” of a pocket. They can be very different in their form. They can simply repeat the bottom of the product itself. They are usually made dense so that they hold their shape well. That's why often these “lids” consist of two layers of fabric, which the seamstress folds with the wrong sides facing each other and makes a slight fold inward.
The stitching itself runs a millimeter from the edge. This is real craftsmanship and very delicate work.. You can use an iron before stitching. This will make the fabric more pliable and outline the corners.
Leaflets
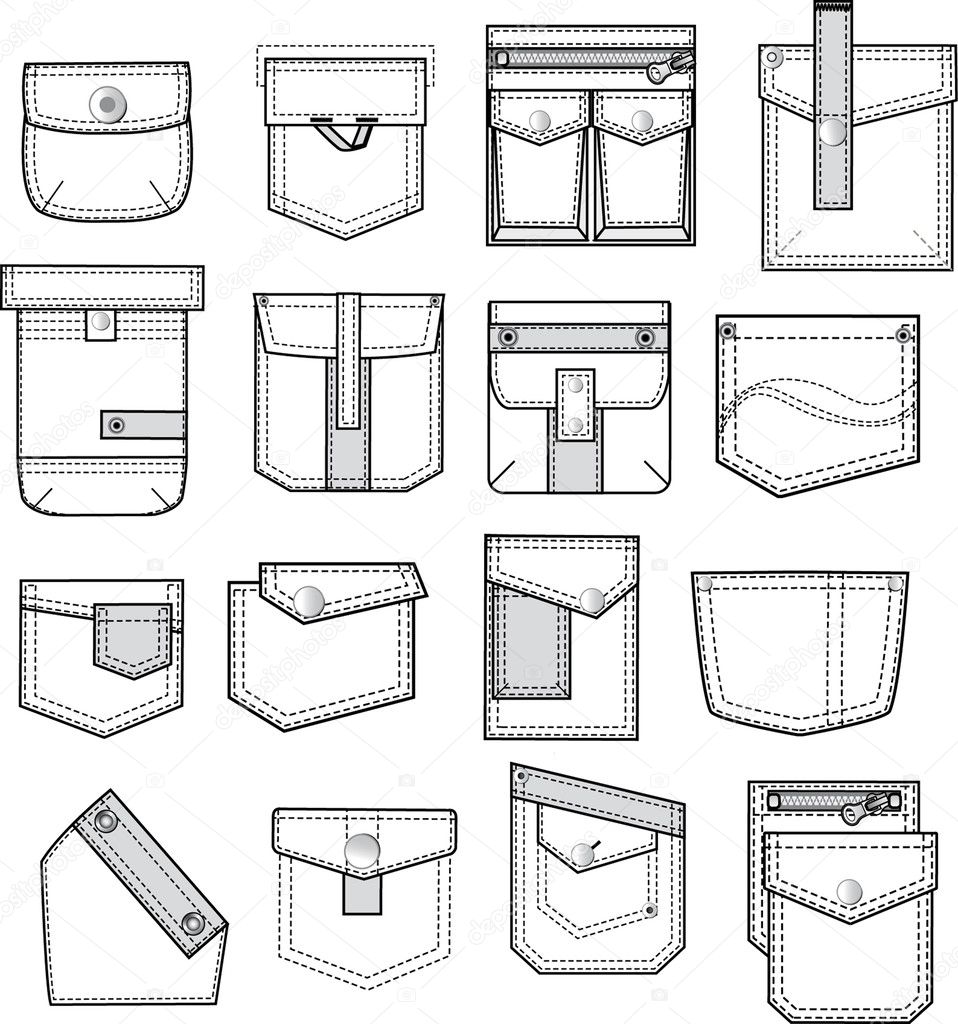
Some pockets are covered with leaves. Under them you can easily hide not only the entrance to the hole, but also a wide zipper. Very inventive details. And they too have a lot of varieties. Such elements can be single. For example, to be located and have a hole at the top or bottom. For a vertical pocket on the right or left.
For oblique - special diamonds are made. The seamstress always monitors the thread so that the whole element is a single whole. There are also types of leaves that are created short at the edges. Such options for a zipper are very convenient.
Facings
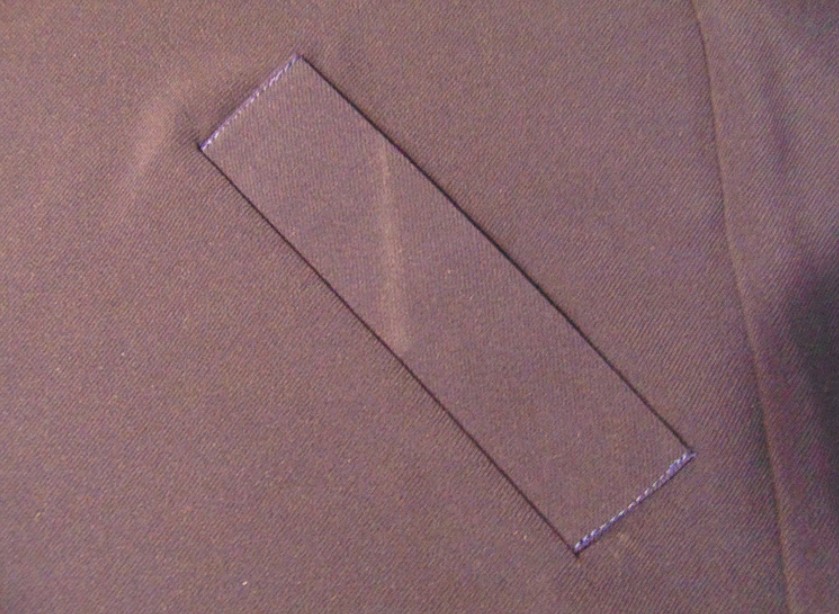
Facing is the name of the fabric with which craftsmen process cutouts. But they do not always repeat the shape of the product and are a single fabric. They can be made from completely contrasting fabric and this is the designer’s idea.
Dolevik
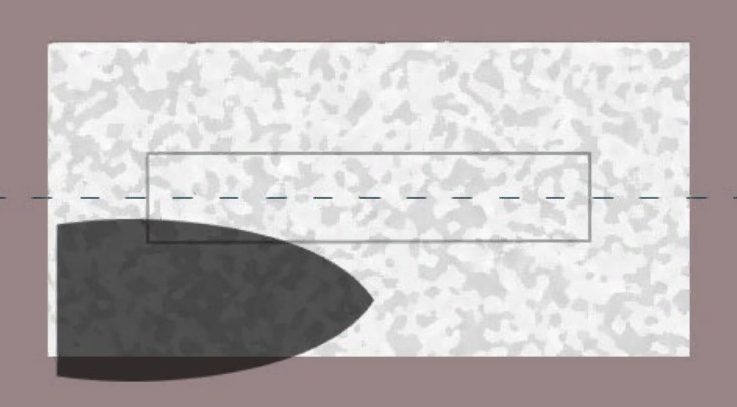
In any case, the future cut is always must be reinforced with special fabric. This strip or rectangle is called a lobe. This element is presented either in thin cotton fabric or non-woven fabric. The width is usually used from 6 cm. After installation in the required place, this part needs to be well fixed, and hand stitches help to do this. Place stitches on the longest side along the top and bottom of the rectangle. Make stitches approximately at a distance of 2-3 cm and at a distance of 0.5 cm from the edge.
Burlap lining
As fabric for this inner element You can also use the main fabric. But in the case when a master sews a coat or something made from thicker fabric, it is better to use a special lining material. By size you can use different options. They can be one-piece or consist of parts.
Valance
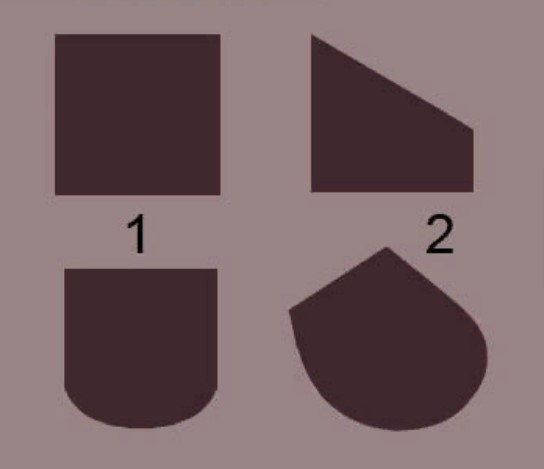
A valance is a kind of covering made of the main fabric that will cover the entrance to the product. It is important to remember one rule for him. Its pattern will be in compliance with the directions of the grain thread and only from the fabric of the main product.
With effort and hard work you can achieve an excellent result. And things are always more practical with pockets. Its variety can make a thing individual.


 1
1