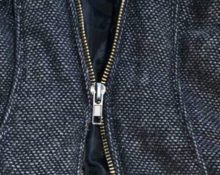
The breakdown of a hidden zipper often leads to confusion, because its structure is different from other types of fasteners. Concealed zippers are spiral zippers, when instead of teeth, a synthetic fiber spiral is wound or sewn onto a textile tape.

For this reason, a frequent breakdown of such a fastener is the failure of the slider or pawl. The teeth simply cannot fall out unless they are mechanically damaged - cut or torn.
And it is even believed that if the pawl breaks, the entire clasp will have to be replaced. But this is not always true. The slider with a hidden clasp is easy to change, but there are some nuances that you will learn about here.
Causes of breakdowns and features of hidden zippers
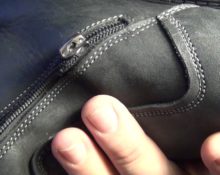
The peculiarity of a hidden zipper is that the teeth are located on the inside, and what is on the front side is covered with fabric. Therefore, on the finished product with a secret clasp, only the line of connection of the 2 parts of the fabric and the dog keychain are visible.
IMPORTANT! On regular zippers, the teeth are sometimes also covered with fabric.The secret one is distinguished by the fact that the main part of the dog is also hidden under the fabric, only the keychain and the protruding part on which it is attached are visible.
Causes and types of failures of a hidden zipper when a slider change is necessary:
- the clasp comes apart. The reason is a weak dog, it does not press the teeth tightly, and they are not fixed to each other;
- difficult movement of the slider and divergence of the fastener towards the bottom. The reason is that the pawl is too compressed, such strong pressure connects the teeth incorrectly, which is why they become disconnected;
- the puller broke off. Reasons: poor quality material of the lock, improper operation, old age of the lock.
REFERENCE! Puller – keychain, pendant, dog tongue. Zipper – lightning, snake, clasp. Dog - runner, castle.
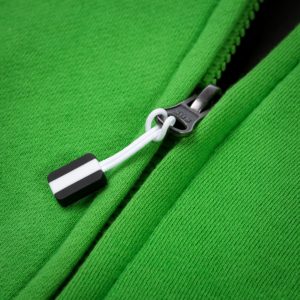
DIY repair materials
Repairing a hidden fastener does not require a lot of materials, the main thing is to choose a suitable lock. You will need:
- slider of the required size;
- candle or lighter;
- scissors;
- needle with thread.
IMPORTANT! If the zipper is broken on the finished product, take a lighter. It is not safe to scorch the edges with a candle, because you will have to lift the entire product and hold it over the fire.
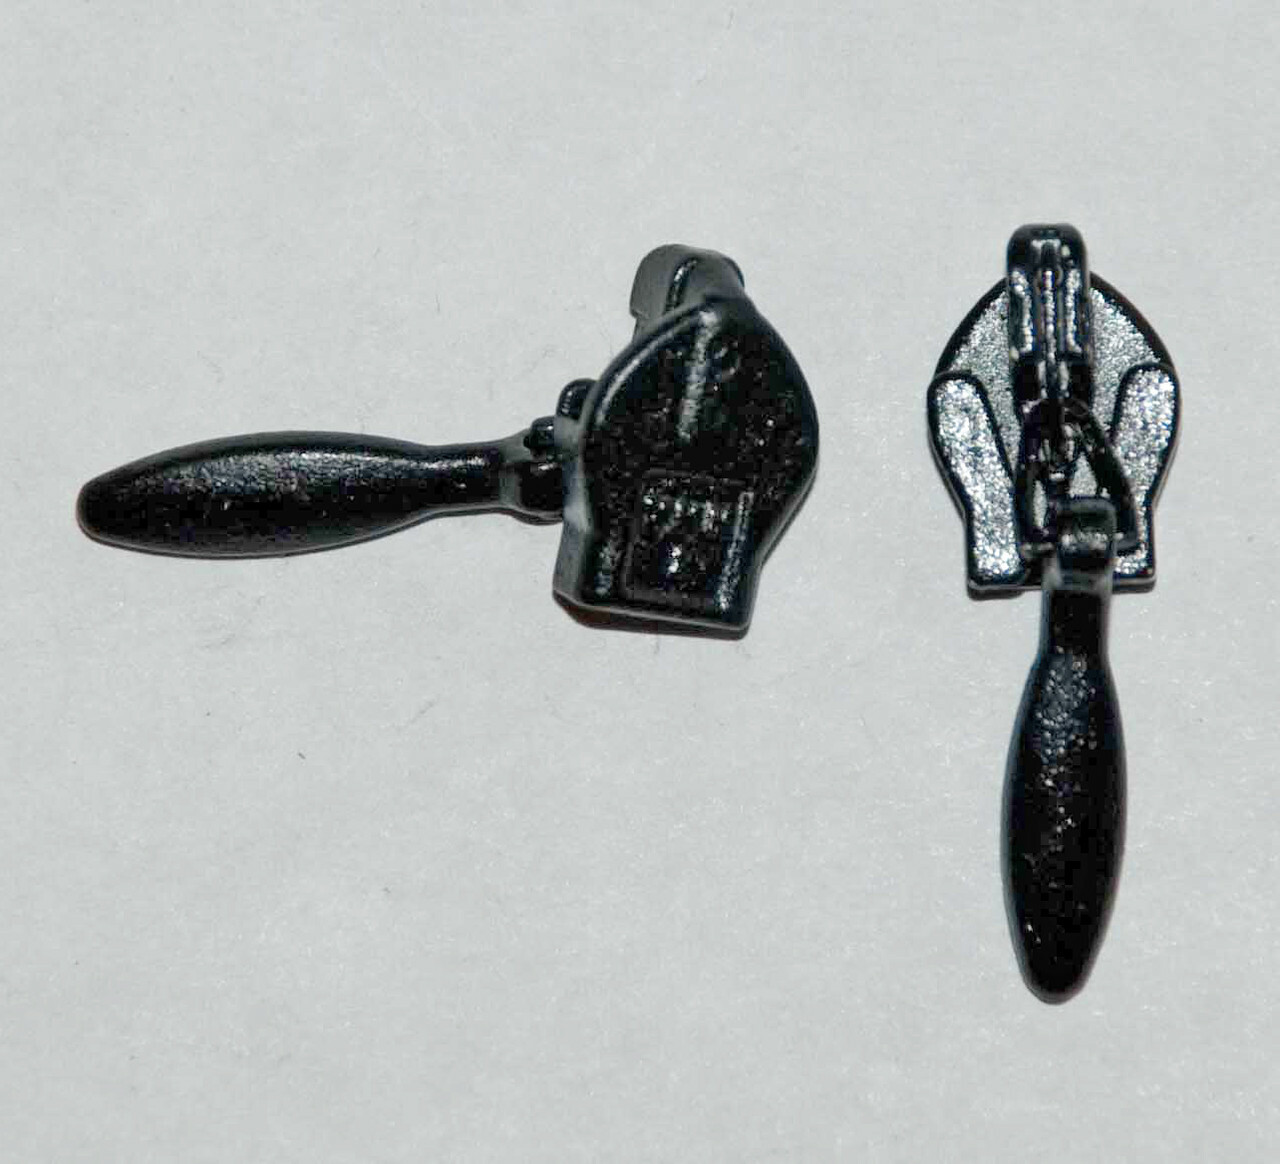
How to insert a pawl into a hidden zipper, instructions
There are several repair options, and they depend on the condition of the broken clasp. Inserting the pawl into a zipper with original ends will require less effort than repairing a zipper with cut ends. Also, the algorithm of actions differs for a separate fastener and one sewn into the product.
If the dog is not deformed
Let's consider several situations when you need to insert a slider into a hidden zipper. Please note that zippers are sometimes connected with clips, then they will need to be cut.
The clasp with its original ends is taken separately. The advantage of such a zipper is that there is a supply of fabric at the ends. The teeth there begin at a distance of 1-1.5 cm from the edge, and this makes it possible for the lock to enter freely.
Algorithm:
- take the clasp so that the teeth are facing away from you, the slider keychain is facing you, and the ends are at the same level;
- if the ends are frayed, lightly scorch them with a lighter;
- Insert one end of the fabric into the runner until it stops against the teeth. Then insert the second part of the zipper in the same way;
- align the ends and grasp them firmly with your thumb and forefinger;
- clasp the slider with 2 fingers. Don't grab the keychain because you'll have to pull hard;
- pull the lock down. At first it will be difficult to move due to the parts of the clamps. It will go further easily, and you can pull the keychain;
- Sew the ends in place of the fastener.
Separate zipper with cut ends. The peculiarity of such a fastener is that it no longer has a supply of fabric at the ends to insert the pawl. It immediately starts with teeth and this complicates the process of inserting the slider so that the entire zipper does not warp.
Algorithm:
- align the ends at the same level and singe them to make them tougher;
- position the zipper with its teeth facing away from you;
- cut one side by 0.5 centimeters;
IMPORTANT! If the length of the fastener allows, cut off 1 cm, it will be more convenient. You need to trim one side so that the zipper does not skew at the bottom.
- take the lock with the key fob towards you. Insert the long side of the zipper into it so that the end of the slider and the fastener are at the same level;
- Now insert the short side of the clasp into the pawl. This will be more difficult, because the space inside the lock has already been occupied by the teeth, but when 1-2 teeth of the short side enter the slider, stop;
- take the ends of the clasp with 2 fingers, take the keychain with the other hand and begin to pull it down.Pull until the teeth on both sides engage the pawl and it moves freely;
- sew the end together to form a retainer.
Concealed zipper in the finished product. The algorithm for repairing a hidden zipper in a finished product is the same as in a separate one. But there is a nuance - the slider needs to be inserted so that it ends up on the front part of the product, and initially it is inserted on the back side.
Algorithm for repairing a fastener with original edges:
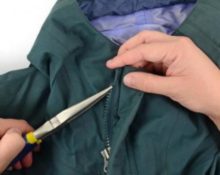
- trim the edges with scissors and lightly singe;
- take the end of the clasp with the teeth away from you, and insert the slider, with the keychain facing you;
- pull the pawl through the clamps;
- Now the keychain needs to be brought to the front side. Pull it through the hole that is located between the fastener and the fabric of the product;
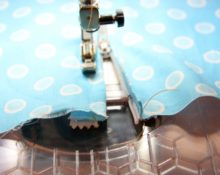
- Pull the pawl to the end, and sew the place of the fastener manually or on a machine.
Algorithm for repairing a fastener with short-cut edges:
- take the zipper with the teeth away from you and shorten one side by 0.5 cm;
- singe the edges with a lighter to make them tougher;
- insert the pawl into the long half of the fastener, flush with the edge. The runner looks at you;
- place the keychain between the fastener strips;
IMPORTANT! Due to the fact that the ends are short, then the keychain will not be able to be threaded into the hole. Therefore, now it needs to be transferred to the front side.
- start putting the dog on the short side. Grasp the edges with 2 fingers, and pull the keychain down with two fingers. Having slightly stretched the pawl, wrap 4 fingers around the zipper on both sides - thumbs and forefingers. Use your middle finger to push the pawl down until it moves freely;
IMPORTANT! Make sure that the zipper does not warp; its ends should be at the same level as you cut them. If the clasp is skewed, remove the lock and try again.
- Sew the end of the fastener to form a retainer.
If the slider is broken
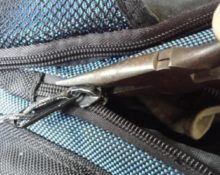
If the pawl is broken, it must be removed from the clasp before replacing it. To do this, cut the lower clamp and pull out the slider. Place a new one and sew up the fastener tightly. In some cases, the finished product will have to be slightly ripped at the bottom, because the puller is on the front side, and to remove the slider, it must be returned to the wrong side.
Now you know how to insert a zipper into a hidden zipper. All that remains is to practice. And keep in mind that this may not work the first time, especially in the case of cut edges. You just need to get better at it, and in the future this manipulation will not require much time and effort.


 0
0