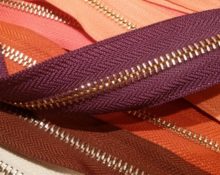
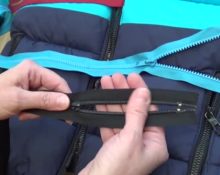
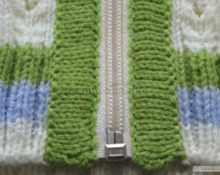
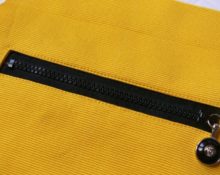
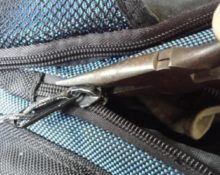
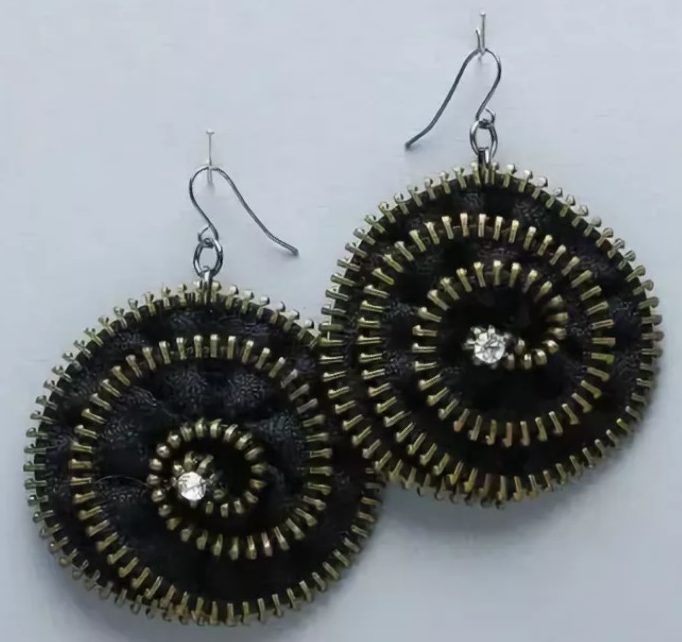
 The zipper, familiar to everyone since childhood, greatly simplifies our daily life. The main purpose of such a thing is to connect various parts, from pockets on children's clothing to overalls for astronauts. But, besides this, such a clasp can, if desired, be successfully used for making a variety of crafts and original jewelry.
A variety of DIY lightning crafts
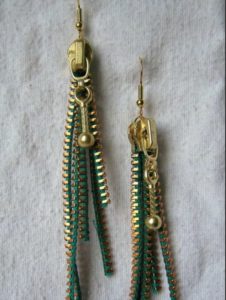
In the skillful hands of needlewomen, an ordinary fastener can be transformed in the most radical way. Such clasps are used to create elegant brooches, graceful necklaces, original bracelets, unusual earrings, modest pendants, hairpins and headband decorations.
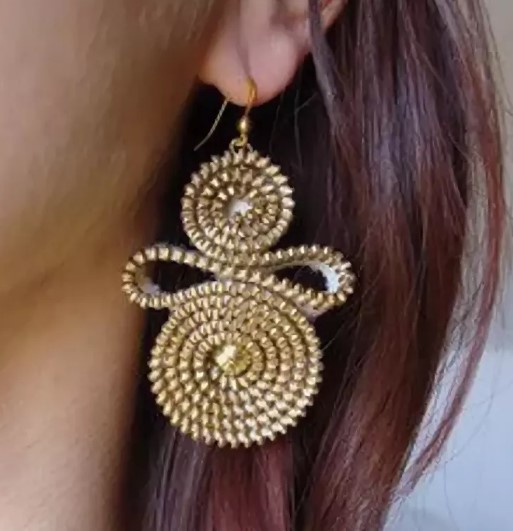
Let's look at some spectacular crafts for beginners step by step.
Lightning bracelet
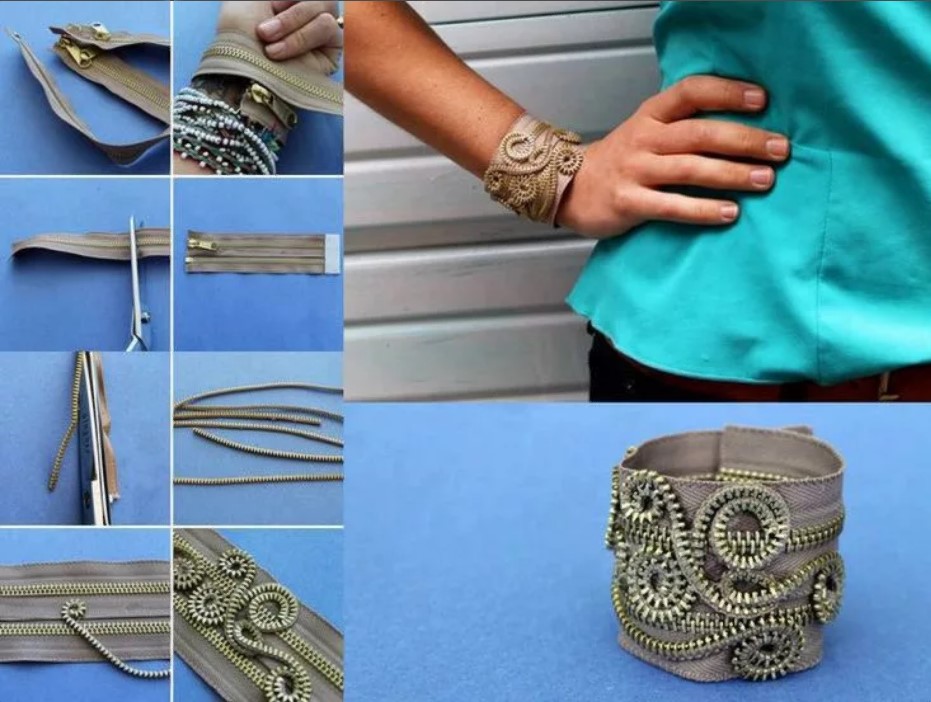
To make an original bracelet from such a clasp you will need to do the following:
- You need to cut off half of a long zipper so that it can be wrapped around your wrist twice.
- The halves obtained in this way need to be glued together and buttons or Velcro fastened at both ends.
- Now you need to take 2 more zippers of the same color and cut them as close to the teeth as possible. After this, they must be glued along the entire length to the bracelet, laying them in the form of a spiral pattern. Excess glue can be removed with a toothpick.
Lightning Flower
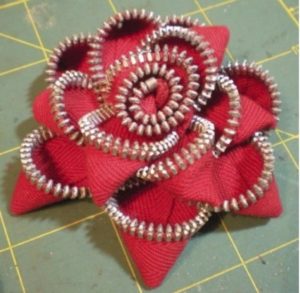
To make an elegant rose you need to prepare:
- lightning;
- needle and thread;
- bead or any other suitable decor.
Technique:
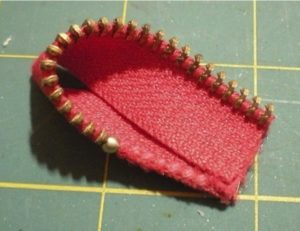
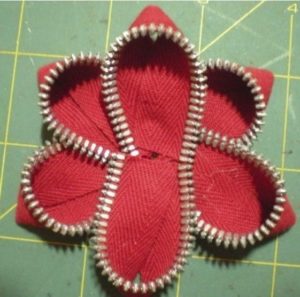
- The clasp must be divided into 2 parts. Then you need to pass a thread along the entire zipper (as shown in photo 1).
- Now you can proceed directly to making the flower, forming an assembly to form the center.
- Next, you should sew the second part of the fastener and wrap it around the middle of the flower, tightening the second part more loosely.
- You need to sew a bead in the center of the flower.
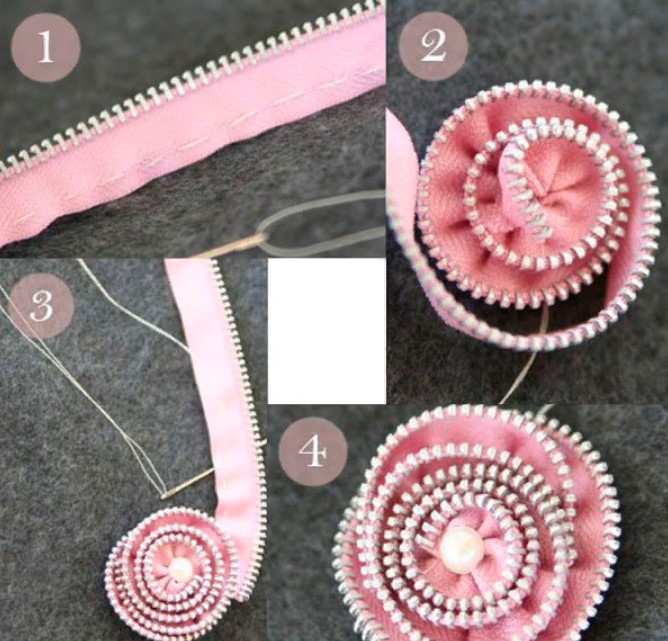
Advice! If desired, such a rose can be supplemented with leaves, using green accessories for this purpose.
Lightning flower with petals
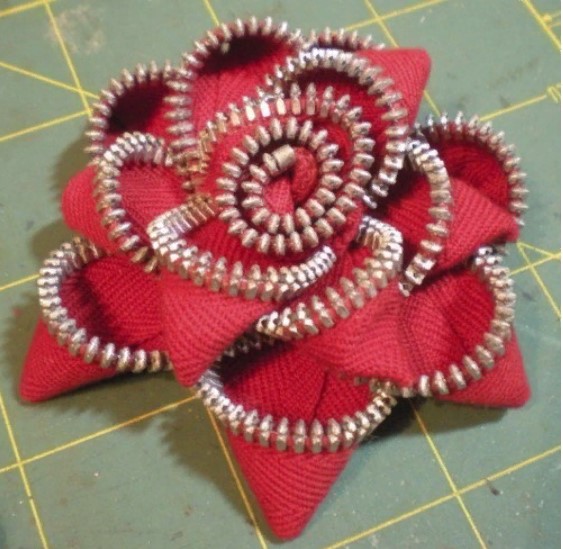 To make a product like this, you will need:
- lightning;
- scissors;
- glue;
- a piece of felt.
Technique:
- The clasp must be divided into 2 parts, removing the slider from it.
- One of the halves needs to be cut into 6 identical fragments. They will act as large petals.
- The second half should be cut into 6 smaller fragments so that there is still one large fragment left for the central part of the flower.
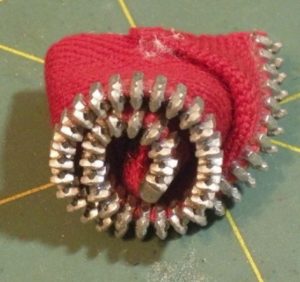
- The center of the flower must be glued. First you need to bend the edge, then, adding glue, roll up a large piece.
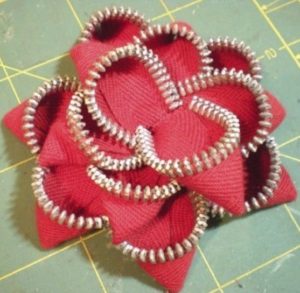
- Small and large fragments must be glued together to form full-fledged petals.
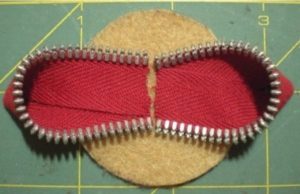
- A circle of small diameter should be cut out of felt and first large and then small petals should be glued onto the felt base (photo 8-11).
- Finally, you need to glue the middle of the flower. It is not recommended to use a lot of glue.
Lightning with pendant
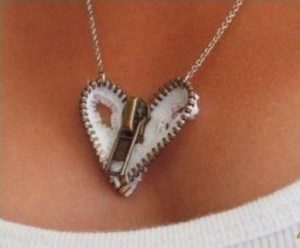
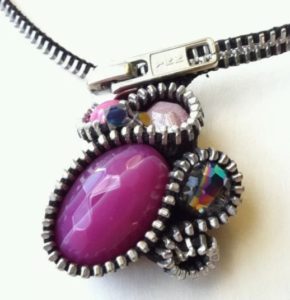
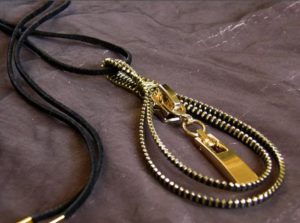
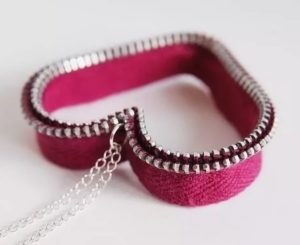
You can make a cute heart-shaped pendant from such an item. Such an accessory will look gentle and light. You can take an unconventional approach to creating an unusual decoration by using such a clasp as a pendant for any pendant you like.
Another original option is to use a beautiful “dog” left over from a broken clasp as a pendant.
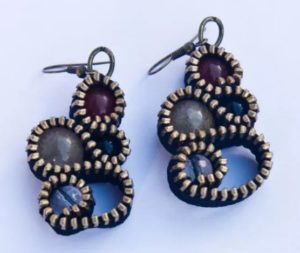
Lightning earrings
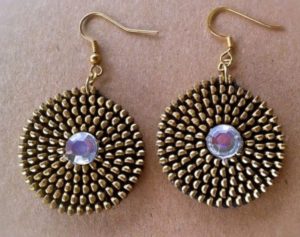 For making original earrings you will need:
- metal zipper – 2 pcs.;
- needle and thread;
- fishing line;
- locks for earrings.
Technique:
- The fastened fittings must be trimmed so that the fabric remains 3-4 mm. The retainer also needs to be cut off.
- Then the fastener needs to be divided in half, bent inward from one edge by 3-5 mm and stitched with thread.
- Next, the zipper should be wrapped in a circle in 3 rows and all rows should be sewn together with fishing line to secure it (during the sewing process, you need to insert a needle every 2 teeth). The clasp must be wrapped in this way until the desired size of the decoration is achieved.
- Make a second similar piece in the same way.
- Locks must be securely attached to the workpieces obtained in this way. The original earrings are ready.
Lightning Necklace
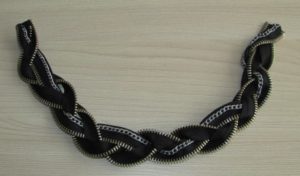
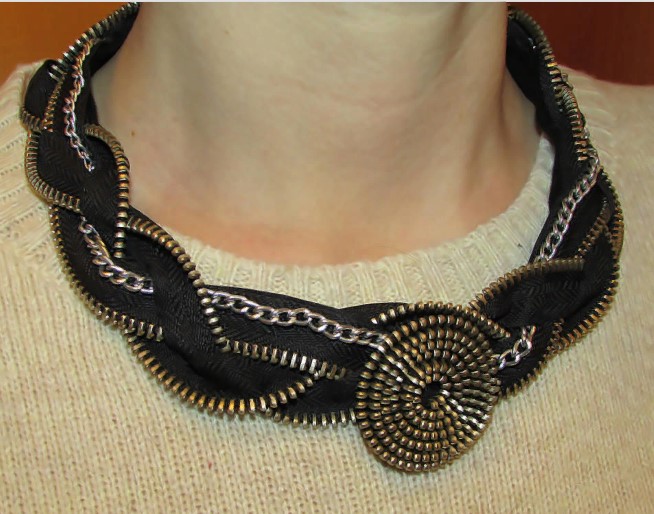 Original necklace by Olga Zimina. To make a spectacular necklace from such accessories, You will need the following tools and materials:
- metal zipper (90 cm);
- chain;
- needle and thread of the same shade as the zipper;
- grosgrain ribbon (6 mm);
- felt;
- scissors;
- Super glue;
- lighter.
Technique:
- The fastener must be opened and unnecessary edges cut off. Each part needs to be divided in half and the sections are sealed with a lighter so that they do not crumble. Three pieces of fittings will be needed to form a braid, and the fourth will be needed for decoration.
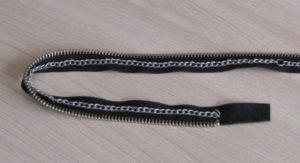
- You need to sew a chain on one or two segments.
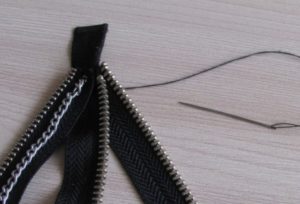
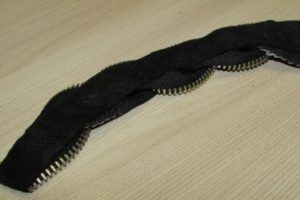
- Three sections must be secured with thread. It is necessary that the outer segments be positioned with the teeth facing outward.
- Next, you need to weave a flat braid from the segments. The cloves should remain outside at all times. To do this, the zipper must be rolled up each time, releasing the jagged edge.
- The finished braid must be secured with thread, straightened and, if necessary, fixed in some places with glue.
- You need to make a base from felt (a strip about 1.5 cm wide) and glue it to the wrong side of the braid.
- As a fastener, you need to attach a grosgrain ribbon, under which you need to hide the edges of the braid, making several turns and securing with glue.
- To decorate the necklace, you need to make the main decorative element from the remaining zipper. To do this, the textile edge of the zipper should be cut off a little and scorched with a lighter. Now the fittings need to be twisted tightly and the turns secured with a needle and thread.
- The resulting decorative element must be glued to the braid. The necklace is ready.
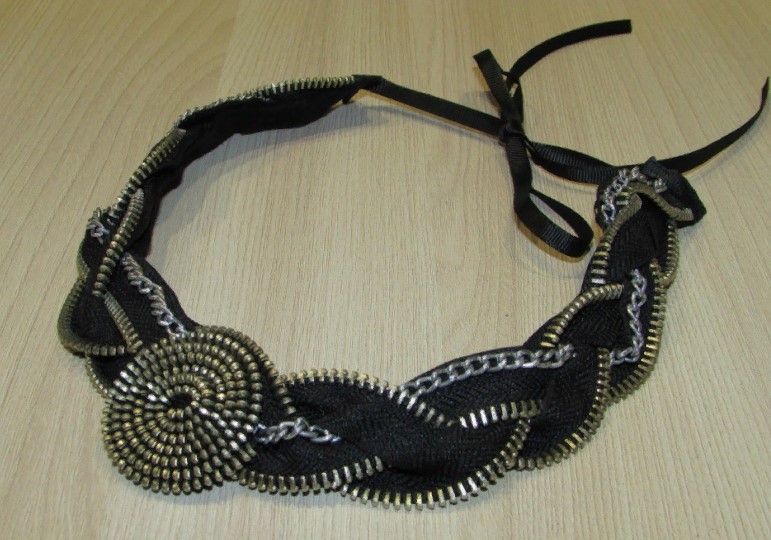
Advice! You can use several decorative elements of different sizes to decorate a necklace.
Many people are accustomed to seeing such fasteners as exclusively functional fittings. But in skillful hands, such products can turn into stylish and original accessories. Needlewomen love to use metal fasteners of this type for creativity, due to their reasonable cost and variety of sizes and colors.


 0
0