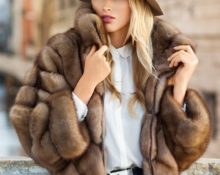
Working with fur without special skills is quite difficult, even when it comes to something as simple at first glance as sewing on a button. If such a need arises, most owners of mink products will contact the studio, others will try to solve the problem on their own.
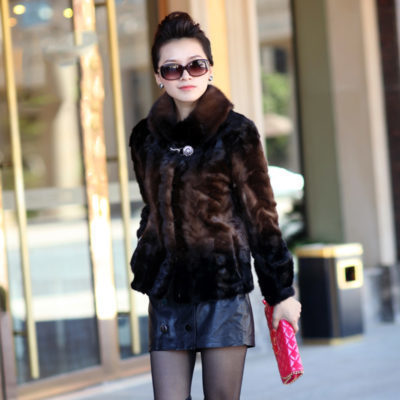
Buttons for fur coats: varieties and features
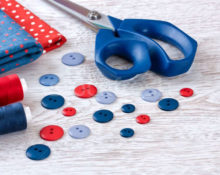
Buttons on mink coats most often have a decorative function, since invisible hooks sewn on the reverse side are used as fasteners. They can be located near the collar and hood, on the sleeves. There are different types of buttons for fur coats:
- according to form — into elongated, round, oval, square and fancy;
- according to the material of manufacture — for wood, leather or fabric, plastic, glass, metal, etc.;
- according to the method of sewing onto the product — with 2 or 4 holes, with a leg or a tenon;
- by the presence or absence of design There are models decorated with precious and semi-precious stones, Swarovski crystals, rhinestones, and sputtering.
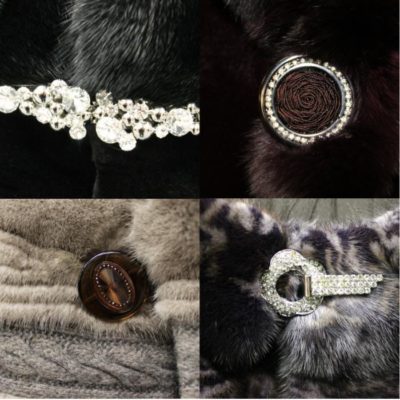
When choosing a button to decorate a mink coat, you need to focus not only on the appearance of the accessory, but also on whether it matches the fur. So, for example, blue or green items will look ridiculous on a shiny brown mink.
How to sew a button to a mink coat?
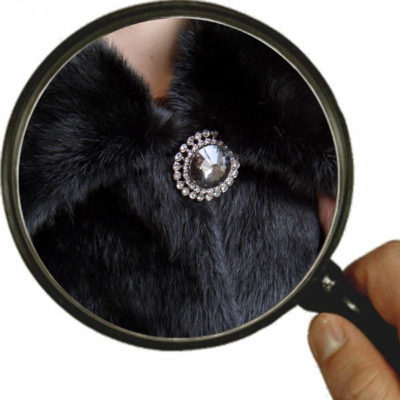
To sew an element to a fur coat made of any fur yourself, you need to stock up on the materials necessary for work:
- threads to match the fur, a long needle;
- decorative and lining (flat, small) button;
- with a match.
Process step by step:
- The place where the button will be sewn must be cleared of any remaining threads, if any.
- A thread folded in half is threaded through the needle and a knot is tied.
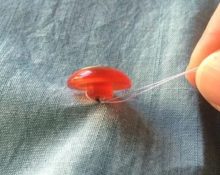
- The wrong side of the button is applied to the inside, through its hole a needle and thread are brought out to the front side of the fur coat.
- A decorative element is applied to the wrong side, under which a match is placed.
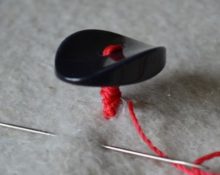
- The thread and needle are brought out to the wrong side, making a loop over the match. The action is repeated 10 to 15 times.
- Once again, when the thread and needle are on the front side, the match is removed and the thread is wrapped around the “leg” formed from the loop about 5 times. Thanks to this, a leg is formed that will prevent the fur from being wrinkled while using the decorative element.
- Secure the structure from the wrong side by pulling the needle through the hole and tightly tightening the loop.
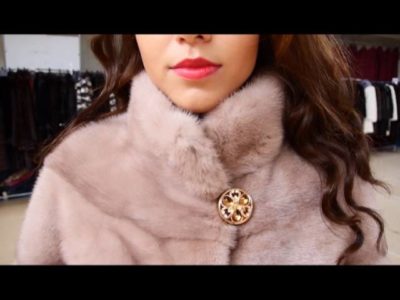
While working, you need to make sure that no fur fibers get under the seam and straighten them as necessary. The direction of the pile must also be taken into account, since the fur may become wrinkled when attaching the fasteners.
What mistakes should you avoid?
When starting to work on decorating a fur coat with a new fastener or altering an old one, it is important to choose the right needle. Too thick will damage the inside of the mink; too thin will not be able to penetrate it.
Also, don’t forget about the back button. Its presence will help avoid unnecessary stress on the fur. This is especially true for elements that are sewn on for permanent use. If the fastener is not strengthened from the inside out, it will eventually be torn out “with meat”.
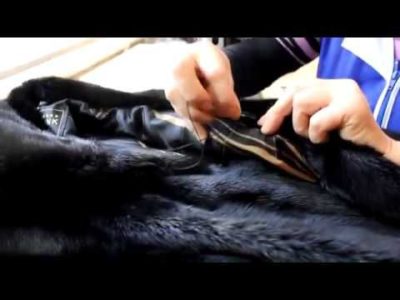
If several buttons are altered at once during the work process, you need to do several fittings. Those who don't do this risk having to start over again because Without control, the fasteners can move and change their location under the weight of the fur.
If the inside is cracked on the reverse side, you can use a small piece of genuine leather as a sealant. Before starting work, it is laid between the core and the back button.
In order not to spoil the appearance of such an expensive and presentable fur product as a mink coat, buttons and fasteners for it must be selected with special care. It is better to avoid too bulky and elaborate designs, as they will not only worsen the appearance, but also spoil the fur around it.


 0
0