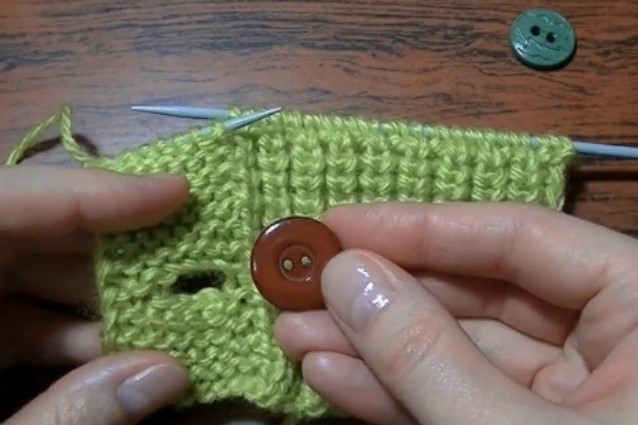
 Buttonholes are not always easy, especially for a beginner. Some craftsmen have already made many models, but so far they have only used simplified buttonholes - yarn overs and nothing more. This article contains several ways to create loops with knitting needles, as well as beautiful strips on which such loops can be placed.
How to knit buttonholes with knitting needles?
It's not that difficult to make stitches with knitting needles if you have a few helpful patterns on hand.
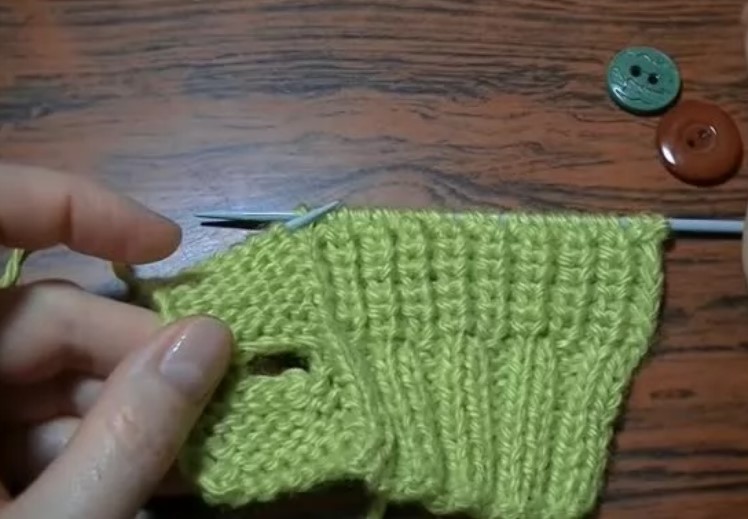
To make it clear, the diagrams will be further presented in images of the loops themselves and the actions that the master must perform to obtain a beautiful result.
Horizontal
Horizontal loops - these are the loops that stretch horizontally. But there are several ways for them too. Let's look at the most popular and simple methods for obtaining this kind of holes.
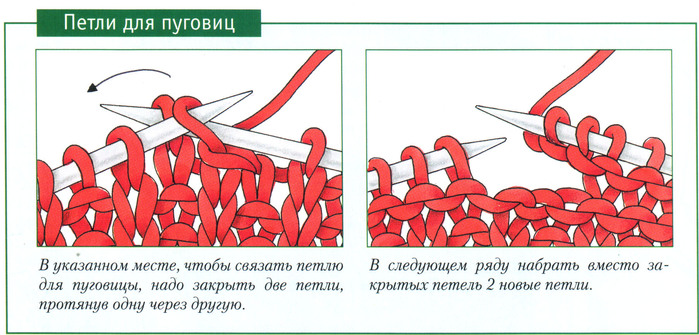
In this method you will need to close the loops first. To do this, use the simplest method of closing the edge loops. This is knitting two loops together.With subsequent transfer. But in order to close the loops, you first need to measure the diameter of the button. Next, use the fabric to estimate how many loops need to be closed and it is better to reduce a couple of loops so that the loop turns out to be a good size and not too small.
The loops were closed to the size of the button, and then you will need to make the top. But there are no loops here, just make a small set in the next row and make up for the loss with a similar set of loops. Then knit according to the pattern, and the work is ready.
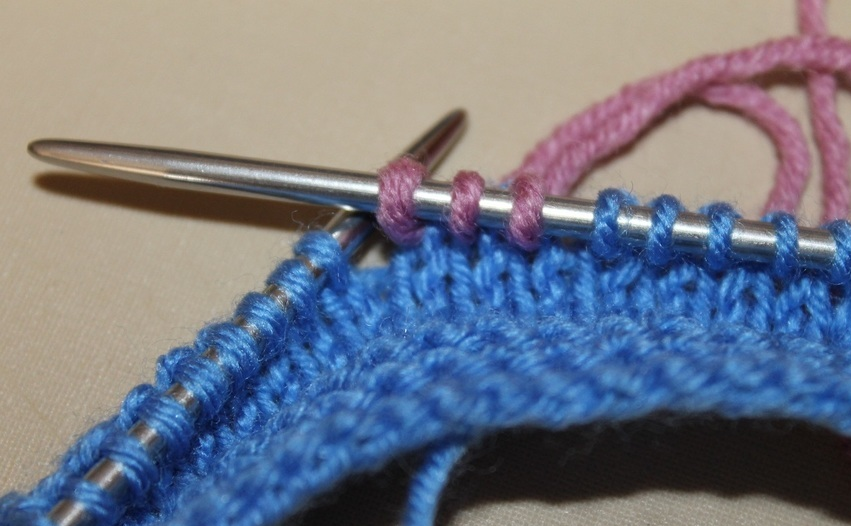
This knitting technique will immediately remind the craftsmen of mittens or gloves. But few craftsmen have thought about using this method to create loops. There will be a smooth, beautiful edge, and there will be no need to make an additional set, in which unskilled hands often get confused.
The technique is simple, you just need to knit a contrasting thread in a row to the required width according to the diagonal measurement of the button. Next are the next rows according to the fabric pattern and without changes. After completing the work, the contrasting thread is carefully pulled out, and the edge is stitched so that the loops do not unravel, since the edge will end up with loops. You can simply work it with a needle and thread. You can use a hook in this place.
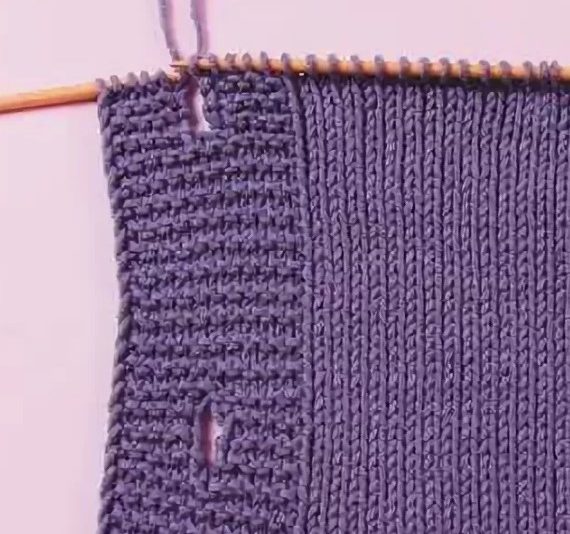
Vertical
Again two ways. Simplest - this is to knit the right and left fabric along the length of the diameter. Combine them later.
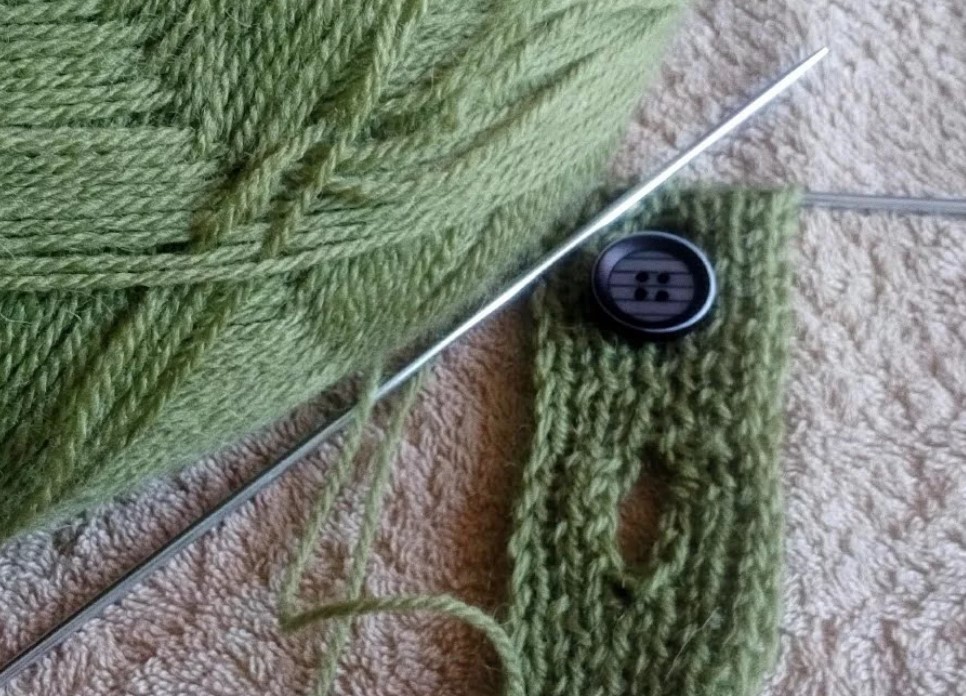
The edge can also be crocheted or simply with a needle and thread. The contrasting treatment looks beautiful.
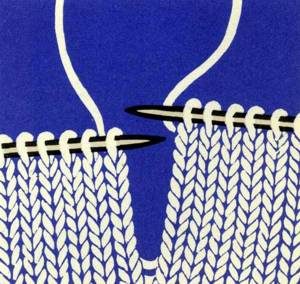
Next method again guarantees the presence of contrasting thread and ease of execution. Use a contrasting thread along the diameter of the button. Later, remove it and a beautiful hole is ready.
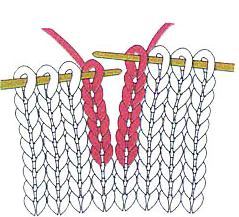
Loop holes
Hole loops or in other words yarn over loops. These are the very first options that a beginner will master in any case.They are very easy to do. You just need to make sure that the fabric remains the right size, since the presence of a yarn over implies the expansion of the fabric. In the next row, it is better to immediately make the appropriate decreases.
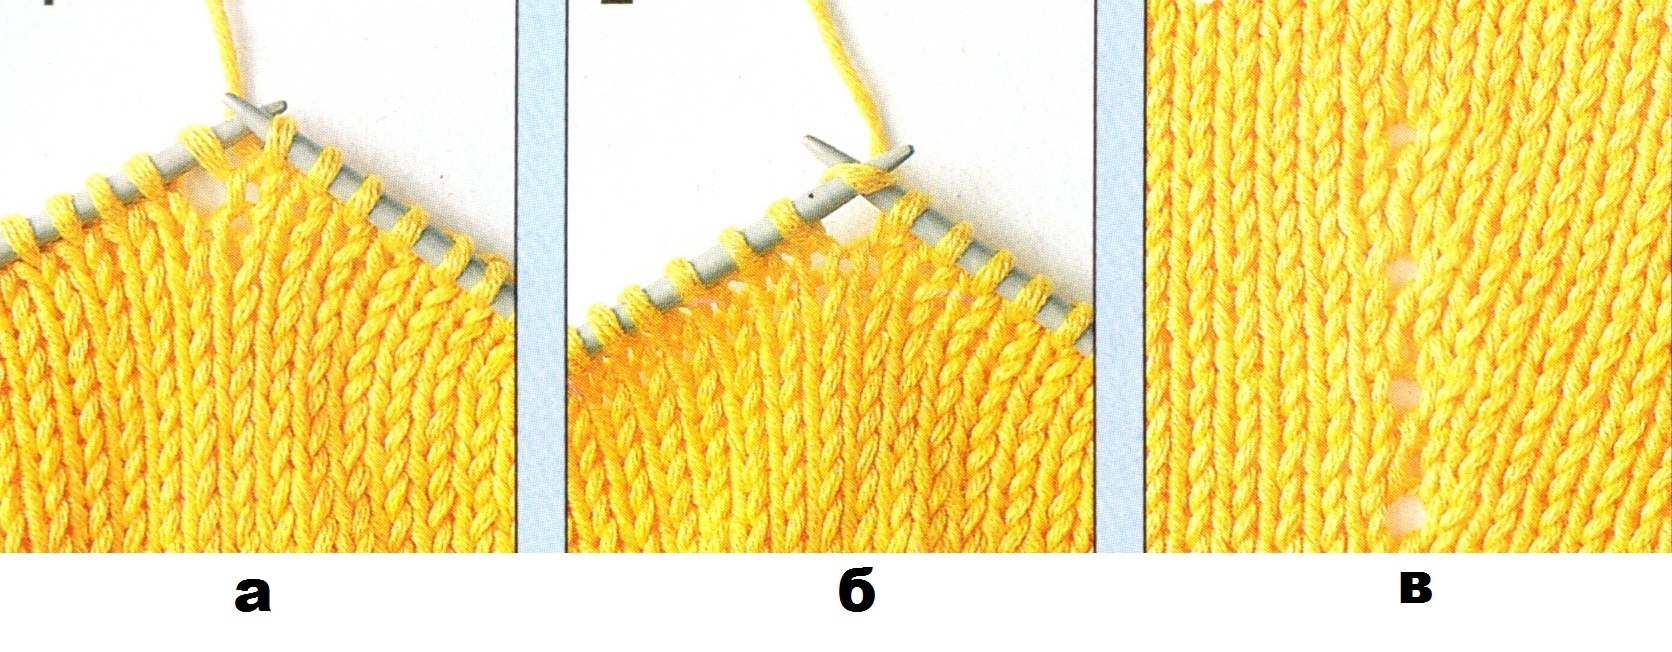
This is what this simple canvas looks like. But it can only be used on small buttons, and therefore cannot always be used.
How to beautifully knit a button placket with knitting needles?
Many models have a special strip - this is a continuation of the work on which the master makes the fasteners. Moreover, these may not necessarily be buttons. They use their own patterns for the strip, but it can also be a continuation of the main pattern of the knitted fabric.
Methods
Several ways to perform a plank with knitting needles. A little more detail about each of these methods.
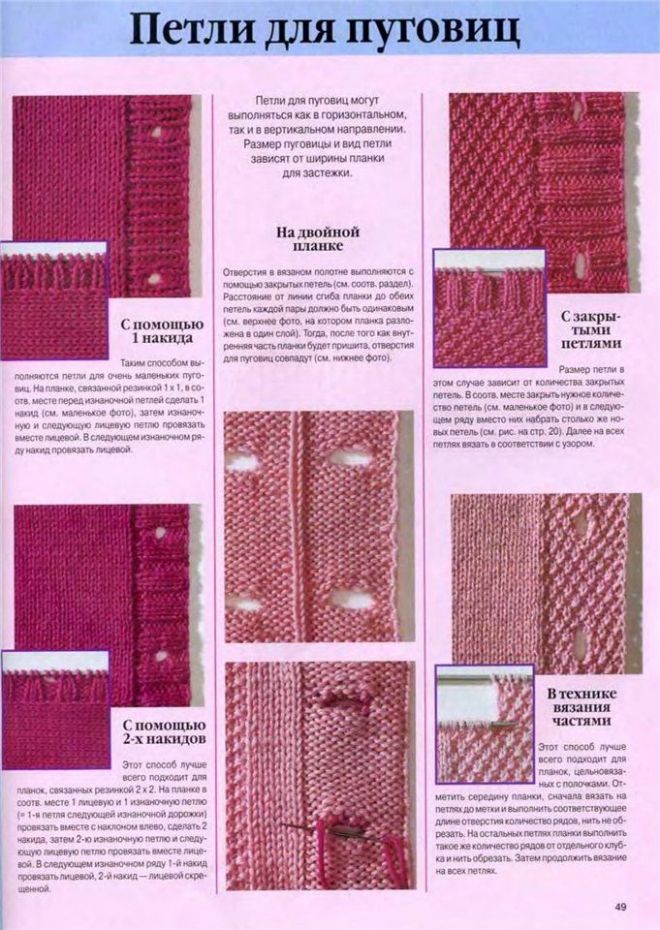
Often used for planks plain satin stitch pattern (these are both purl and knit stitches) or garter stitch. Looks good in place of the plank and prostitute. Only the most common pattern for it will be an elastic band with knitting needles. This is most often elastic band 2*2. Simplified models look very beautiful. But there is also room for braids and different openwork. Stunning plank along with the diagram below.
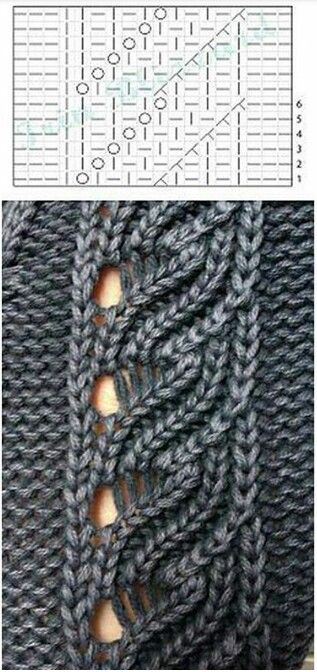
This pigtail deserves the attention of a true master. There is nothing in the scheme that a master or a beginner would not know. These are simple loops, knitting together with bends and yarn overs. Works well for small buttons. Will complement nicely garter stitch or purl stitch.
How to make 1 buttonhole?
Often required make a small buttonhole along the edge of the product. The hook will handle this very quickly. But can knitting needles create something similar? In fact, this is no longer a problem for knitting needles either. Several loops will need to be closed.In the next row, make a small set, and then knit similar rows. This is how to quickly and easily get a loop along the edge with knitting needles.
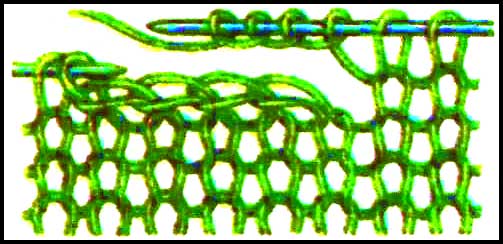
You should never stop at something incomprehensible. It's not all that complicated. Any loop can be made by a master or a beginner using convenient diagrams.


 0
0