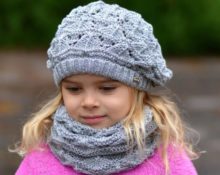
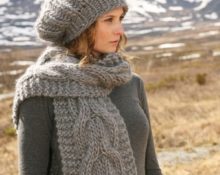
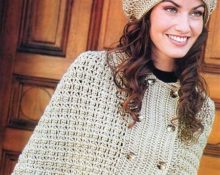
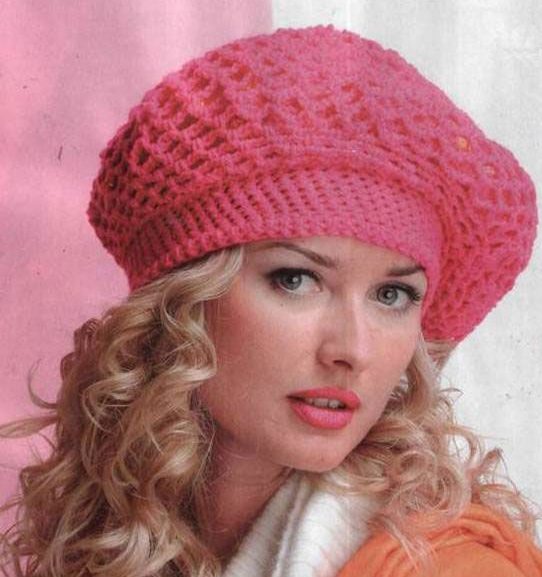
 A beret is such a feminine thing that many actresses simply cannot meet the cold season without it. For example, Elizaveta Boyarskaya really loves berets. And, looking at the photo, it immediately becomes clear why.
It so emphasizes all her feminine features. The beret can do the same with your image.
Try to find your ideal beret shape and model. And especially for this purpose, a selection of the most unique models that have been waiting for a long time to be described on the Internet. Details about each knitted beret pattern for autumn, with diagrams and explanations.
Yarn
For the autumn beret you can purchase several yarn options:
- mohair;
- pekhorka;
- wool;
- combination with acrylic and merino wool.
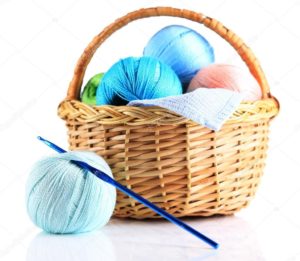 It is better not to buy particularly prickly products, although they can be used for adults. It will be uncomfortable and such yarn can easily cause unwanted irritation.
Sample
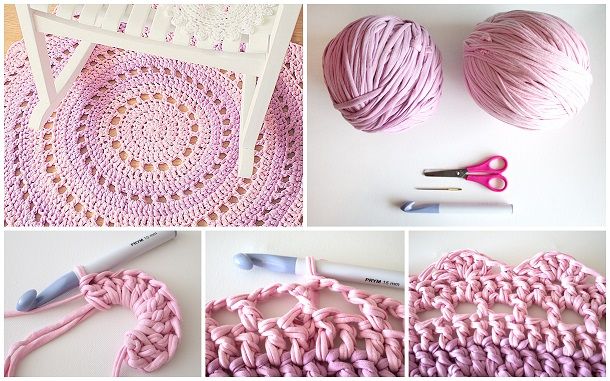
Before creating a model, it is better to estimate how many loops and rows will be required using a small piece that needs to be made according to the same pattern.
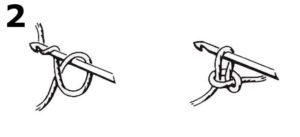
Set of first crochet stitches
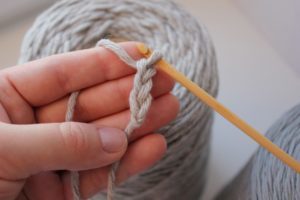 Determine the density and calculate the columns and rows.
Beret with zigzags
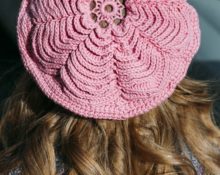
A very interesting beret with a zigzag pattern. It is impossible to take your eyes off the flowing stripes. Despite the fact that it is made in one color, the relief is very noticeable.
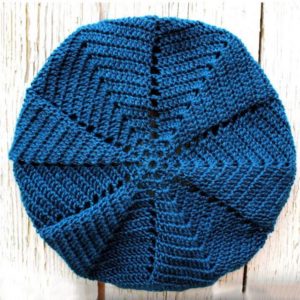 To work you will need:
- pekhorka yarn of medium thickness 250 g;
- hook number 4.
crown
Cast on 8 loops with a crochet hook and weave several repeats (6 pieces) into them according to the following pattern:
- 2 single crochets;
- three air loops.
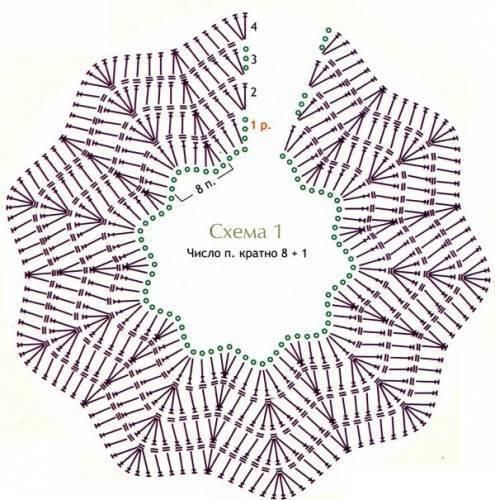 The second row will resemble the first, only in the three air loops of the previous row, knit two repeats. It turns out that the scheme consists of 12 repeats. Next, move on to the zigzag pattern in a circle.
Additions
Knit according to the pattern with additions. Knit 12 rows in total.
Decreases
The next 6 rows are made with decreases. Periodically measure the length of the product. It is necessary to obtain a length equal to the depth of the hat size. Knit 3-4 cm single crochets as an elastic band.
The product is ready; if you wish, you can decorate the hat with a motif from the same yarn or some charming brooch.
Takes with a hook using a hook
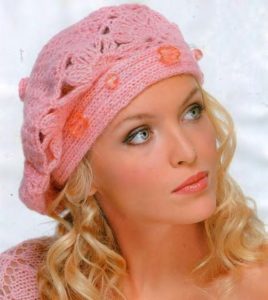
Everyone is accustomed to the fact that only knitting needles in their famous “tangle” pattern can tangle stitches.. But this is not true either. Just look at the model and it will immediately become clear that a hook can make a similar pattern even more attractive. All the secrets of crocheting are below, with good diagrams and a full description of this interesting beret.
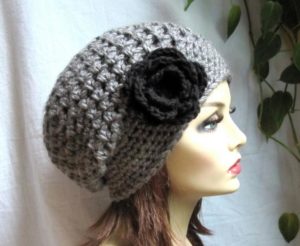 To work you will need:
- baby yarn baby 250 g;
- hook number 5.
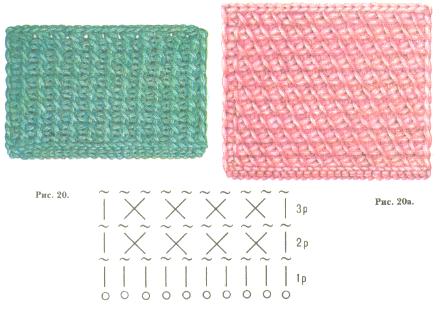 Rubber
The elastic point means that the product starts its roots from the very bottom. This is a simple elastic band and is made with simple circular rows of single crochets. We measured the circumference of the head, subtracted a couple of cm and cast on a chain of air loops.This pattern will need to be knitted from three threads. This is why such a large hook size is needed. In total you will need about 6-7 rows.
The basis
The base began and the pattern was changed to a putanka. If necessary, added missing columns. Knit a pattern for 2/3 of the desired size of the product. We are gradually making additions. To prevent it from being too wide, 1 added rapport per 3 rows will be enough.
crown
For the top of the head, only 1/3 of the required length of the beret remains and therefore decreases should be made in each row and by 1 or even 2 repeats. There will be a few repeats left - pull the product along the top of the head. Tie the threads more tightly and hide the ends so that they are not visible.
Important! There is no need to cut the ends of the threads too short.
The model is ready, but the final touch remains - this is a charming and lush black flower. By the way, it is also made with crochet.
Flower
The flower is knitted very simply. Even a beginner will not get lost here. Simply make a chain with small rises and then fold it into a flower.
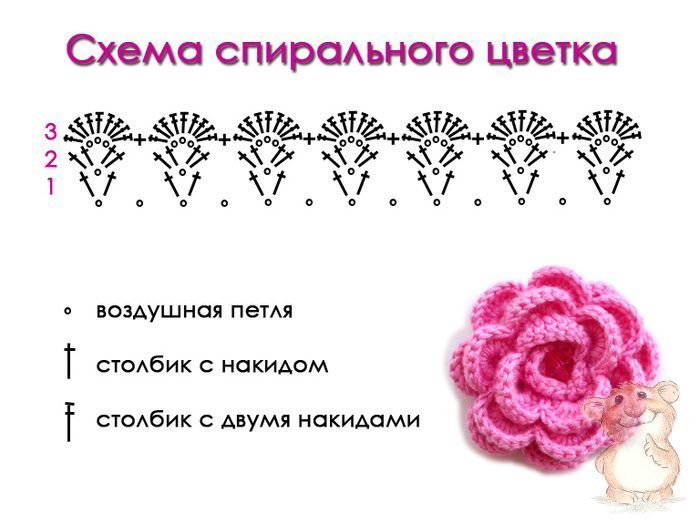 Accordingly, the chain is larger and the flower is larger. The dependence is directly proportional.
Beret with popcorn pattern
The popcorn pattern has been very popular for berets over the past few seasons. The thing is that it represents a very voluminous knitting. These berets will look good on long and narrow faces.
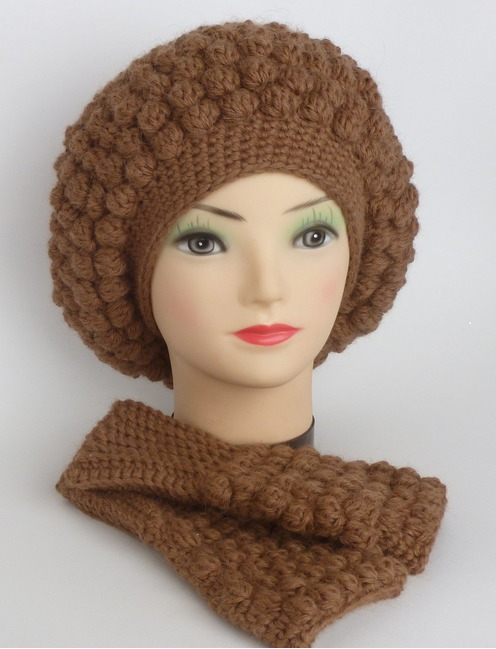 To work you will need:
- yarn with merino wool and acrylic;
- hook number 4.
Rubber
A beret with a popcorn pattern is easier to start with an elastic band. But it is quite possible to unroll the knitting and start from the top. For the elastic band, cast on the required number of chain stitches. Always take into account 2-3 cm for reduction so that the product does not turn out to be huge. Knit 7 rows with simple single crochets.
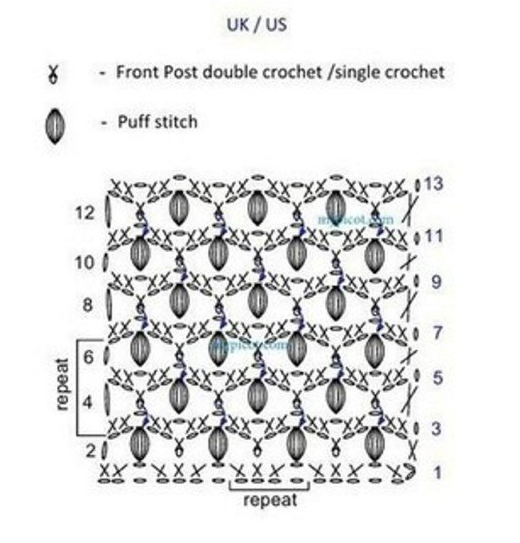 The basis
Let's start making the popcorn pattern. Immediately after the elastic band, we determined how many loops needed to be added for an even number of repeats according to the fabric pattern.
Important! Be sure to pay attention to the fact that the popcorn pattern is taken without holes between the cones, since this is an autumn product.
Knit 4 rows with additions in each row by one bump. Then 4 rows with decreases of one bump.
crown
Subsequent rows are reduced by three repeats. This will make the crown flatter.
We tightened the loops of the crown after the bumps were very close.
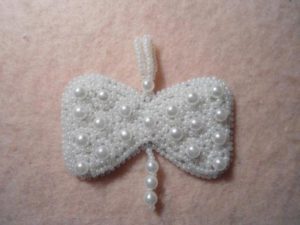 This product can be decorated with a small bow. (this is a brooch or beaded applique) with an elastic band.
Beret with crochet braids
Cute and very thin braids divide the whole beret into several wedges. This interesting interweaving plays very joyfully into the overall image of a woman. Let's try to knit such a cool thing for ourselves and our loved ones.
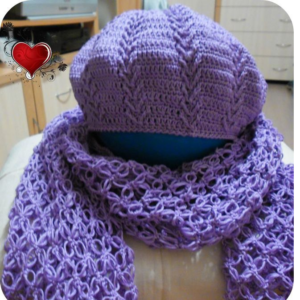 To work you will need:
- yarn 50% wool;
- hook number 3.
The basis
The beret is knitted with interesting braids from the above pattern, but not with single crochets, but with single crochets. This draws out the graceful braids even more. And the braids themselves, with their weave, divide the usual pattern of columns with interesting lines.
To begin, use air loops to dial in the circumference of the head and subtract 2-3 cm. This way the product will fit well to the head and not put pressure. Immediately start the first row with the canvas pattern. Make additions in single crochet stitches. For each wedge you need to add one column in each row. Knit 6 rows with increases and then 6 rows with decreases.
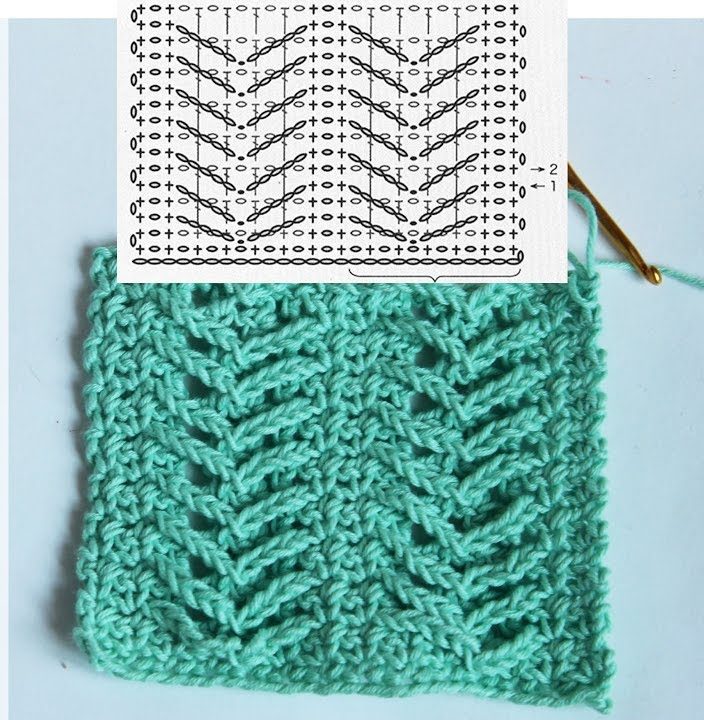 crown
crown
To make the crown flatter, you need to decrease not by one column in one panel, but by 2. Knit until all braids remain. Next, simply pull all the stitches together and finish knitting. The beret is ready; if desired, you can decorate it with a small brooch. A small pompom is also suitable for this product.
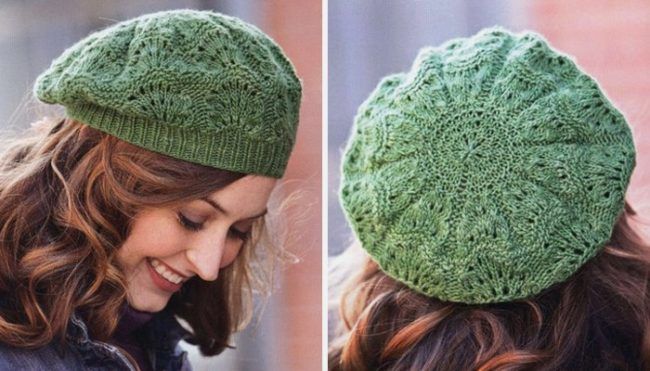 These are the models that will make your look feminine. And the coat will be glad that such a charming headdress was added to it.
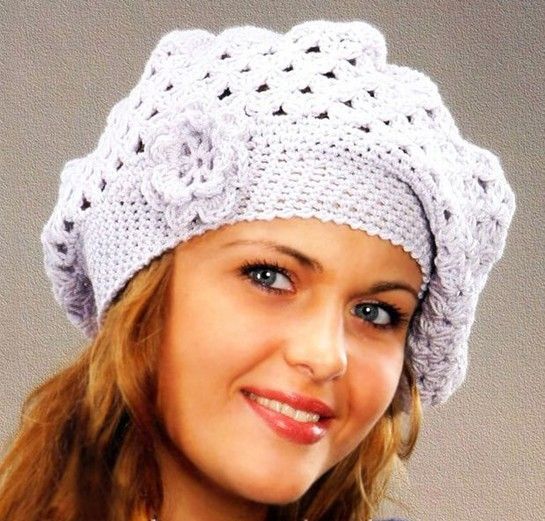 Try to make new products, because they do not take a lot of time, but how many positive emotions.


 0
0