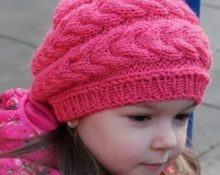
 Berets are somewhat out of fashion, and finding this item for a child can be difficult. Therefore, we suggest knitting a beautiful beret for your baby with your own hands. All you need is a hook, thread and desire. We will provide diagrams and descriptions.
What is needed to knit a baby beret
After choosing a model, the master begins to select a thread and a tool to create it. Most of the questions are raised by the thread itself. For a warmer product, use a thick thread with a high wool content.
Important! The warm thread should not be prickly, but even very soft. Also, it should not cause allergies.
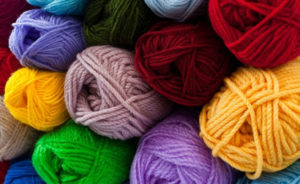 Spring and autumn patterns will require a finer thread with less warm fiber content, but it must also meet the criteria for children's yarn. But summer berets are made from cotton thread, among which iris thread has a special place.
The tool to perform any model must also meet certain criteria. This:
- comfortable handle for the master;
- corresponding number for thread thickness;
- high-quality workmanship material.
More often than not, manufacturers reserve the word, and the clue is already on the ball. The number of knitting needles and hook for knitting them of this thickness is indicated there.
The most important moment in any thing is the measurements. There is no need to do it at random and bandage the first rows several times. It is better to take the necessary measurements and use the sample to determine the number of loops and repeats, focusing on the existing measurements.
Patterns for crocheting a baby beret
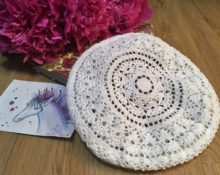
There are many beautiful patterns for crocheting berets. The master can create both dense and warm models according to the given patterns, as well as lighter and summer options.
Knitting berets with your own hands: step-by-step description
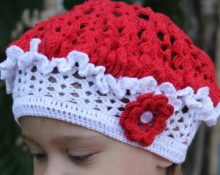
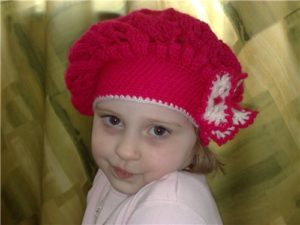
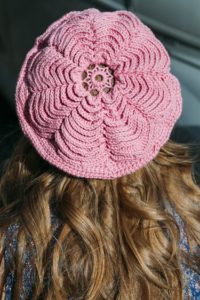
A very beautiful flower at the base of the crochet beret makes the product so beautiful. An original and simple idea for creating a spring model for a girl. Fashionistas will appreciate the new product.
For work use:
- children's thread with a small amount of wool;
- hook according to the thickness of the thread.
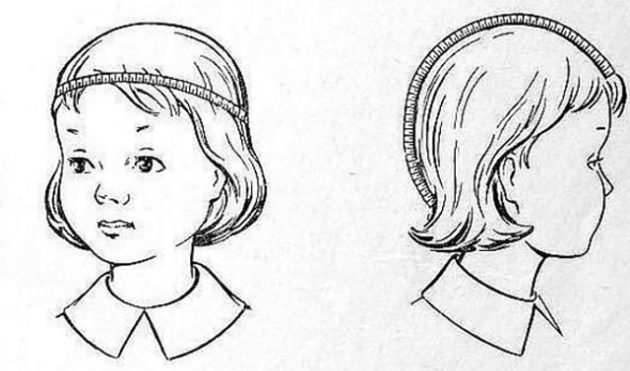
Stage: measurements. For a beret, the master takes the measurements as for a regular hat. This circumference and depth. But the beret will require small increases immediately after the elastic so that it is free at the top. Another point that always distinguishes a beret from an ordinary hat is its crown. It will be flatter, and for this, when knitting from below, the master performs good decreases.
So, for the elastic, we measured the circumference of the head and subtracted 2 cm. Next, for the base, you need to add the same size by 9 cm. For depth, we measured the length from the earlobe to the lobe of the other ear and divided the size in half. Next we made an increase of 4 cm.
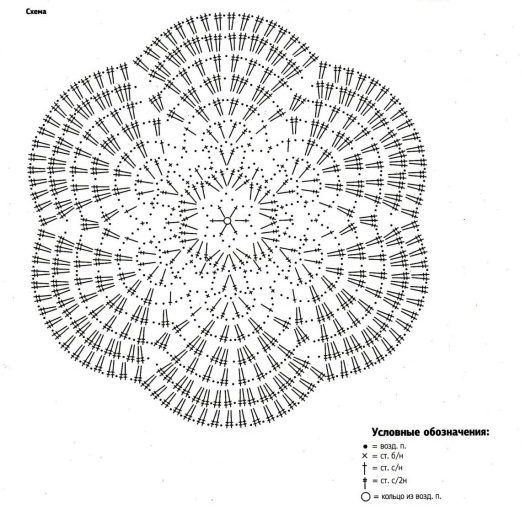
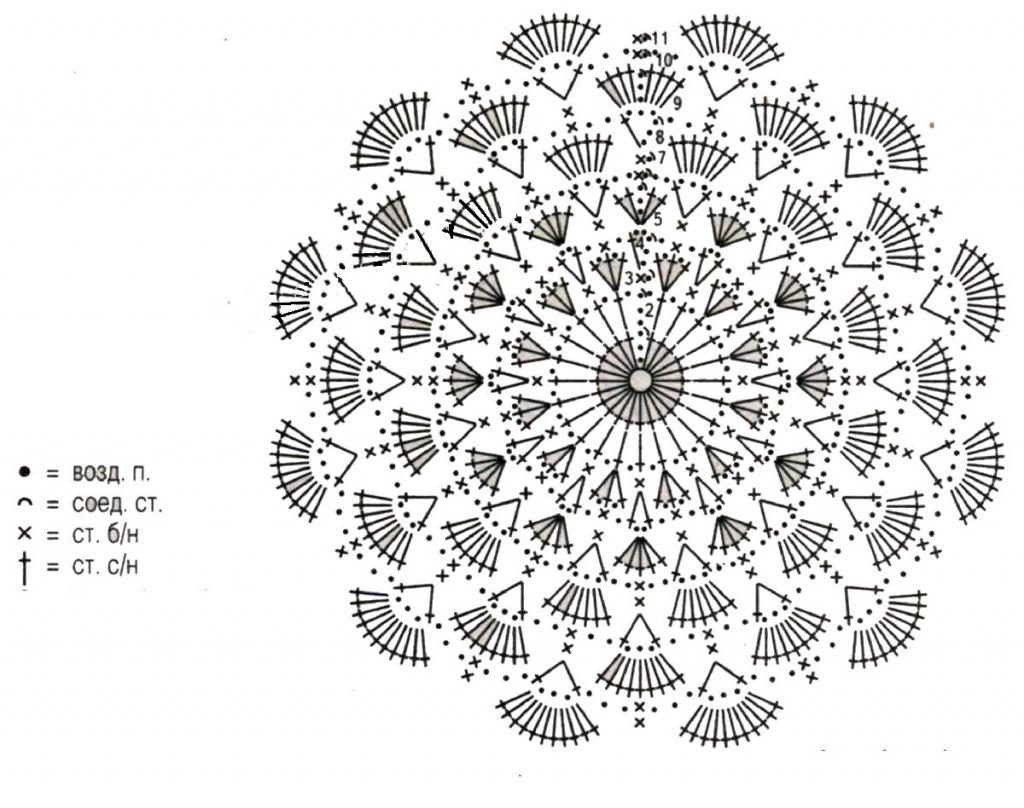
Stage: sample. For this beret, the sample should be made with a crochet elastic pattern. It is marked in the pattern to the main flower and has double crochets and raised stitches. Knit a small square and calculate the knitting density to it. You should get two numbers - this is the number of rows of 10 cm and the number of columns of 10 cm. Next, calculate how many such columns are required according to the size of the circle with an increase and decrease, and how many rows will be needed for the whole beret.
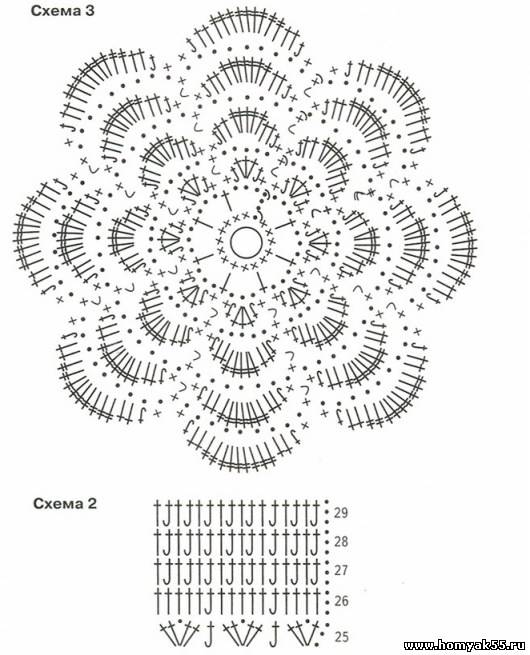
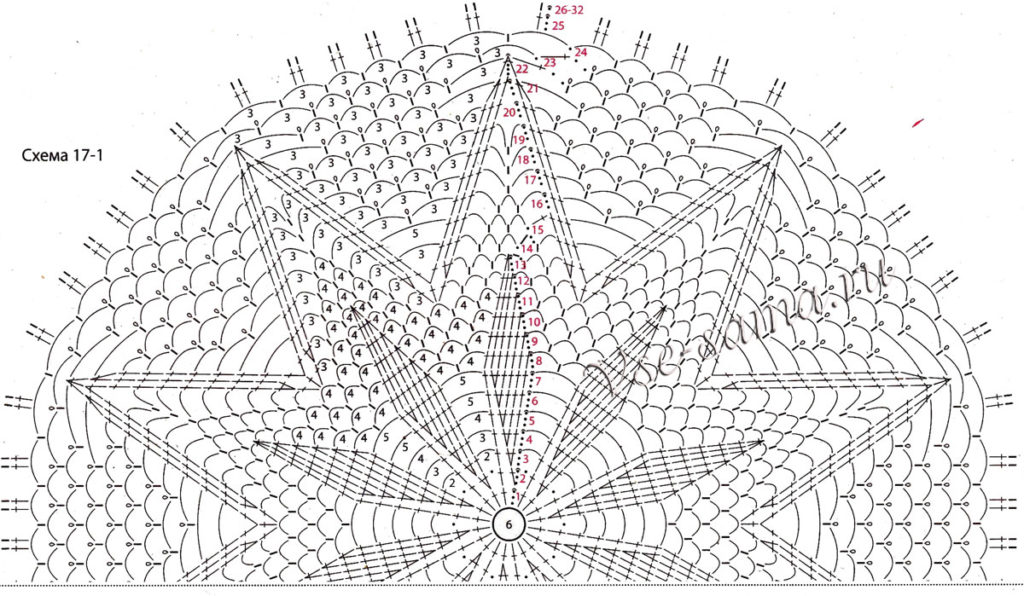
Stage: flower. Make a flower according to the given diagram. It is very important to evaluate how many rows of petals are enough for the size of a certain beret.
On a note! You can always subtract and add a couple of rows if there are small errors in the measurements, or the knitting style does not fit into the proposed pattern.
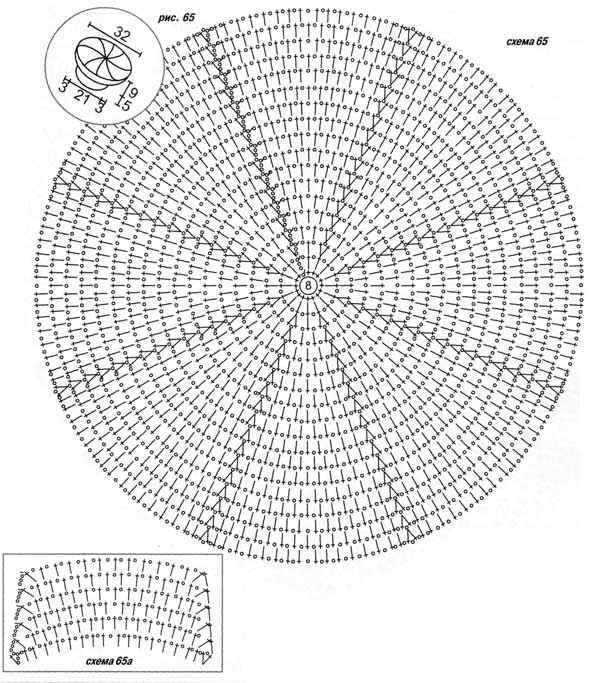
Knitting begins according to the presented pattern from the center.
- First cast on a ring of 10 chain stitches.
- Next, tie it with single crochets in the pattern, they are marked with simple crosses.
- Next, lift with three air loops.
- Then work begins with single crochet stitches and chain stitches.
Stage: elastic band. Next, after knitting a certain diameter of the flower, switch to crocheting an elastic band. This transition is marked in the diagram below. Knit a few more rows with an elastic band and then make cuts to measure the elastic with decreases.
So the cute model is ready.
 0
0