 The holiday season is approaching and your child got the role of a sailor at a school concert? Or did you just decide to wear such an unusual outfit at the matinee? In this case, parents begin to select the right costume. If there are usually no problems with finding black bell-bottoms and a white shirt, as well as with a blue collar scarf, these items of clothing are very common for other purposes, then the cap is a characteristic, “highly specialized” feature. There is nothing wrong with that, sewing it is quite simple.
What does a sea cap look like?
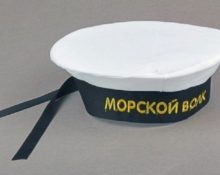
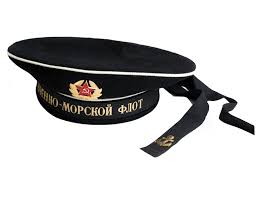 This headdress, as we have already said, is the generally accepted form of a cap in the navy that does not have a visor. In the army, such a cap began to be used in 1811, and initially it was also worn by infantrymen and artillerymen. As a result of the reform of 1850, the right to exclusive wearing passed to the navy, and since 1874, the style, mandatory presence of ribbons and their length (at least 40 cm) were legislatively approved.Since 1878, inscriptions began to be made on them indicating the place of service or ship, and black and gold St. George ribbons were used on dress uniforms.
Soviet Russia made only formal changes to the form regarding the font and white border. Let us note that this is an exclusively Russian invention, although subsequently the navies of many countries began to copy the comfortable and practical headdress.
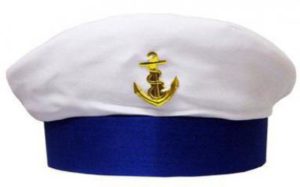
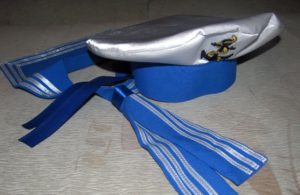
The modern version that we will make for the child looks like this and has different shapes for men and women.
What is needed to sew a sailor's cap
The following materials and tools for sewing will be needed:
 fabric with a backing on glue - dublerin;
- blue and white ribbons;
- plain fabric of the same colors;
- scissors, needle, white and blue threads, sheet of paper, pencil or pen, ruler;
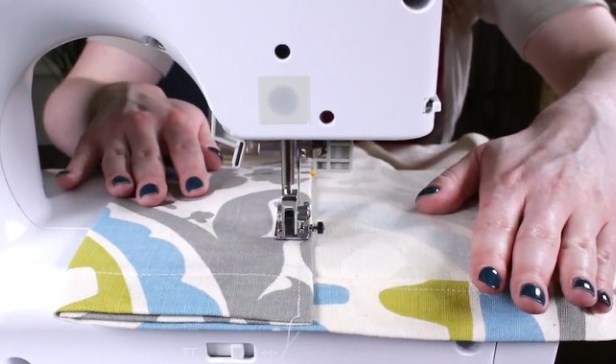
- a sewing machine will speed up the process, but not critically – it will also work out great by hand;
- and, most importantly, the anchor either in the form of an applique, or simply printed on a printer and carefully cut out.
Pattern for making a visor for a boy
First, measure the child’s head circumference (CH). On paper we need to construct a rectangle whose width is equal to this value and height is 7 centimeters. This will be the future band.
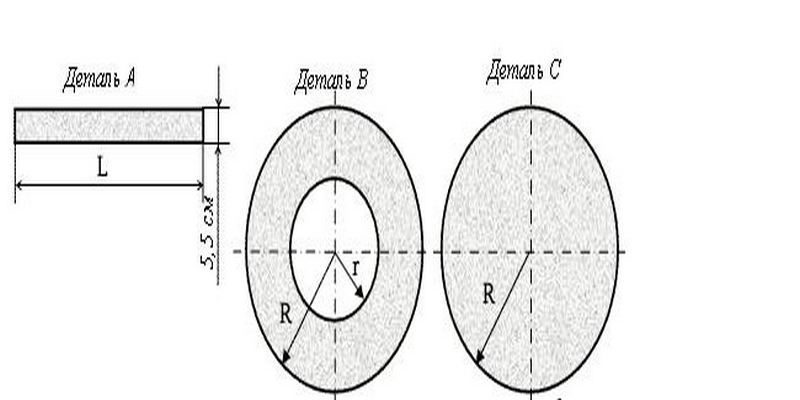
Also draw two circles - one solid, twelve centimeters larger than the OG (upper part), and the second - ten centimeters larger than the OG, but in the shape of a donut, with a round hole in the middle. The diameter of this hole is equal to the OG (that is, the length of the rectangle; when folded, it will be sewn exactly here).
We transfer the resulting patterns to the doublerin and cut them out, leaving a seam allowance of one centimeter, including along the edge of the inner hole.Then, using a hot iron, glue the rectangle to the blue fabric, the circles to the white fabric.
How to sew a sailor's cap with your own hands
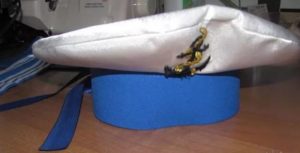 The band should be very tight - fold the rectangle in half and iron it. You can use an insert from another dense fabric, or add a few more layers - but remember that you will still have to stitch it, so don’t overdo it. You can make a cardboard insert that is slightly smaller in size so that you don’t have to pierce the seal when applying seams.
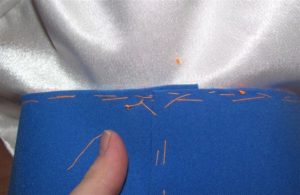 Both circles should be pinned or basted - the main thing is that it comes out smooth - the centers must coincide. As we remember, the upper part is several centimeters larger - bending it, sew two parts along the outer edge. You can cut so that there are no folds, otherwise there will be tubercles along the edge. The beauty of the seam is not critical - it will end up inside.
Turn the resulting product inside out and iron it thoroughly.
 Now it’s the turn of the band - it is sewn to the inner hole. Don’t rush to sew it on right away - use pins or basting to achieve the correct position, let’s say right away - this is the most difficult stage.
All parts must fit without folds or distortions, check everything carefully before the final firmware.
We are left with the obligatory and simplest action - decoration. Two blue satin ribbons (shoulder-length, according to maritime custom) need to be sewn on the back (where the seam is on the band), and the anchor should be glued on the front. Instead of an anchor, you can use other maritime symbols, we leave this to your discretion; even an inscription, for example, “Morflot” or “Aurora” would be appropriate.


 fabric with a backing on glue - dublerin;
 0
0