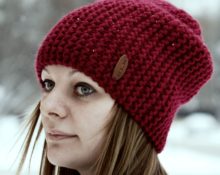
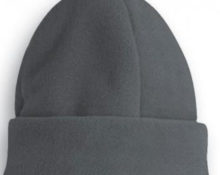
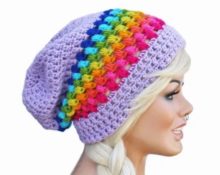
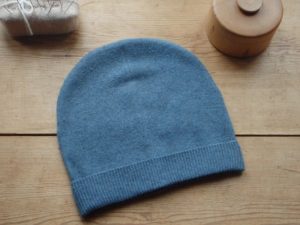
 A universal headdress that adorns both women's, children's, and men's heads is the beanie hat. She reached the peak of her popularity in the last autumn-winter seasons.
Model features
The beanie received its widespread popularity very deservedly, because it has undeniable advantages.
- All-season. Models of hats come in both thin (cotton, fleece) and warm mohair, wool or angora.
- Variety of shapes and textures. The free back of the head is designed in different ways. There are models in which the occipital part is tucked in or hangs down and sticks up. To make the look lighter, pompoms made of fur and thread are sewn on. Oversized beanies are suitable for winter.
- Suitable for any clothes, different styles. The images created are diverse. Beanies look most interesting with sportswear, casual and urban styles.
- It’s easy to choose a model that matches your oval shape, facial features, and hairstyle. The voluminous knit suits many face shapes. The bean-shaped hat visually elongates the oval of the face.A product with a lapel will balance the image if you have a wide chin. If you have a high forehead, it is preferable to pull your hat lower on your forehead.
- Democratic. The hat is comfortable in its simplicity. It is spacious, so dressing is easy. You can tuck your hair into it or, without pulling it over your forehead, lightly cover the back of your head and release the strands towards your face.
Another advantage is that beanies are easy to sew yourself. We'll tell you how to do this.
Preparatory stage
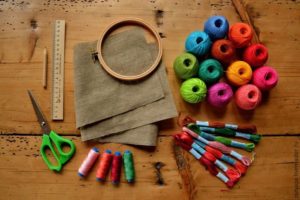
There are two ways to make your own beanie hat: knit or sew. Finding a suitable piece of fabric to bring your idea to life will not be difficult at all.
Material selection
We will need a rectangular piece of knitted fabric, dense but elastic. Most often, a beanie hat is made in two layers. Therefore, if you want it to be double-sided, you need to take two pieces of knitwear that are identical in size but contrasting in color.
It doesn’t matter if there are no suitable pieces of fabric. To sew a hat, you can use a boring old sweater, turtleneck or soft knitted dress. The product is ripped apart and the part where there is an elastic band is selected. When stretched, it will fit your head well. And when removed it will return to its original shape.
Important! When cutting a knitted beanie hat, no allowance is made for the seams.
On the contrary, 3–6 cm is removed from the head circumference, depending on the degree of stretching of the material. If you don't reduce the size, the hat will slide off.
What you need for work
To sew a neat product without difficulty, you will need a rectangle of fabric. About 70 cm in length, and in width - the circumference of the head. In addition, you need to prepare threads, pattern paper, chalk, scissors, pins for chopping, measuring tape, sewing machine or overlocker.
We sew a beanie hat from knitwear
I would like to focus on sewing a hat from a sweater. Patterns may differ from each other in the number of darts, the presence of a lapel and the number of layers. Since the peculiarity of the beanie model is the volume at the back of the head and the elongated shape (beanie - translated as “bean”).
Let's consider a product option with two darts, a single-layer cap, with a lapel.
Drawing a beanie hat pattern
An accurate pattern will ensure the success of the entire work. Thin paper is suitable for the template. The size of the tracing paper is taken as follows: 30 cm in length, and the width depends on the circumference of the head. Fold the paper sheet in half, then another ½.
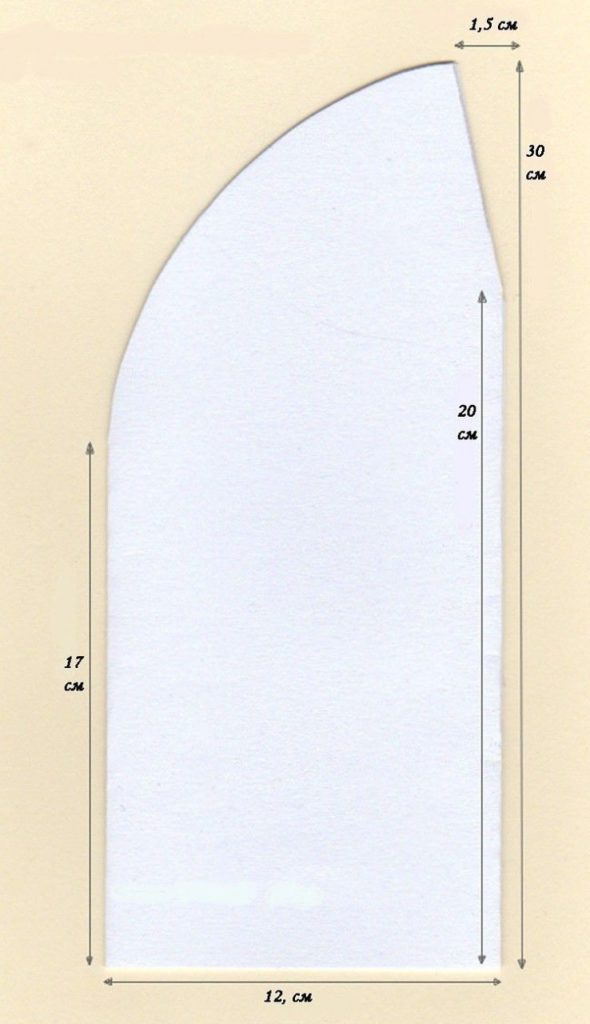
Draw a rectangle, where one side is the length of the hat (30 cm), the second is 12 cm (1/4 of 48 cm). On the left side of the rectangle, set aside 17 cm from bottom to top. From this point we draw a smooth convex arc to the upper right corner.
From the bottom corner point we set aside 20 cm upward. From the resulting vertex we draw an angle of 30 degrees to the left and draw it to the arc. The resulting triangle will be a dart. Cut along the lines.
Step-by-step instructions for sewing a beanie hat
- We unfold the sketch, straighten it and apply it to the fabric.
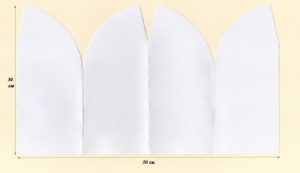
- We outline with chalk and cut out the resulting outline.
- We fold the fabric part with the front part facing inward. The elastic of the hat is located at the bottom, and the short cut (undercut) is in the upper left corner.
- First, we sew down the undercut, then the long side seam, down to the elastic.
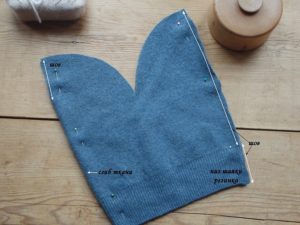
- Turn it inside out and sew on the elastic. When you make the lapel, the seam will not be visible. If you are sewing a beanie without a lapel, sew the seam to the end.
- Lay out the hat so that the long back seam is in the middle. We pin the top of the beanie with pins and stitch it.
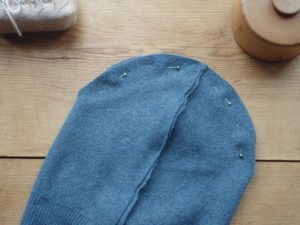
Advice! To prevent the seam from coming out too thick, we lay out the ends of the sides of the back seam and the dart and iron them in different directions.
- We turn the product right side out and form a lapel.
The hat is ready, we try it on and wear it.
Tips for sewing a reversible beanie hat
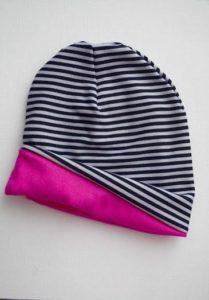
Knitted hat models are suitable for the cool spring-autumn season. The whole family can wear them. Hats of the same color are an interesting design move that will emphasize the unified spirit of the family.
- If you decide to sew a two-layer hat, take 70 cm of fabric.
- When we transfer the pattern from paper to fabric, fold it with the fold down.
- When you baste the side seam, leave a 3 cm area unsewn. This is needed so that you can later turn the product inside out.
- The result was a long stocking with darts on both sides. We stitch them, and then turn the hat inside out, placing one inside the other. We sew the hole with a hidden seam.
- We select the color and density of the fabric taking into account your wishes; you can additionally decorate it with a sticker, rhinestones, or attach a pompom.
Sew several cute hats in different colors and delight yourself with new items every day.


 1
1