The simplest things to make include hats. Working on them usually does not take much time, does not require the preparation of complex patterns, and is accessible to knitters with different knitting experience.
An interesting model called beanie has not lost its position in the ranking of the most popular hats for several years now. This hat is suitable for both children and adults, and can also be worn as men, and so do women.
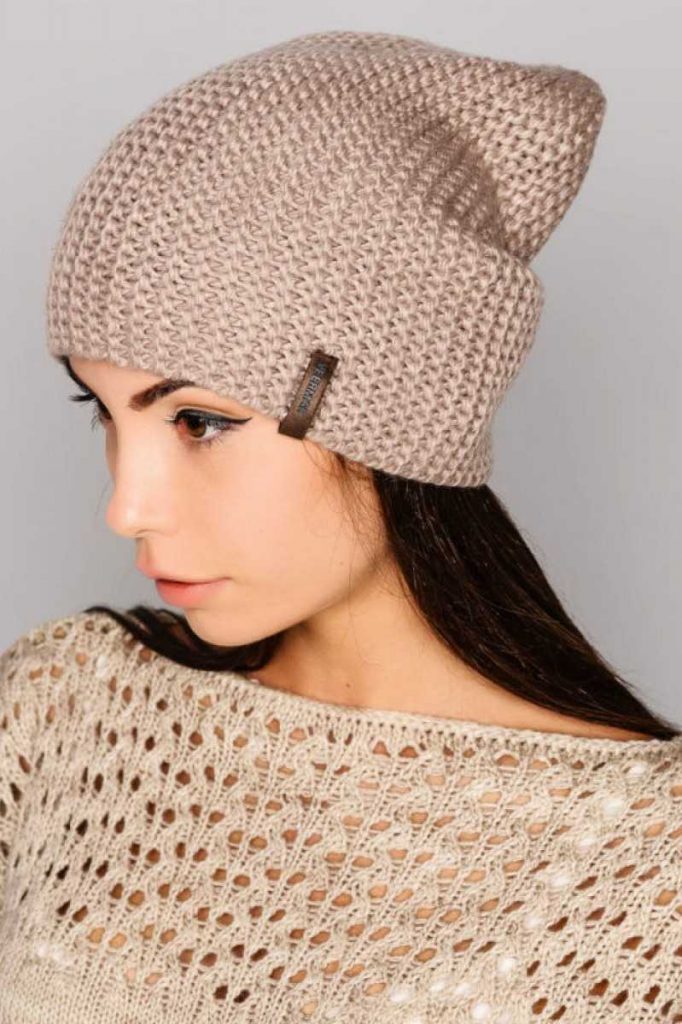
Due to its versatility, it is simply necessary for every needlewoman to master knitting a beanie hat, especially taking into account the ease of its manufacture.
We knit a women's beanie hat with knitting needles
The variety of hats of this model can be ordered as follows:
- knitted with the same type of fabric or using different patterns.
- beanies with and without pompoms, as well as with a decorative element - “ears”.
- knitted or crocheted.
- knitted with one fabric, followed by a seam along the height of the product or on circular knitting needles.
Whichever option you choose, this hat is sure to turn heads. And if you consider that this model is quite popular among young people, then it will not be difficult for mothers and grandmothers to please the younger generation.
Selecting a model (beanie), yarn and knitting needles
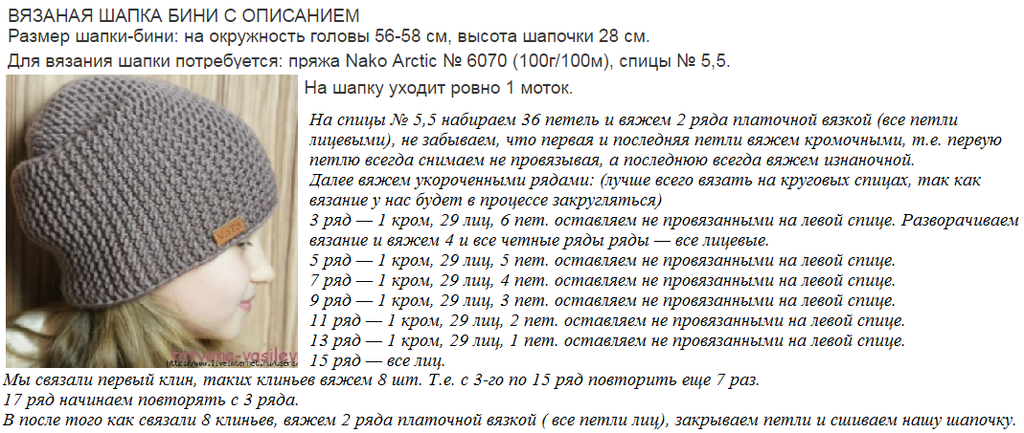
One of the easiest ways to knit a hat beanie - the next model, which involves knitting fabric in short rows on straight knitting needles. The simplicity of this method of knitting also lies in the fact that it is impossible to make a mistake in the calculations at the very beginning of knitting (and get a product that is too small or large), because The size can be adjusted during the knitting process.
This hat is knitted not from bottom to top or top to bottom, but crosswise, which makes the pattern unusual and voluminous.
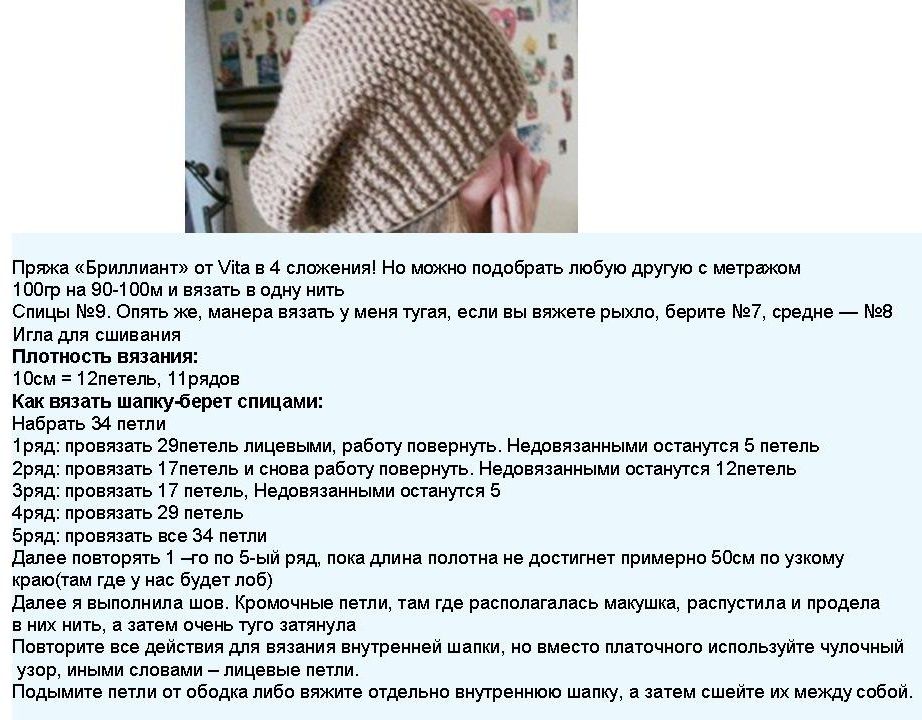
Advice! When knitting fabric in garter stitch, the same pattern is obtained on both sides. This way, if you want to make a lapel, it will turn out quite stylish and neat.
To create this product we will need:
- Knitting needles number 5.
- Wool blend yarn 200m/100g (70/30 wool/nylon).
- Hook for casting on chain stitches with additional thread.
- Knitting needle for sewing a finished headdress.
Knitting process in stages
In order to get a neat seam at the end of the work, take a contrasting thread and crochet air loops in an amount 10 stitches more than you need for the work. For example, according to calculations, you need to cast on 46 sts on the knitting needles, then crochet 56 sts. This technique will make the sewing process easier. Place the required 46 stitches on a knitting needle, threading it through each “ring”.
Advice! If the inconspicuousness of the hat seam is not so important to you, you can greatly simplify your task and eventually connect the beginning and end of the fabric using a mattress seam. Then you don’t need to knit a chain chain - start knitting the product right away.
After this, we begin to knit the fabric using the “garter stitch” pattern, which is shown in Diagram 1.
Pattern 1 – Garter Stitch Pattern
Having knitted a number of knit stitches, we knit the last loop. In the next row we begin knitting short rows. To do this, we knit 40 stitches, and 6 remain unknitted, the work unfolds - the first loop of 40 is removed without knitting, and the thread is transferred to the work and is strongly stretched. Visually, a “double” loop remains on the knitting needle on the right. The other 39 stitches are knitted to the end of the row, the last loop is knitted behind the front wall.
We turn the product over, thread the work, and remove the first loop in the row without knitting. These manipulations are needed to form a beautiful edge that will come into contact with the forehead. We knit the row to the “double loop”, knit it behind the front wall with a knit stitch (in this case, the loop will have a cross-shaped appearance), and then knit another loop from the remaining five knit stitches.
Then we knit everything in the same way as described above until there is one unknitted loop left on the left knitting needle. It is removed onto the right needle without knitting, and the working thread is wrapped around it (see Diagram 2).
Pattern 2 – Wrapping the thread around a loop
Thus, we received the first wedge, consisting of 12 rows (6 front, 6 purl). This element should be repeated until the hat fits your head circumference.
At the end of the work, we transfer the loops secured with a contrasting thread to an additional knitting needle (it will be more convenient to do this using circular knitting needles on a fishing line), gradually threading the knitting needle into each “free” loop of the main knitting and unraveling the chain of air loops.
Note! The last and first row of fabric (which will be stitched) must be knitted with the same type of loops: either knit or purl. If the rows do not match, you need to knit another row.
Next, we will need a thread from the yarn used in the knitting process and a knitting needle, with which we will simulate the “missing” row between two “identical” ones. This way you will get a product without a seam, as if knitted on circular knitting needles.
Conclusion
As you may have noticed, there is absolutely nothing difficult in creating such a beautiful headdress. And if you consider that any pattern you like is suitable for knitting, you can safely add a beanie hat to your favorites among other models. Complete your wardrobe with several variations of this item of clothing and change them according to your mood. Create new looks using bright or subtle colors and various decorative elements.


 0
0