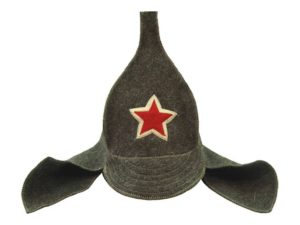
 Perhaps not everyone will remember what a “Budenovka” is, but even in the recent past this headdress was very popular. It got its name from the surname of the legendary Red commander Budyonny, who wore a headdress with a sharp top, slanting lapels covering the ears and a small visor. Nowadays, “Budenovka” is remembered during renovations. This is justified; a light paper hat perfectly protects the head. Or, if you need to make a headdress for a masquerade or children's themed party. Making “Budenovka” at home is very simple. Let's get started.
What color and size of paper should you choose?
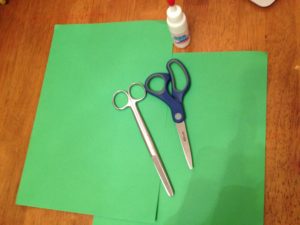 We will need a sheet of green paper measuring 50 by 60 centimeters and a small sheet of red paper.
IMPORTANT: paper is a fragile material, and it is best to use a sheet of Whatman paper, pre-painted green, or thickened, velvet colored paper.
For work, prepare the following tools:
- scissors;
- glue;
- simple pencil.
How to make budenovka from paper with your own hands
The budenovka diagram looks like this:
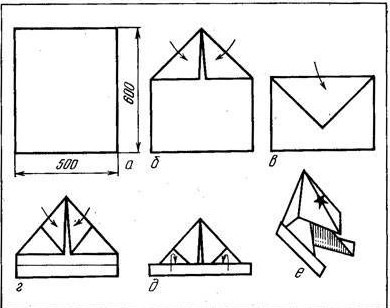
Below we offer a description of this scheme.
The exact manufacturing instructions are as follows:
- Put down a sheet of paper. Its narrow part should be on top (Fig. a).
- We fold the ends of the sheet on top so that a triangle is formed from the corners (Fig. b).
- As a result, we have a triangle, which we bend down (Fig. c).
- We carefully iron all the existing folds, after which we turn our craft over with the back side facing us (Fig. c).
- We bend the corners again towards the center (Fig. d).
- We divide the fastening strip, which is at the bottom, into two equal parts and bend it up twice as shown in the figure (Fig. e).
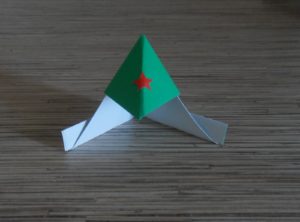
Well, our headdress is ready!
IMPORTANT: during manufacturing, the best option is a solid paper web. If you glue a sheet of the required size from several, the glued seam will be noticeable and will have a bad effect on the appearance of the product.
Finishing touches: how to decorate budenovka
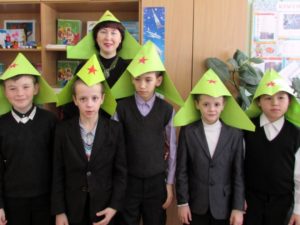 Draw a star on a red sheet of paper with a simple pencil. You can attach a ready-made template, trace it with a pencil and cut it out. Carefully glue the star to the central part and let it dry.
ATTENTION! The finished craft should be dried in a glass jar. It will take a rounded shape from the inside, and at the same time this will help prevent creases. Moreover, with such drying and leveling of the product, it will not wrinkle.
When gluing a star, it is better to first apply a small layer of glue to the star, let it absorb a little, and then just glue it to the “Budenovka”. This stage should be approached with special care, since excess glue (even removed with a paper napkin) after drying will be noticeable in the form of streaks, which will significantly affect the appearance.


 0
0