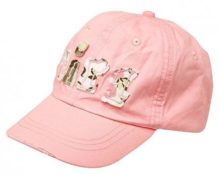
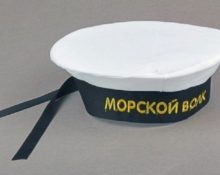
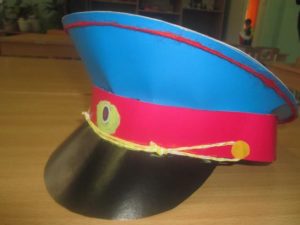
 A cap is a men's headdress with a band and a visor. It is often part of military or police uniforms. A homemade paper version can be worn by children on the beach to protect them from overheating, during painting work, or for a carnival costume.
We'll tell you how to easily and simply make such a cap with your own hands.
How to make a paper cap
First, you need to specifically decide for what purposes and needs the paper cap is made. If you want to protect children from the sun's rays on a summer day, then paper is suitable for the base. And if it’s for a themed carnival party, then it’s better to make it out of cardboard, so it will last for more than one day.
The shape of the cap can be a box, a cup, like a cap, or have a standard army version. How to make a paper cap quickly, easily and beautifully?
Details and their pattern
For a headdress made from a newspaper, all you need is free time and the newspaper itself. For a more complex option, you will need cardboard, thick paper, scissors, a pencil and head measurements.
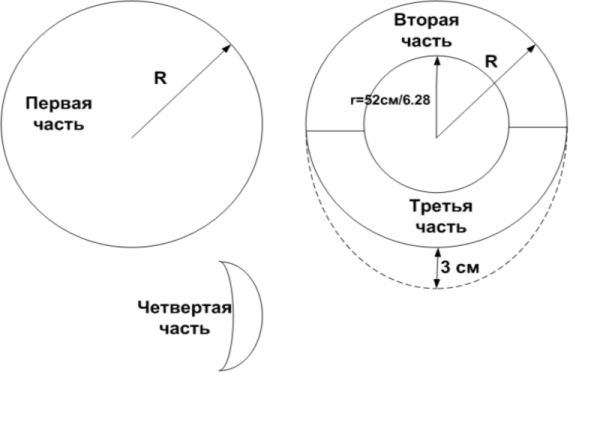
The details of the cap will be two circles, one approximately 15 cm, the other 30 cm. Headband to fit the head and visor.
Important! You can choose colored cardboard or decorate a regular white sheet as you wish.
Step-by-step manufacturing instructions
Making a cap from cardboard is not at all difficult. You need to measure your head circumference, stock up on materials and get to work.
- Cut out two circles of different diameters. This will be the top of the headdress.
- After head measurements make a band out of cardboard of a different color. Cut a piece of paper into three strips about 8 cm wide and 29.5 cm long (along the length of an A4 sheet). The two resulting strips are glued together and tried on the head.
- Connect the band and the top of the headdress. In one of the circles, draw another inner circle. Its diameter is equal to the circumference of the head divided by 6.28 (double π). Seam allowances are added to the resulting figure and a circle is cut out.
- Fold the seam allowances and glue them inside the band.
- Make a visor from cardboard of a different color. The remaining third strip is folded in half. Mark a beautiful visor on it and cut it out. After gluing, wait for all the parts to dry completely and adhere.
- The second circle for the top is simply glued to the main structure.
- The cap is tried on and the result is evaluated.
Military cap for a children's party
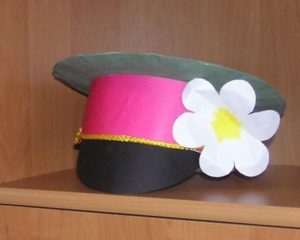
Paper caps most often evoke associations associated with children or children's parties. A headdress will be needed for such a festive event. Use just a few office supplies and materials, such as: paper, colored cardboard, scissors and PVA glue. And you will have a great headdress for a costume. You can make a cap for an outfit:
- sailor;
- military;
- pilot;
- policeman.
Below is master class on making a paper cap for a policeman's costume.
To make a policeman's cap for your child for a masquerade party, you will need a little time and several sheets of colored cardboard, glue, and scissors.
- At first measure the baby's head circumference using a measuring tape.
- In order to draw a circle on cardboard, divide the resulting head measurement number by 3.14 and add 4. After this, cut out a circle and four semicircular parts. To get the inner radius, subtract 8 from the number of the upper circle.
- Band has the same volume as a circle, plus a 2 cm seam allowance.
- Visor will have a width of 3 cm and a semicircular shape.
- All parts are carefully glued together and the decor is made in accordance with the police cap.
How to make a beautiful cap from newspaper
A cap like this will come in handy in the summer on the beach and for dirty construction work.
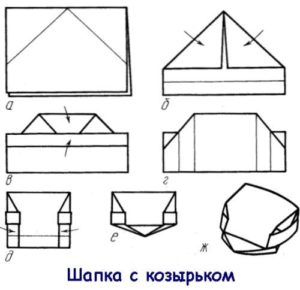
Master class on manufacturing.
- Bend the upper corners towards the middle, bend the bottom strip twice in the direction away from you towards the triangle formed on top.
- Turn the resulting paper blank over and fold all the edges inward.
- It is necessary to crumple the bottom corners towards the center, hide all the edges of the bends and turn the workpiece over again.
- Tuck the protruding corner into the side edge and open the headdress.
- Remove all sloppy and protruding corners and give the product a rigid shape.
Important! Such a cap can be made from multi-colored and multi-textured wallpaper or colored paper, and decorated to your liking.
Cap made from newspaper using origami technique
For origami techniques, hats with a visor in a military or nautical theme are suitable. To make a cap, you need to take measurements from your head and transfer them to colored paper or newspaper.
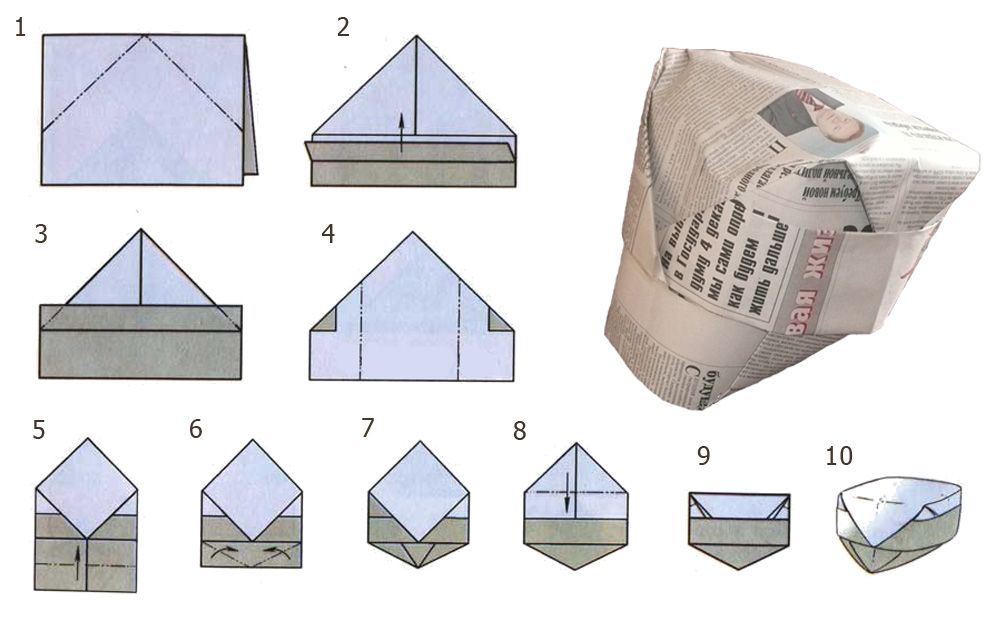
Manufacturing instructions
- Gently bend a square sheet of paper diagonally.
- After the manipulation, you will get a regular isosceles triangle. Next you need bend the sheet so that the corner is exactly in the middle of the opposite side of the sheet.
- Fold the second corner in the same way.
- Bend the corners adjacent to the middle of the fold line and intersecting the square.. After a couple of bends, something similar to a hollow glass will come out.
- Bend one of the corners and secure it to the fold line. You will get a visor that can be made into a semicircular shape with scissors.
Useful tips
- The easiest way is to make a cap from an ordinary newspaper, folding it in a simple way, like origami. A hat made from newspaper will only last once. And it is suitable for painting work or for children, protecting them from sunstroke.
- A cap made of thick cardboard can be used several times. You can buy colored paper and cardboard or decorate it with watercolors at your discretion.
- The decor for a paper hat is cut out of paper/cardboard and glued to the finished product in accordance with the theme of the carnival outfit.
By following these tutorials and tips, you will make a paper cap with a minimum of effort and your time.


 0
0