Very often we are faced with the need to create all kinds of crafts from paper or cardboard. These include carnival costumes for children, parts for theatrical scenery, and even aids for the educational process. And perhaps the most popular and labor-intensive of them are cylinders.
If you don’t know certain subtleties, it can be very difficult to assemble three-dimensional figures with smooth outlines from unruly paper sheets. That is why it is necessary to deal with how to properly make a cylinder out of paper.
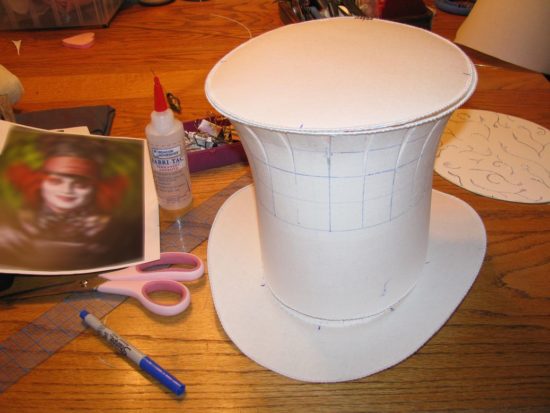
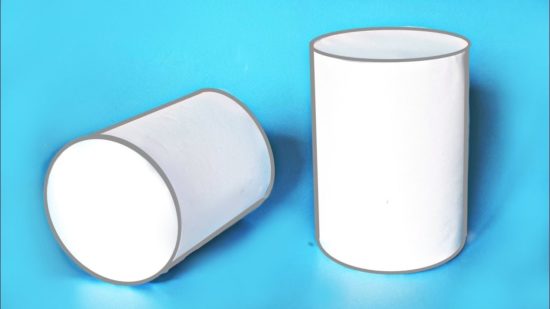
How to quickly make a cylinder out of paper and cardboard?
First, let's look at what parts the cylinder consists of and in what sequence the assembly process is carried out.
Step-by-step assembly instructions
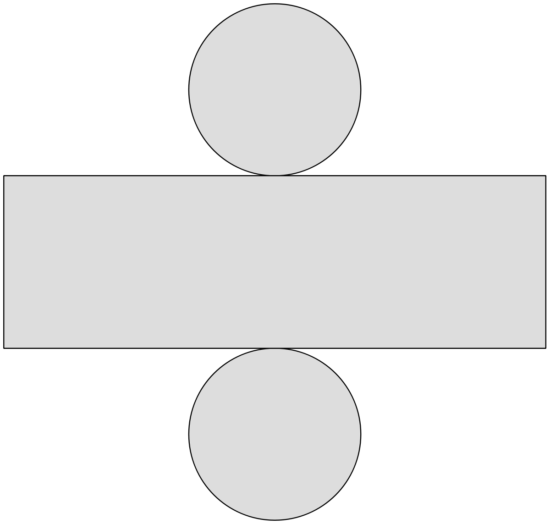
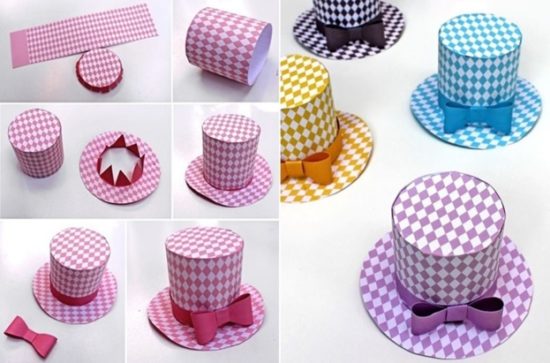
Step 1. Draw 2 circles of the desired size - these are the future bases of the cylinder.
Step 2. Draw a rectangle - the body of the figure. Its height can be absolutely arbitrary, but its width must exactly correspond to the circumference of the base. You can find out this value in 2 ways:
- measure with a centimeter tape, placing it on the edge (the method has a high degree of error and is not suitable for small parts);
- calculate by formula C = πd.
Step 3. Draw seam allowances along the top, bottom and side lines. Cut out the parts along the contour.
Step 4. To facilitate the process of gluing the bases to the cylinder body, cut allowances at the top and bottom.
Step 5. Glue the cylinder along the side seam. Fold seam allowances at 90 degree angles.
Step 6. Glue one base first, and then the second.
How to make a top hat out of paper with your own hands: step-by-step instructions
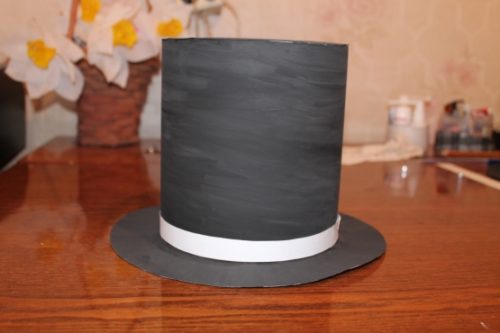
There are a lot of carnival outfits that are unthinkable without a top hat, but the most This accessory is in demand among magicians and sorcerers.
First of all, the dimensions of the future cylinder are determined. To do this, measure the volume of the magician's head and make further calculations based on the obtained value.
This process should not be neglected, because very often the success of the entire event depends on how correctly the measurements were taken. It is advisable not to use improvised means for this purpose, but to use a special measuring tape for sewing work.
When measuring, the tape is laid over the ears and along the brow ridges, trying to ensure that it is parallel to the floor surface. The resulting value is recorded OG.
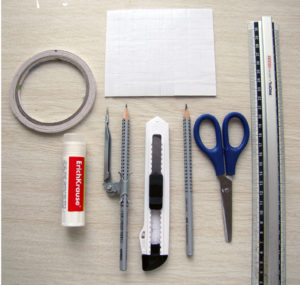
To build the parts of the future cylinder you will need:
- compass;
- pencil;
- ruler;
- scissors;
- glue;
- cardboard.
To make props, it is best to use thin, dense cardboard, approximately 1 mm thick. If it is not possible to purchase such material, it can be replaced with a sheet of whatman paper.
Unfortunately, even the most durable Whatman paper has a density of 200 g/m2, and this is not enough to make a high-quality magician's cylinder. To increase the rigidity of the material, it is enough to glue several sheets of paper together.
Despite the fact that whatman paper is considered high-quality paper and practically does not warp when exposed to moisture, it is better to dry the glued sheets under a press. This is the only way to be sure that “waves” do not form on them.
Making a magician's hat (cylinder) from cardboard: diagram and description
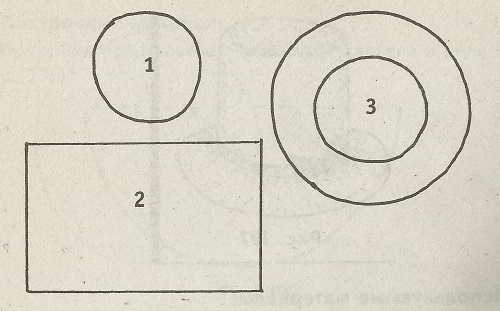
A magician's hat consists of three main parts:
- bottom;
- cylinder;
- fields.
Of course, the dimensions of the cylinder in each specific case are purely individual and everyone can choose them at their own discretion. But in order for the finished magician's hat to have a more or less proportional appearance, you need to take into account a simple rule: the height of the cylinder should not exceed the width of the brim.
The development of a cylinder is a rectangle, the length of which is equal to the head circumference measurement taken, and the height is taken arbitrarily. When constructing a drawing, it is important to monitor not only the consistency of the dimensions, but also the correctness of the angles. Even a slight misalignment of a few millimeters will be noticeable when assembling parts, and will cause a lot of trouble and disappointment. The magician's cylinder is a rather voluminous part, which means that the allowance for gluing should be at least 40–50 mm.
Instructions:
- Draw a rectangle with width = OG and arbitrary height. Add a 5 cm wide gluing allowance along the height line.
- Using a compass, draw the bottom of the hat, calculating the radius using the formula: = OG: 6.28 (most likely, the number will not be an integer, but will have several digits after the decimal point).Draw allowances for gluing by increasing the compass opening by 3–4 cm and drawing another circle from the same center.
- Draw the brim of the hat. In this case, you will need to draw 3 circles from one center. The radius of the first corresponds to what was calculated when constructing the bottom of the cylinder. The second is taken arbitrarily, depending on the desired width of the fields. Typically R2 = 8–10 cm + R1. And the third is 3-4 cm smaller than the first - this is the gluing allowance R3 = R1-4 cm.
- Cut out the parts along the contour.
- Glue the cylinder together. To ensure that the allowances grip well and do not come unglued at the most inopportune moment, any weighting material should be placed on them during drying. This could be a bottle of water or a plastic bag filled with sand or salt.
- Make notches on the bottom and margin allowances every 1 - 1.5 cm.
- Bend the seam allowances at an angle of 90 degrees. On the bottom down, and on the margins up.
- Generously coat the allowance with glue and connect it to the cylinder, pressing. In this case, when drying, it also makes sense to use a weighting agent. A bag filled with salt is an ideal option, because it easily takes any shape and has significant weight.
- Glue the fields.
The sorcerer's hat is ready! You can start decorating it.
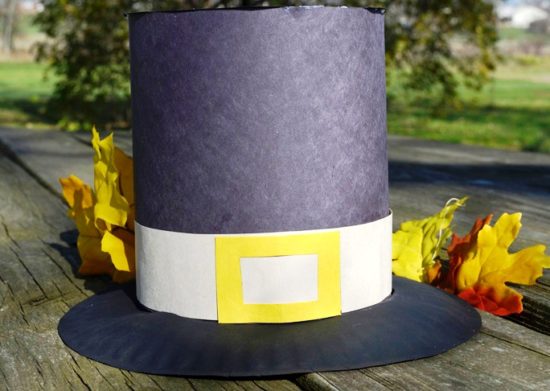
Decorating the cylinder
Decorating the cylinder is the most interesting stage of the work. There are no restrictions here. It all depends only on the flight of fancy and taste preferences. For girls sorceresses, all kinds of sparkles and sequins are appropriate, but for young sorcerers it is better to use more “serious” materials. Well, of course, no one canceled the classics. A black shiny top hat is an indispensable attribute of a real magician.
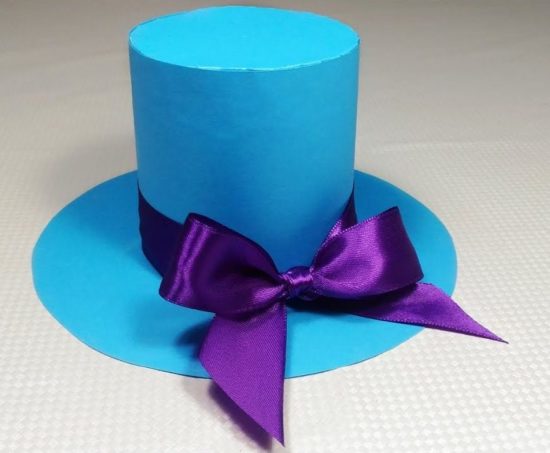
The easiest and fastest way is painting. Ink, gouache and even emulsion paint are perfect for this job.But it’s better to avoid watercolors; they have very low covering power and it will be very difficult to avoid stains. A satin ribbon with a laconic bow will be the finishing touch to the whole look. Moreover, the color of the ribbon can be chosen either to match the color of the hat itself or to a diametrically opposite color. If you think that this is too “boring” and completely inappropriate for a holiday headdress, then you can add a touch of “fun” to it in a few seconds. Attach any paper stencil to the cylinder, spread the voids with glue and sprinkle with glitter.
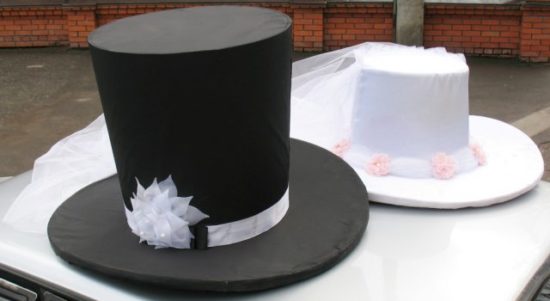
If you cover the cylinder with fabric, there will be no hint that it is made of paper. The props will acquire a very respectable and presentable appearance. There is absolutely no need to use expensive materials. Even lining fabric will do. It may seem that such work requires dexterity and certain skills, but this is absolutely not the case. Even a beginner can cope with this task, you just need to be patient and careful.


 0
0