 For several seasons now, toys have been part of interior fashion. The more vintage-looking they are, the better.
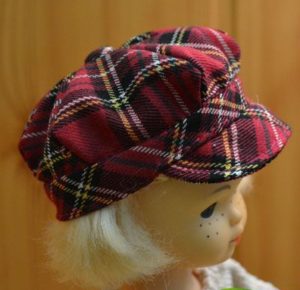
Dolls and soft toys dressed up in cute caps will create coziness. Besides, girls love to dress up their toys.
Materials
Toy hats are sewn from scraps of various fabrics, often combining them:
- fleece;
- denim;
- velveteen;
- artificial leather, suede;
- twill;
- knitted fabric and so on.
Cotton fabrics, fleece, old lining of coats or jackets are used as lining. Let's look in detail at how to make a cap for a doll.
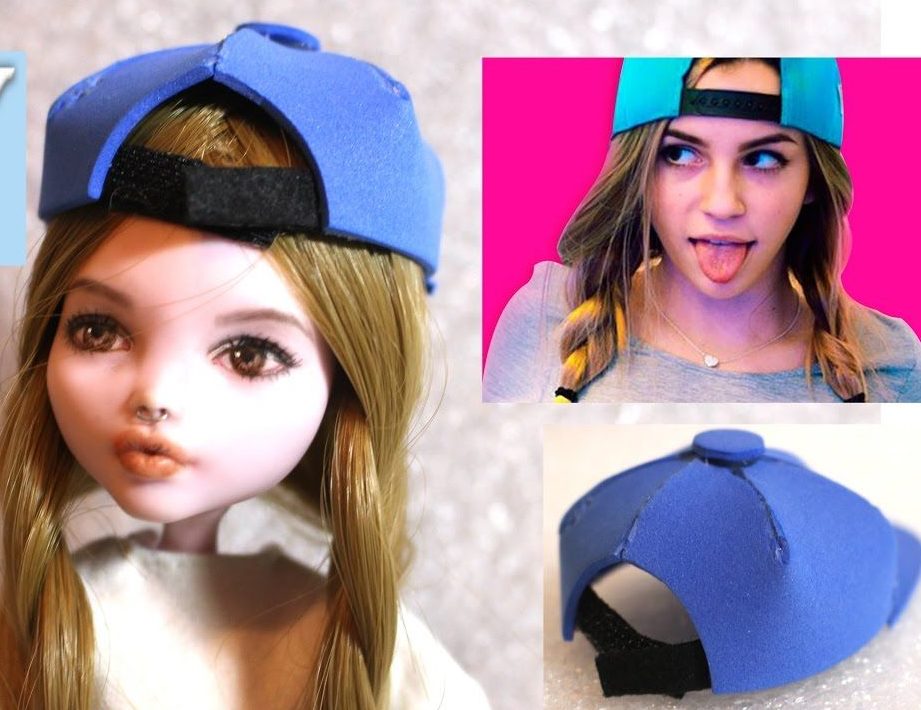 A cap for a doll or soft toy requires little material; used items, torn and ironed, will do.
Pattern of a cap for a doll (toy) step by step
Making a toy cap
Required:
- Fleece or corduroy – 0.25 m.
- Non-woven fabric is optional.
- Chintz for lining - flaps.
- Cardboard or stationery folder for lining the visor.
- Threads.
- Tailor's chalk, scissors.
- Sewing machine.
Building a pattern
Since the sizes of toys are different, the sizes of the cap are also individual. You and I will build our own patterns.
Pattern:
- Wedge - 6 parts from the main fabric, 6 from the lining.
- Visor – 2 parts made of main fabric, 1 made of rigid padding.
Measuring a doll (toy)
Measurements:
- The circumference of the toy's head (I have 30 centimeters).
- Head height (my toy is 6 centimeters).
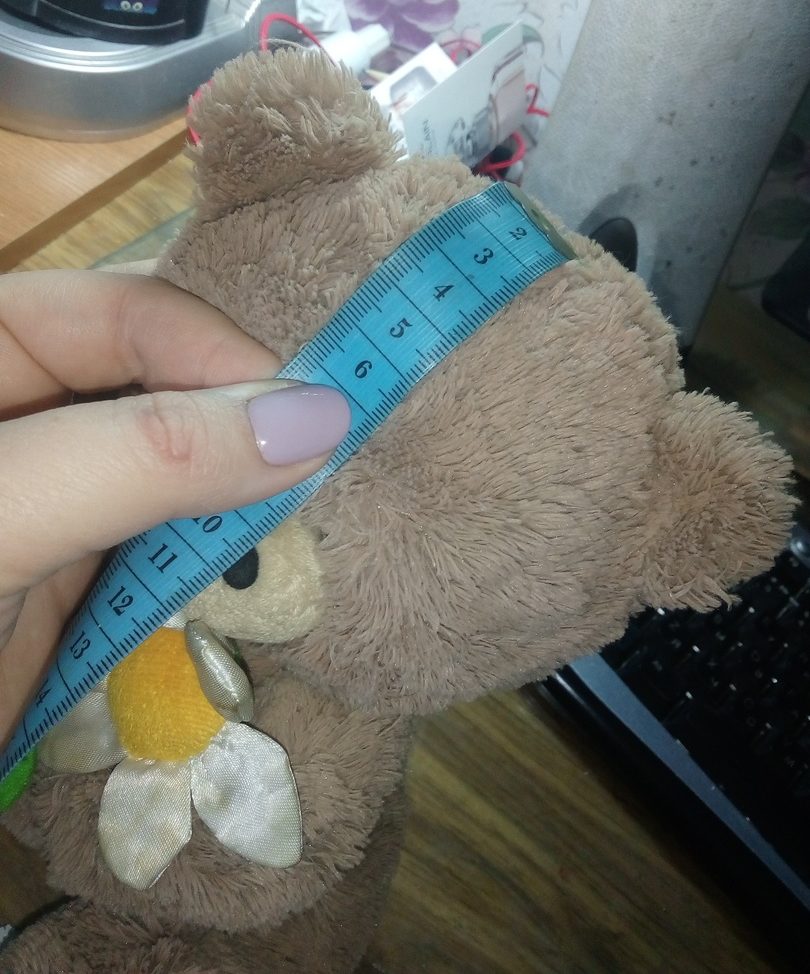
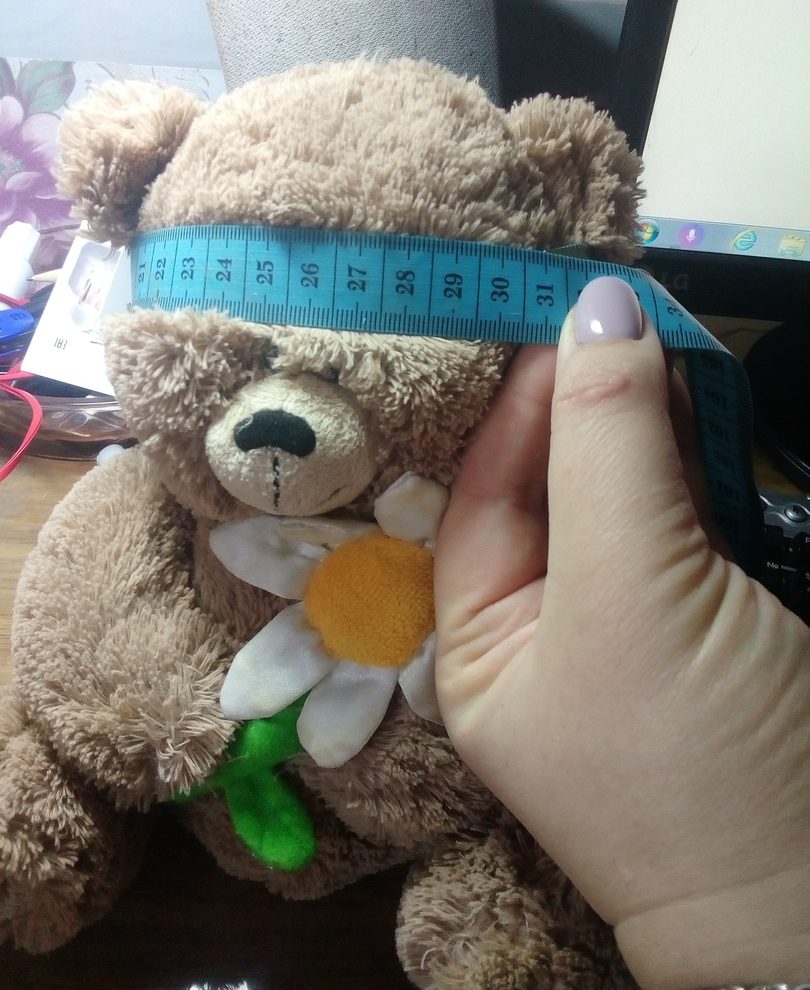
How to make patterns for a cap?
Construction of patterns:
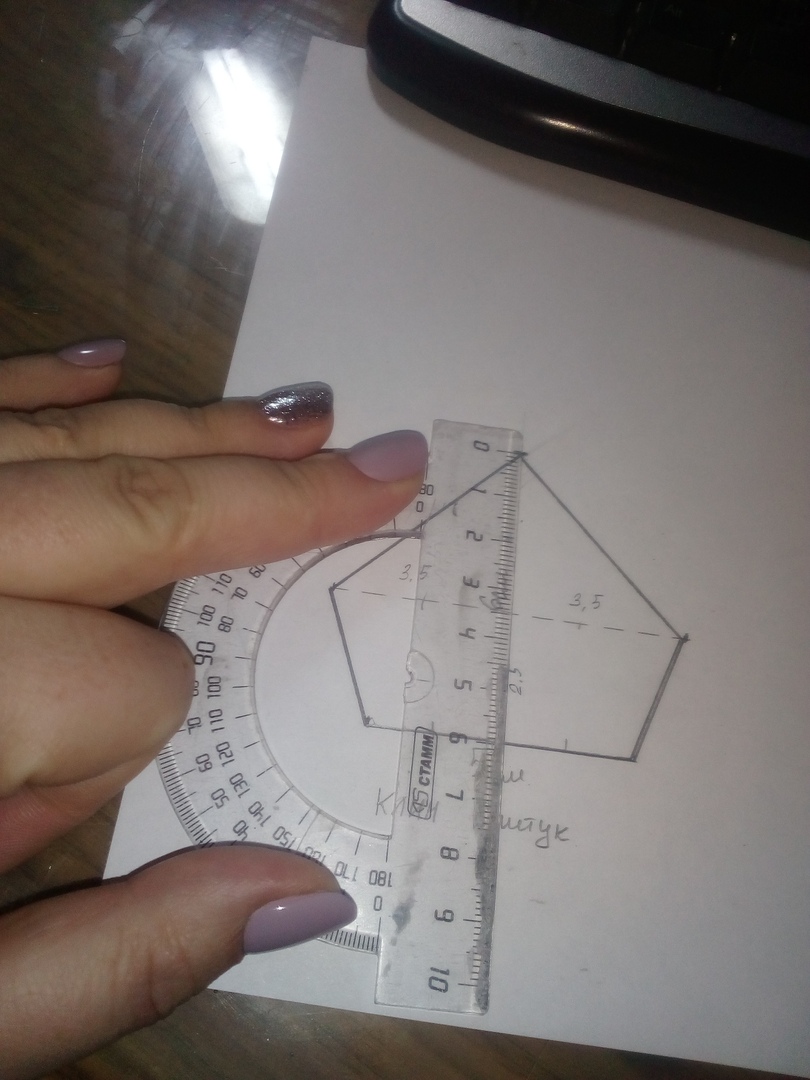
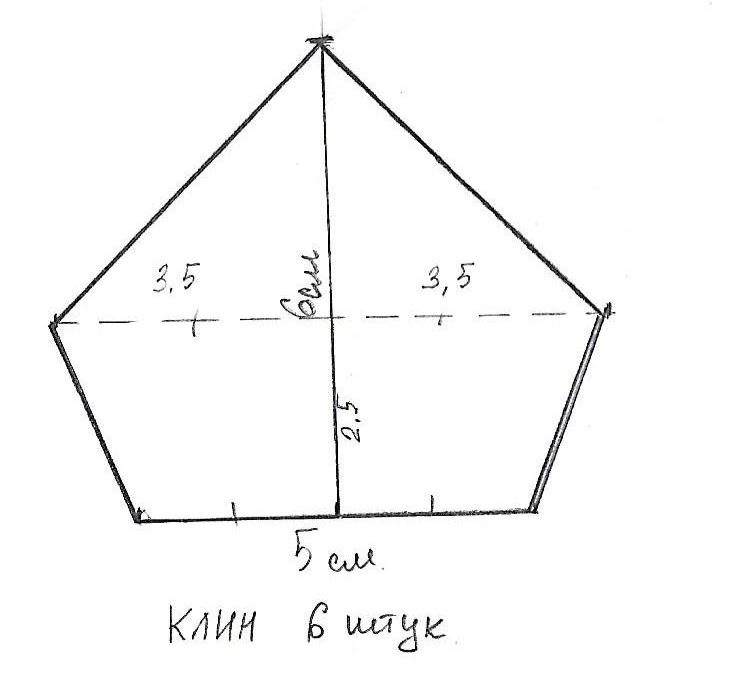
- We choose how many wedges we want for the cap. For example, 6.
- We divide the resulting head circumference by the number of wedges. 30/6=5. This will be the base of the wedge.
- Select the thickness of the wedge at its widest point, for example 7 cm.
- Set aside 5 centimeters.
- From the middle we draw a perpendicular, 6 cm long. This is the height of the wedge.
- At a height of 2.5-3 cm, draw a line parallel to the base, 7 cm long. This is the widest part of the wedge.
- We outline the resulting wedge pattern.
- In the widest part you can make a smooth transition, or you can leave the corners.
- You can use a protractor as a basis for the visor. The length of the visor is equal to half the circumference of the head.
- We measure 15 cm using the protractor. Draw a line.
- We determine the shape and size of the visor ourselves according to our taste.
Advice! We will not make a cap band, but if desired, you can make a pattern with a length equal to the head circumference plus 1 cm.
Uncover
Progress:
- We lay out the patterns on the fabric and chalk them.
- We cut out the parts, do not forget the seam allowance of 0.5-1 cm.
- If desired, we glue the parts with non-woven fabric.
Advice! If you are sewing from fleece, it is better to do it with a hand stitch “over the edge”; it looks neater on this fabric than machine stitching.
- We sew two wedges in pairs and sew a third one to them.
- In this way, we do the same with the other three wedges - we have two blanks for half the crown of the cap.
- Sew these halves together.
- We sew together the details of the visor.
- Turn it inside out.
- Cut out a spacer for the visor from cardboard or a paper folder. We do not make seam allowances!
- We insert a gasket inside the visor.
- Sew up the visor along the front side.
- We detach the visor.
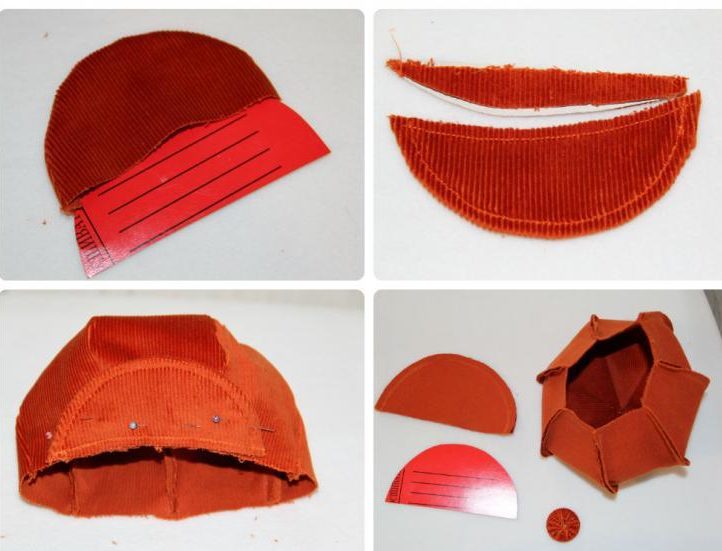 We sew it to our cap.
- If you are making a band, then cut out two parts.
- Sew a visor between them.
- Sew the band to the crown.
- We cut out six wedges from the lining fabric.
- We sew them together in the same way as the parts made from the main fabric. Leave a small area between the wedges unsewn.
- Turn the cap inside out.
- We put the lining on the cap, face up.
- We pin it with pins and sweep it away.
- Let's grind.
- We turn the product inside out through the hole in the lining.
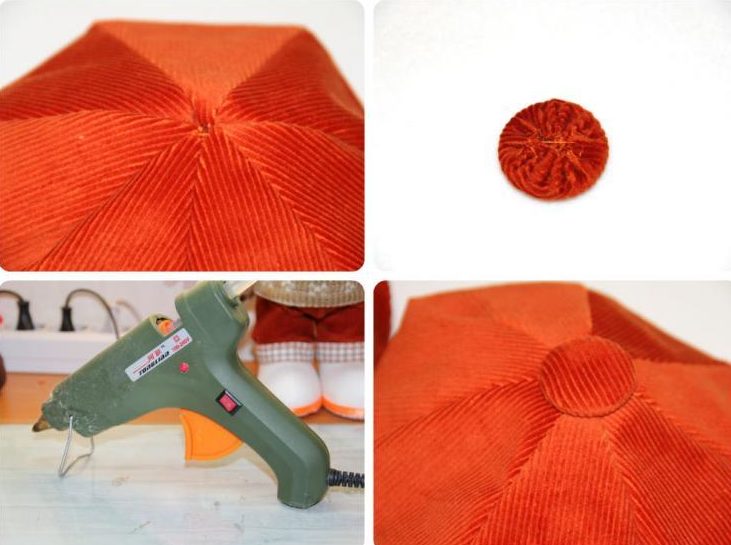 We sew or glue a covered button into the center of the cap.
Advice! If there is no button, then you can cover a coin or just a circle of cardboard with fabric.
We straighten it and try it on a toy.
With the help of these simple hats you can turn old toys into real interior decorations.


 Advice! We will not make a cap band, but if desired, you can make a pattern with a length equal to the head circumference plus 1 cm.
 Advice! If you are sewing from fleece, it is better to do it with a hand stitch “over the edge”; it looks neater on this fabric than machine stitching.
 1
1
