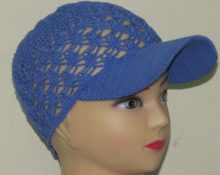
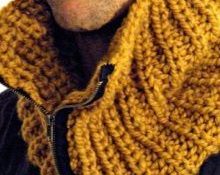
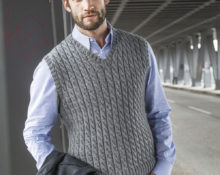
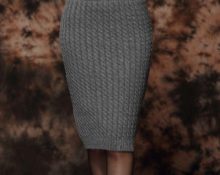
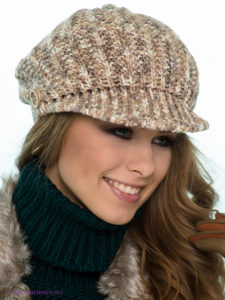
 There are so many different models of hats that it is easy to get lost in them. But there is an accessory that is loved by many. It is suitable for both women and men. We are talking about stylish and fashionable knitted hats with a visor. Today these can be traditional caps, scarves, and berets. Of course, you can buy such an item in a store. But if you want to get an original thing, then it is better to create it yourself. To do this, you will need to buy suitable material and spend some free time. Let's look at all the stages of creation in more detail.
What you need to knit a cap
In any production, the most important thing is preparation. The stages in creating this item are as follows.
- Selection of a suitable model. This stage depends entirely on the personal preferences of the craftswoman.
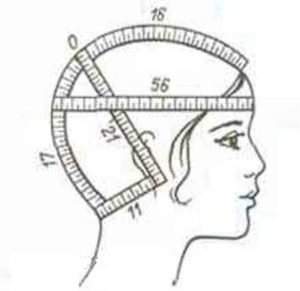
- Taking measurements and creating a pattern. To do this, you will need to measure the volume of the head and the depth of the product.The first parameter is measured at the widest part. The second is measured from ear to ear, across the back of the head.
- Purchase of materials and tools. These criteria are interrelated. Therefore, first buy yarn, and then, focusing on its density, select knitting needles. Buy fiber depending on the season. For summer - cotton, linen, viscose or silk, for winter cold - wool, mohair, alpaca and angora.
Attention! For an option that you can wear all year round, high quality acrylic yarn is best.
Knitting needles are purchased according to yarn thickness. Typically, manufacturers indicate on the label which number is best to work with. If there is no such information or you are not sure about it, then Fold the thread in half and compare the resulting thickness with the volume of the knitting needle. For a suitable number, the thickness will be equal to the volume of the thread.
Another method is empirical determination. To do this, knit several samples with knitting needles of different numbers and choose the best result.
- The last step of the preliminary stage is sample making future canvas. Knitting calculations are made using it and the pattern.
Reference! Before calculations, be sure to subject the sample to wet-thermal treatment. This will reveal hidden fiber defects (stretching, shrinking).
How to knit a women's cap with knitting needles
The women's model is slightly different from the men's version. It is more feminine, the upper part is voluminous and various patterns and designs are used more often.
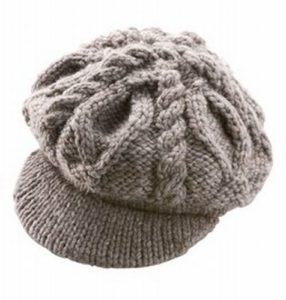
To work you will need mixed yarn six/acrylic with parameters 300 m/100 g and knitting needles No. 4. You will also need flexible plastic to insert into the visor.
Description of work
- Follow the pattern below, adjusting it to your measurements.
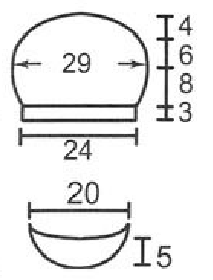
- Knit a diamond pattern with a braid.
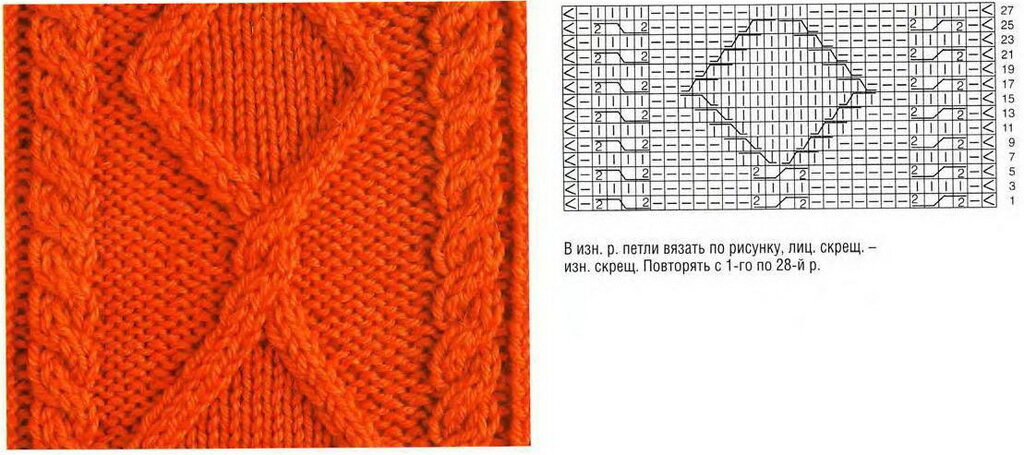
- Based on the pattern and completed sample, calculate the reductions.
- Sew the two parts of the visor in stockinette stitch and join them along the right edge.
- Insert a plastic blank inside the part to provide rigidity.
Advice! You can use a water bottle as a material for the insert.
- Then, on circular knitting needles, cast on the required number of loops to knit the main part. At the same time, we grab the loops along the inner edge of the visor
- After knitting several rows in stockinette stitch, go to the “diamond with a braid” pattern.
- Pull the loops at a sufficient height.
- If desired, decorate the product with decor: a pompom, a knitted flower, an applique.
How to knit a men's cap with knitting needles
The men's model is distinguished by the use of a close-fitting silhouette and more formal patterns.
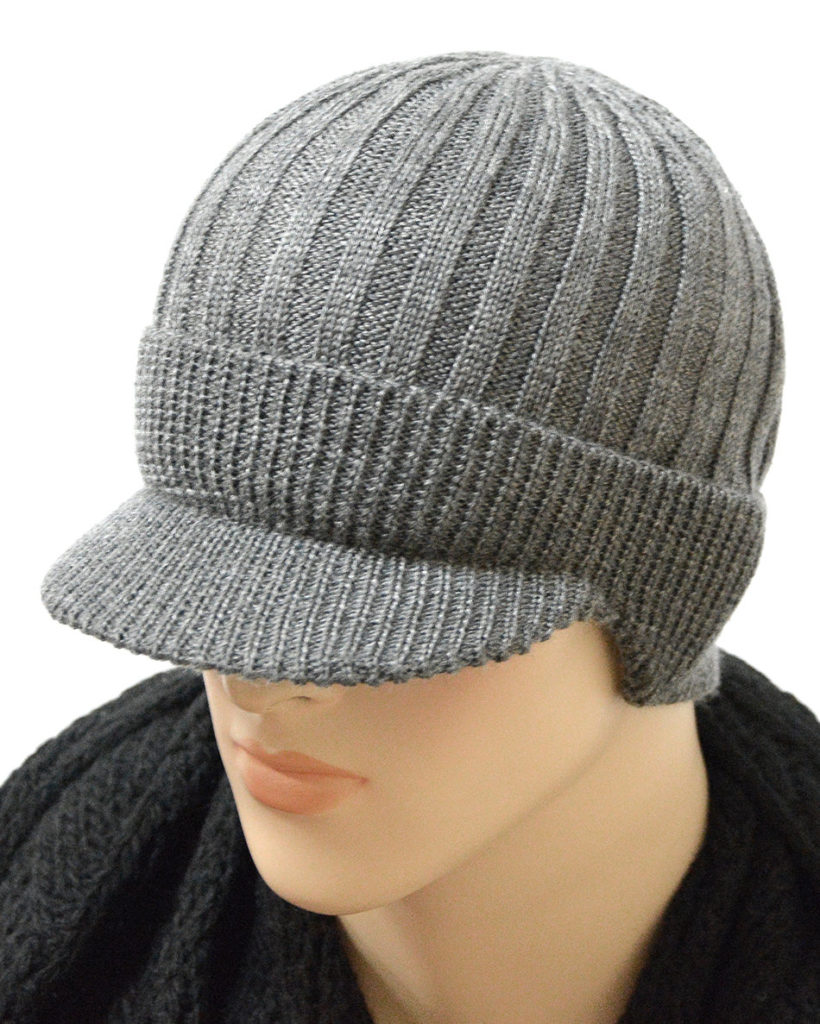
To work, you will need acrylic yarn with parameters 400 m/100 g and knitting needles no.
Execution Process
- Create a pattern according to your measurements using the drawing below as a basis.
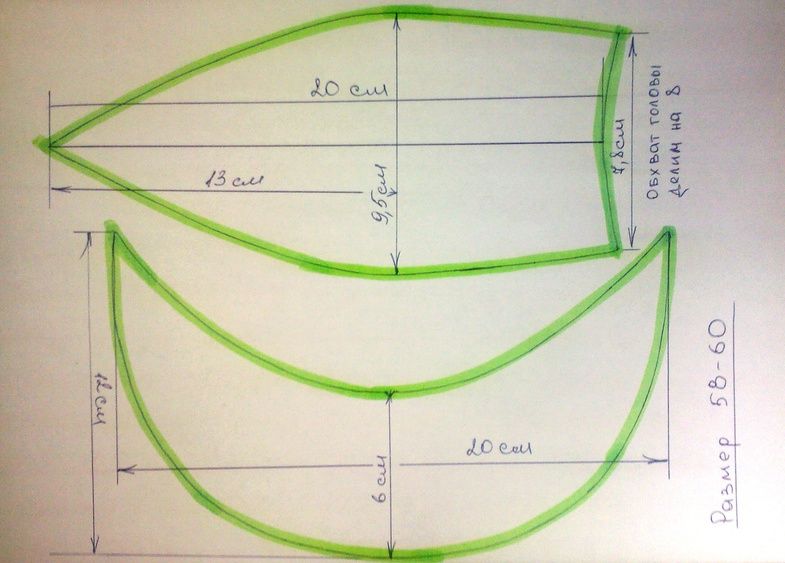
- Knit a sample pattern: 1x1 and 3x4 rib.
- Perform calculations for knitting the product.
- Make the visor as described in the female version. In this case, use the “1x1 elastic band” pattern.
- From the visor, knit with a 1x1 elastic band to a sufficient height to where the decreases are made.
- Switch to the 3x3 rib pattern.
- Perform decreases.
- At a sufficient height, tighten the remaining loops with thread.
- Carry out wet-thermal treatment of the product.


 0
0