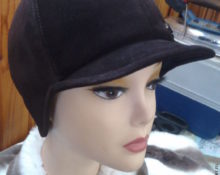
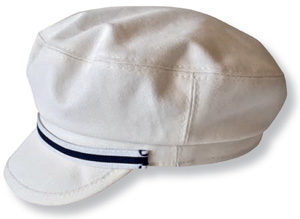
 Fashion is constantly changing. Therefore, such a headdress as a women's cap sometimes becomes popular, sometimes sent to the shelves in closets. Now is the time to wear such a headdress. Let's look at how to cut and sew it with your own hands.
Cap pattern
Before you start creating a pattern for a women's cap, you need to prepare the material from which you will sew in the future.
Material
The main fabric will need 0.35 m with a width of 1.4 m. Cotton of the appropriate density will do. But you can choose any other suitable material.
Recommended Fabric:
- tweed;
- thick coat fabrics;
- artificial leather;
- Genuine Leather;
- suede leather.
NOTE! If the material you choose is too thin or loose, you will need to duplicate it with adhesive material.
Prepare lining fabric. It will take 0.25 m with a width of 0.9–1.40 m. This can be any suitable material, but take into account its color. For the visor it is necessary to prepare dense but thin plastic; another preparation of the liner for the visor is possible.
What measurements are needed
The size of your cap is equal to the size of your head.
In order to take measurements, you need to take a regular measuring tape and wrap it around your head. This will measure the circumference.
Take measurements at the level slightly above the eyebrows, go slightly above the line of the ears, and on the back of the head through the most protruding point. Having determined the maximum head circumference, you can decide on the size of the future product.
REFERENCE. The measuring tape should fit your head quite tightly, but should not squeeze or cause discomfort.
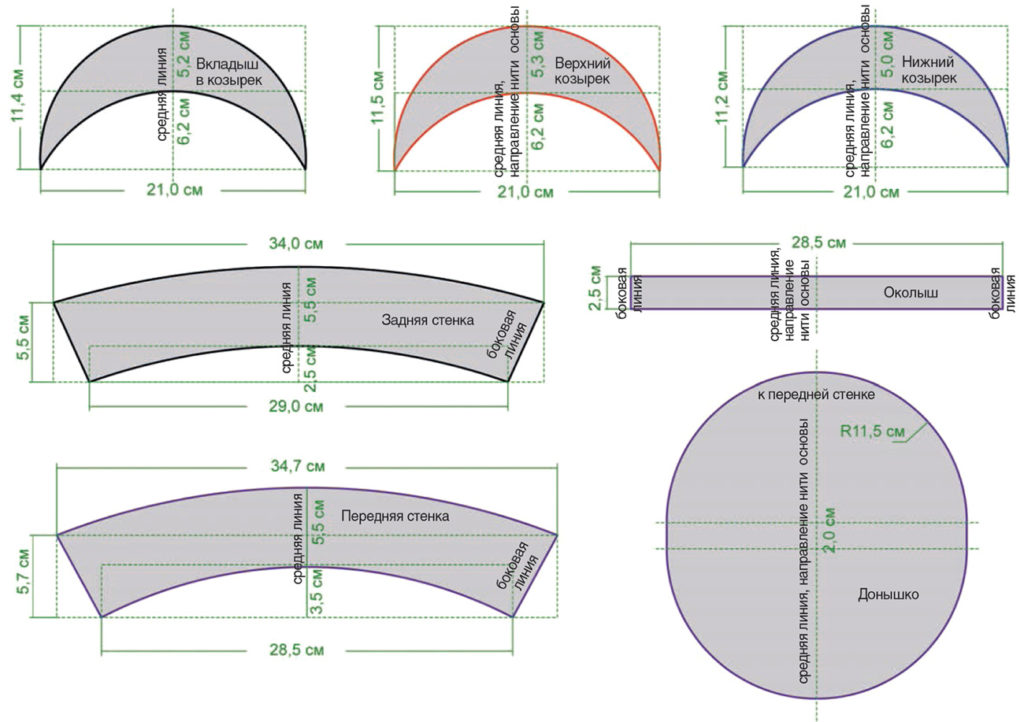
How to make a pattern
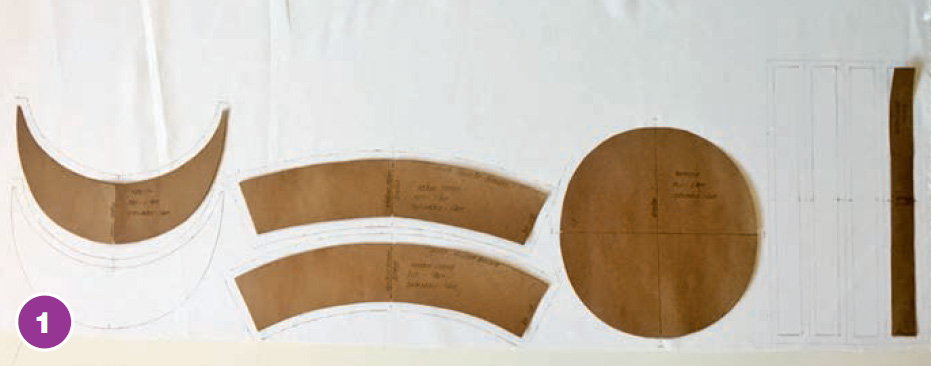
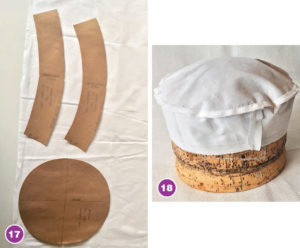
You need to cut out the following elements.
- Bottom in the amount of 1 piece.
- Front and back walls 1 pc.
- Band in the amount of 4 pcs. There will be two main parts and two lining parts.
- Lower and upper visor 1 piece each.
Now you should move on to the fabric that you have prepared for lining.
- Bottom - 1 pc.
- Front and back walls 1 pc.
Cover all these details on the appropriate fabrics and don’t forget about the visor liner. It also needs to be cut out on appropriate material.
Sewing a cap
When all the parts are cut out and ironed, you can safely begin the sewing process. You should not have any difficulties if you do everything step by step, according to the given algorithm.
The basis
- The front and back pieces must be folded right sides together. The side sections must be sewn. Now the seams need to be ironed and bored. Now let's move on to the bottom and wall. They also need to be folded with the front side inward, align the cuts, as well as the middle lines, and pierce them with pins for convenience.
- Connect the parts by stitching on a typewriter.Make a slight planting from the bottom, distributing it along the entire cut line. In order to eliminate the possibility of the seam pulling, notch the allowances left for a neat seam through a certain indentation. Spread the seam and iron it.
Visor
- Now let's move on to processing the visors. They must be made without seam allowances on the outside. The insert is made without allowances on all sides. Place a liner on the back of the lower part and connect with machine stitching. Now place the top piece, right side facing up. Join with a machine stitch, moving just a little from the edge. Try to make the seams even and neat. Cut out a strip of fabric in an oblique position. Its length is 0.36 m and its width is 2.5 cm. Use it to process the outer cut with an edging seam.
- Connect the side sections of the band together with the lining and sew the seams. Now take the band and the lining, fold the top sides together and stitch the bottom edges. Just skip the area where the visor will be located. Connect the visor to the band. Place it between the main part and the lining. Carefully connect all the parts together, straightening the fabric.
Assembly
- Open the lining of the cap parts. It needs to be processed. To do this, connect the sections on the sides, use a stitch seam. Connect the lining of the walls to the lining of the bottom.
- Now you need to fold the resulting product with the lining right sides to each other and connect using a machine stitch. Don't forget to leave a small hole so that you can easily turn the product out. Now turn your hat inside out and straighten it out. Carefully hem the hole with a hidden seam, iron if necessary.
Your cap is ready.
Figure 6
 3
3