 Any girl, going to a festive celebration, wants to look like a real princess. And this image will depend not only on a fluffy dress and elegant shoes, but also on stylish accessories. One of these elements is the crown.
You don’t have to buy this thing in a store; you just need to spend a little free time and build it with your own hands. The joy of your baby and her lovely finished outfit will become a reward and delight to her parents’ eyes. Even an inexperienced craftswoman can cope with this process. And for this, let's look at the issue of creating this wonderful thing in more detail.
Tools and materials needed for a satin ribbon crown
One of the main points influencing the final result is the preparatory work. It includes the following points: choosing the appearance of the craft and purchasing the necessary materials and tools.
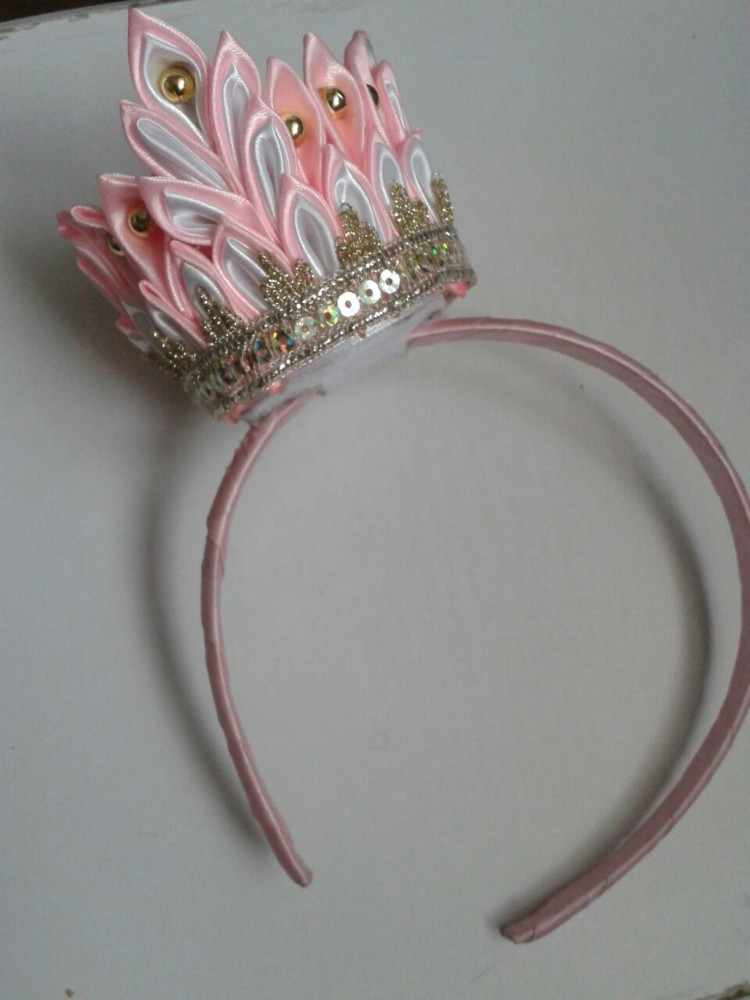
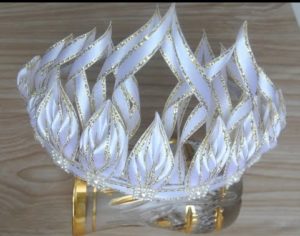
This item can have two forms in appearance. One of them is a traditional round crown.
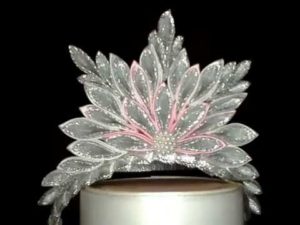
The second variation is an elegant tiara.
But despite their different appearance, they will require the same materials and tools:
- Base for fixing on the head. You can use a thin headband or hairpin as it;
- Satin ribbons. They can be either the same color or contract shades;
- Source of open fire: lighter or candle;
- Felt to match the main color;
- Brocade and lace;
- Decorative elements: sequins, beads, beads;
- Scissors;
- Tweezers;
- Safety pins;
- PVA glue;
- For the round version, you may need a foam base.
Reference! Instead of an open flame source, which is used to process the edges of parts, you can use a wood burner.
After you have purchased everything you need to create the product, choose a convenient place for future work. It should be well lit, since you will be working with small details. Also try to arrange everything you need in a convenient order.
Master class on how to make a crown from satin ribbons with your own hands
To make all the details clearer, let’s look at making a crown and diadem using an example. For a traditional option, try creating the headdress of the Russian Tsars.
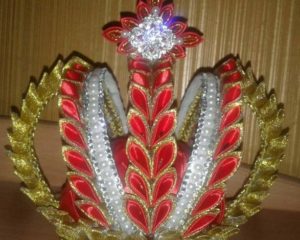
To implement you will need:
- Gold brocade;
- Red satin ribbon;
- Some golden-red brocade;
- Gold braid;
- Silver stripe with beads and sequins;
- Sequins and beads for the central pattern;
- Scarlet fabric for the inside;
- Plastic strip for a rigid frame.
Attention! A plastic strip can be cut from a plastic bottle.
Completing of the work:
- Cut brocade and satin into rectangles;
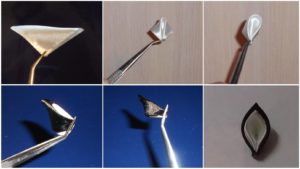
- Make a sufficient number of petals from the blanks;
- Sew the inner base from the fabric, it should look like the top of the cap;
- Insert a plastic strip around the edge of the inner base. Decorate it with braid;
- Attach the pre-taped top elements to the base;
- Using glue, fix the petals and the silver stripe on the top;
- From scarlet fabric, sew a diamond-shaped blank for the crown;
- Insert a piece of plastic inside the crown for rigidity;
- Decorate the crown with petals;
- To imitate jewelry, lay out the central pattern of the dome from sequins and beads.
To create a more delicate and sophisticated look, an amazing tiara is best suited.
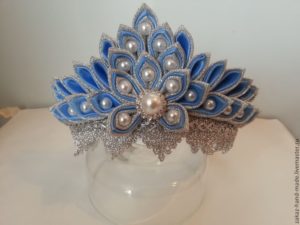
To implement you will need:
- Blue satin ribbon;
- Silver brocade;
- Headband for base;
- Felt for the frame;
- Silver lace;
- Large white beads and small transparent rhinestones;
- PVA glue.
The working process:
- Cut out a triangular blank from felt for the base of the product and glue it to the rim;
- Cover the bottom of the workpiece with silver lace;
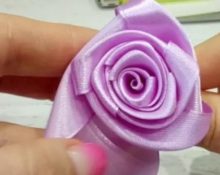
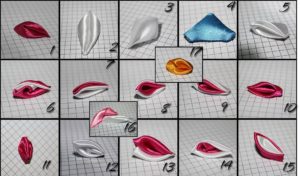
- Make petals according to the example below;
- Glue the petals onto the felt base starting from the top row;
- Form a flower at the center of the product;
- Decorate the tiara with beads and rhinestones.
 0
0