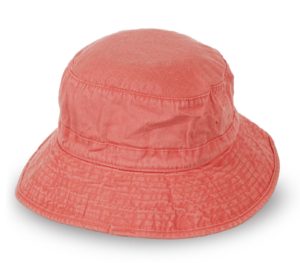
 The moderately wide brim of a Panama hat perfectly protects the skin of the face, neck and chest from the sun's rays. The risk of getting burned is minimized. The headdress is also good because your head doesn’t get swollen in it. This property will be highly appreciated by mothers of active children, as well as owners of private gardens and summer cottages.
Another good thing about a Panama hat is that it is easy to sew with your own hands. We will tell you how to sew a Panama hat yourself.
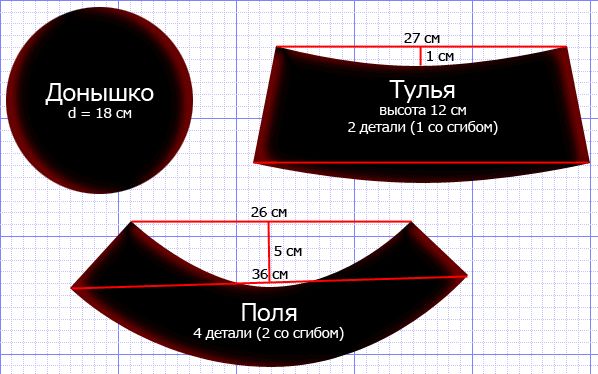
Panama hat details
There are 5 parts to a traditional headdress:
- bottom;
- field (2 pcs.);
- crown (2 pcs.).
You can use this pattern for sewing.
A Panama hat for a child will require approximately 0.5 m of suitable material.
Advice! For a product for adults, take a piece of this size: 0.3 m long and 1.5 m wide.
We will also need:
- finishing tape (just in case, buy a meter, the leftovers can be used to sew another product);
- scissors;
- sewing machine;
- needle;
- safety pins and thread.
Sewing a Panama hat
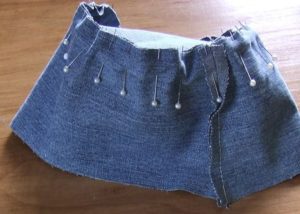
In order for the work to please you with its result, you need to carefully perform several sequential actions.
- Cut out the parts, sew the seams of the brim and iron them in different directions.
- Connect the fields right sides together and stitch.
- Notch the seam allowance and press the seam.
- Turn the brim right side out and iron.
- Baste the inner edge of the brim and stitch.
- Sew a seam at the back at the bottom of the crown, press and overlock the seams.
- Connect the parts of the crown with a basting seam, slightly seating the lower half. Sew, overlock the edges, and turn back the seam allowances.
- Sew the crown with the bottom.
- Connect the crown to the inner edge of the brim and stitch.
- Sew finishing tape at the junction of the crown and brim.
- Turn it out and try it on.
Important! Before using finishing tape, all work is carried out from the wrong side.
Sewing on finishing tape is not the only way to decorate 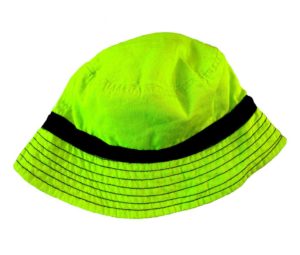 connecting line.
You should definitely not resort to this option if the machine stitching turns out to be imperfectly even. If you have doubts about your own skills, design the ribbon like a belt. To do this, you will have to make loops, preferably from the same ribbon, so that there is no interruption in color. The ribbon will be threaded into them.
Loops are formed between paragraphs 4 and 5 of the job description. At this stage they are only pinned with safety pins. And they are stitched at the moment of processing the inner cut of the fields.
The number of loops is not limited, but models with 6 are more common. This number allows you to notice an unusual detail, but at the same time it does not repeat itself too often.
Important! To determine the size of the loops, use the formula: length of the loop base = width of the ribbon from which the loop is made + 2 cm.
If during fitting it turns out that the Panama hat does not hold its shape, this defect can be corrected. To do this, cut out inserts from thin flexible cardboard.Then open the headpiece, glue the inserts and sew the seams again.
You can avoid unnecessary work if you choose the material responsibly. Pay attention to suiting fabric, denim and corduroy. Well, a lightweight walking panama will be given shape by dublerin.


 0
0
