 With the onset of cold weather, all people often think about stylish and warm accessories that will not only keep you warm in winter, but will also add an interesting, bright accent to the image. Many people buy hats and scarves in stores, but experienced craftswomen know that a truly unique and unusual item can be made with your own hands without much difficulty. Knitting a hat yourself is not difficult. In order for things to fit, it is necessary to carry out some calculations for the future product.
How to calculate loops for a hat
Hats are the most important attribute of a wardrobe in chilly autumn and cold winter. That is why a woman’s hat should not only be beautiful, but also warm. In order to knit a hat yourself you need to prepare a little. And even a beginner can handle the knitting process.
The main stages of preparation for knitting:
- Select a product model: with or without a collar.
- Choose a pattern.
- Calculate the loops.
Among these tasks, one is the most important - this is calculation of the required number of loops for the future hat. Because if you make mistakes at this point, it may be either too small or too loose.
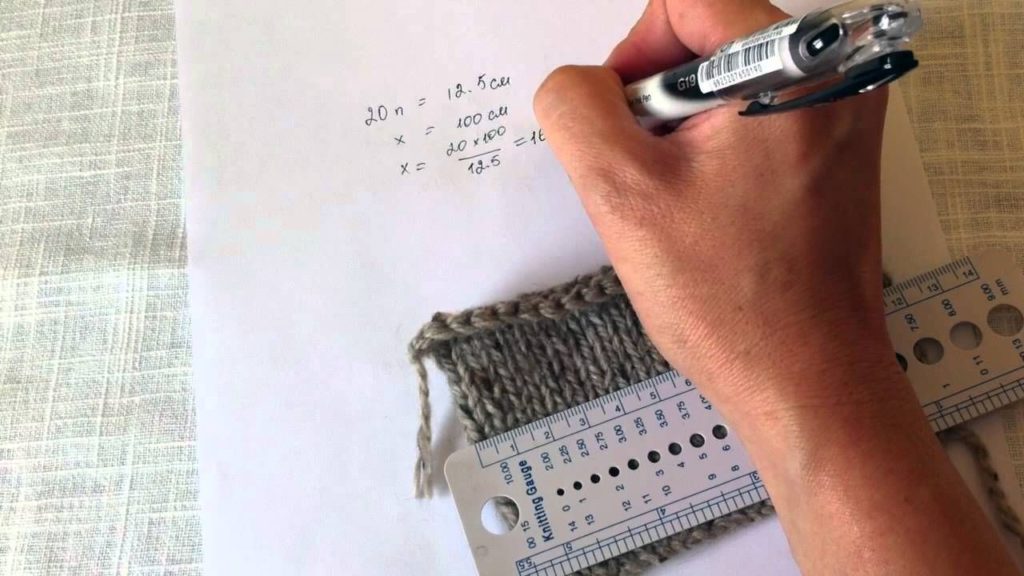
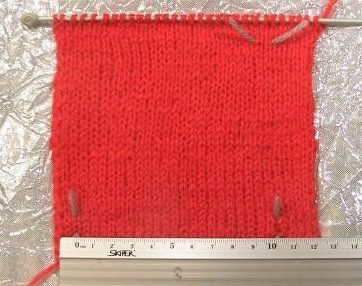 One of the simplest methods of calculation is to knit a sample of the future product. To do this, measure the circumference of your head (for example, 56 centimeters) and use selected knitting needles to knit a 10*10 centimeter square from selected yarn. After this, take a ruler and measure the number of loops in 10 centimeters. For example, there are 15 loops in 10 centimeters. This means that 1 cm = 1.5 loops. Then we carry out a basic calculation: 56 * 1.5 = 84 loops.
Attention! When measuring an elastic band, it is best to stretch the sample a little. Since this will help in the future to avoid miscalculations in knitting, and the finished product will still stretch a little when worn.
How many stitches does an adult need to put on a hat?
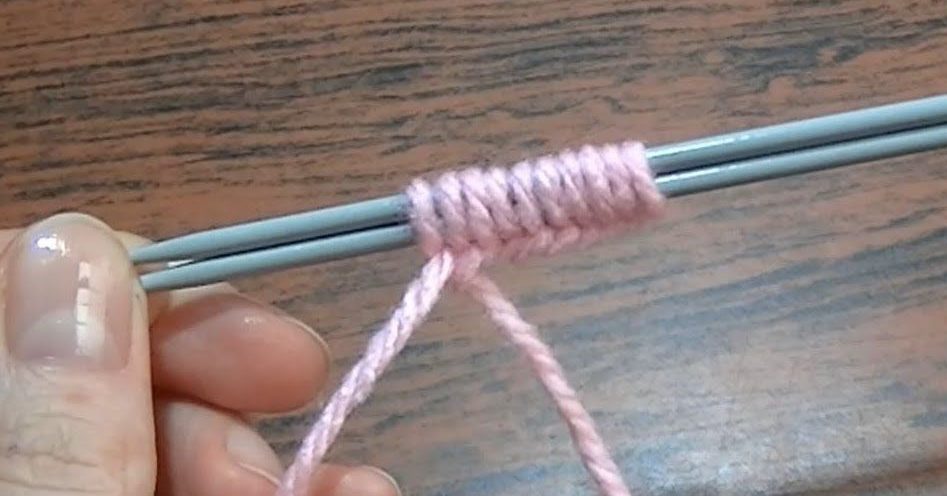
In order to knit a hat for an adult man or woman, you need to carry out a similar calculation of the number of loops. Or use the “grandmother’s method” of typing. Its essence is as follows: in order to get a product of 20 centimeters, you need to take a piece of thread larger than 3 times, that is, 20 * 3 = 60 cm. Leaving the thread for casting on 60 cm, you should cast on a sufficient number of loops right up to its very end .
This way, the number of loops will be appropriate and the product should fit. However, in order not to redo it, which can be much more annoying, it is best to use the first method with knitting a sample.
Taking measurements correctly
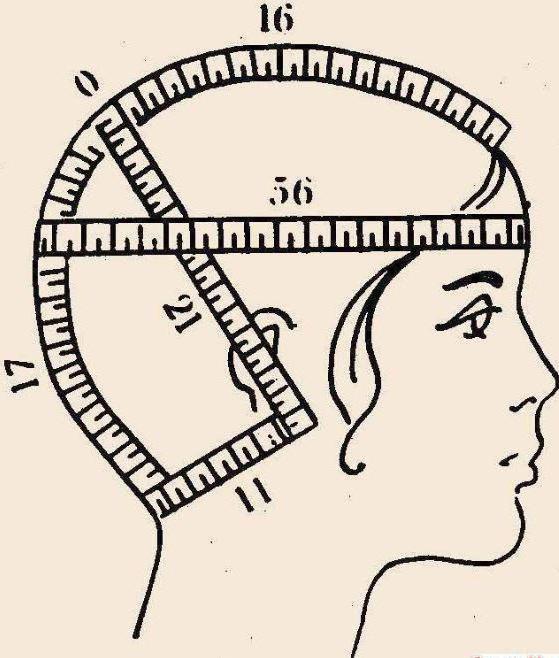
Any hat consists of 2 main parts: the crown (the height of the hat itself) and the bottom (the height of the beginning of the decreases). To take measurements correctly:
- Measure the distance from one ear to the other and divide it by 2.
- Determine the length between the earlobes through the crown.
- Measure the circumference of your head.
Schematic measurements are shown in the figure:
Finished product parameters:

Calculation of the number of loops for knitting a hat
If you plan to knit a headdress using a combination of elastic patterns and some other, you need to knit the sample in the same way in order to understand how many loops should be added in the first row after the elastic so that the hat is not too narrow. The pattern should be distributed evenly over the entire circumference of the headdress, and additions should be made evenly.
Another option, when the hat is completely knitted with elastic, including English elastic, is best to cast on a sample using satin stitch and take the necessary measurements. Why do this? Firstly, you should remember that the elastic tends to stretch. This is why knitting density is very important to consider. And secondly, this method of calculating loops will help avoid the need to unravel an almost finished product and redo it from the very beginning.
Tulya
Knitting the main pattern, the height of the cap, begins with taking the necessary measurements by measuring the length from one earlobe to the other and from the neck to the forehead. Choose the largest measurement and divide it in half. It is the resulting number of centimeters that will need to be knitted to the bottom of the hat.
Bottom of the hat
Knitting the bottom for a headdress can be done in different ways: spirally or with wedges. In this case you need to divide all the loops into several equal parts and decrease according to the resulting segments. For example, decrease 1 stitch after every 6 stitches and in each subsequent row.Thus, you can close the product with a very beautiful spiral pattern.
In principle, the process of calculating the required number of loops is quite simple. Therefore, any needlewoman can cope with this task. We wish you that your hats reliably warm you during the cold season!


 3
3

