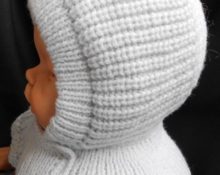
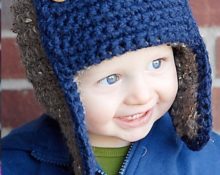
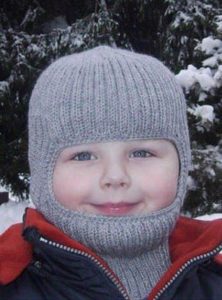
 Winter, with its frosts and strong winds, makes a hat with a bib an essential accessory in the wardrobe of not only children, but also adults.
It can replace a scarf, thereby eliminating the need to endlessly wrap it around your neck. In addition, such a hat covers the back of the head well and does not slip off, unlike a regular headdress.
How to crochet a baby hat with a bib
Preparing for work
In order to get started, you first need to select yarn and a hook that matches it in size. Basic recommendations for choosing threads for a children's hat.
The yarn must contain natural thread. Such as merino, llama, camel, yak wool, and Angora rabbit fluff. This will ensure the finished product is warm.
ATTENTION! When choosing natural threads, it is worth considering that they can be “prickly”, that is, they can cause a tingling sensation.
As a result, the child may refuse to wear such a product. And sometimes threads can cause itching on the skin. To avoid this, You should choose yarn created specifically for knitting children's products.
IMPORTANT! Accurately measure the volume of the head on which the hat is knitted. Correct measurement will ensure a tight fit.
Once the yarn has been selected, you need to select a hook for it. Any yarn has a factory label. It is marked with a hook or knitting needles that are suitable for the thickness of a given thread.
Important! It’s worth buying two or three hooks right away. The first is the one indicated on the label, the second and third are one size larger and smaller.
This is due to the fact that each knitter has her own knitting density. And if the knitting turns out to be too tight, then you should change the hook to a larger one. Thus, the finished product will not fall off. Additionally, the edge may require a smaller hook.
Hat with bib for a boy
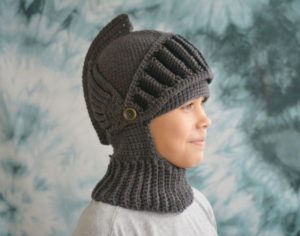
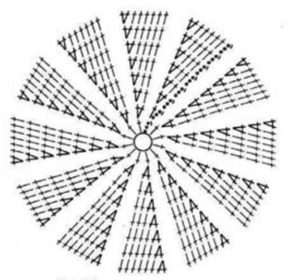
Having measured the volume of your head, you need to start knitting the bottom of the hat according to the pattern.
Donyshko
The bottom of the hat is knitted until the required diameter is obtained. Here it is worth controlling the circumference of the part of the hat so that it matches the volume of the head.
After this, tie the resulting bottom 1 with a row of single crochets. Then you can alternate different types of stitches, you can use single or double crochets, single crochets. The main thing is to get the required height of the cap.
IMPORTANT! During the knitting process, it is necessary to constantly monitor the size. It is advisable to do this by trying the hat on the child.
After reaching the required height of the hat, leave approximately 2 or 3 cm for the elastic band. After this, divide the work into two parts. Set aside the front (front) part; do not continue knitting on it.
Back of the head
Continue the occipital part in the same columns until approximately the beginning of the neck. After this, increase the number of loops on both sides symmetrically so that it is enough to overlap the two sides and form a fastener. Here you must definitely try on the hat while adding columns, so as not to miss the size.
After this, knit the back part together with the stitches added on both sides to form a front clasp. Knit in the same pattern as the hat. Continue knitting to neck height. That is, until the shoulder line is reached.
Continued work
After this, knit the raglan lines. It is formed by 3 columns knitted from one loop. The height of raglan knitting will depend on how long the shirtfront you want to get. Consider how deeply it will cover your shoulders, chest and back.
Hat with bib for girls
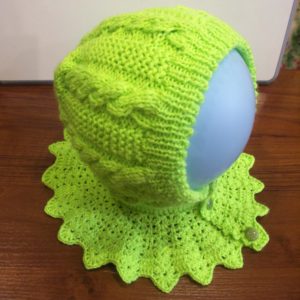
A warm hat for a girl can be similar to a boy’s product. And it can be made not only with or without double crochets, but also with an openwork pattern. Another option: knitting from different types of yarn, thereby forming a pattern.
The difference between hats for girls and those for boys can only be that the shirtfront for a girl can be patterned.
Here You can use patterns for any napkins or any pattern for even knitting in the round. The number of columns in each row increases, thereby creating the necessary expansion.
This can successfully replace raglan lines. Here are a few patterns that will help you when knitting shirtfronts (capes).
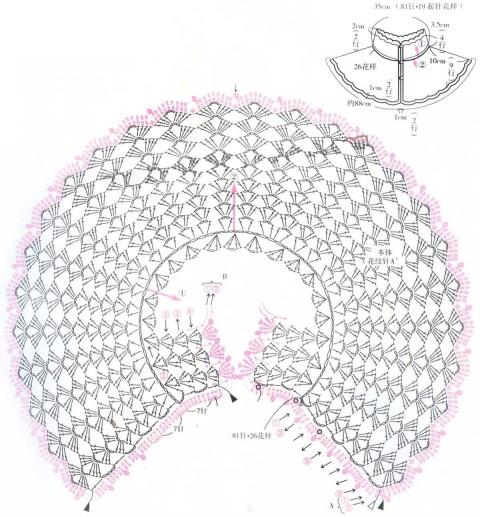

How to crochet a hat and bib for a man
For men, the best option would be to knit a hat and shirtfront separately.This is more functional as it allows you to wear them separately.
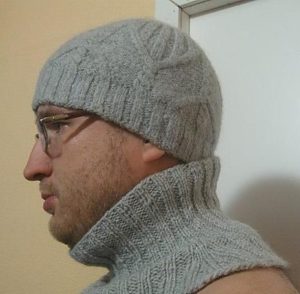
The field for imagination here is endless. This is achieved thanks to various patterns that are acceptable for men's products, and various color combinations.
Here is one of the possible schemes and the corresponding model.
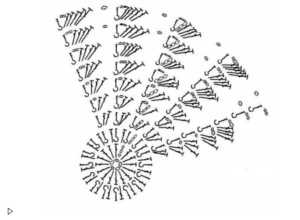
IMPORTANT! When crocheting elastic, use a thinner hook.
This will allow you to make a tighter edge that will not stretch later.
On the finished model, the bottom is knitted according to the presented pattern, and then an elastic band on the knitting needles is already tied to it. But it can be successfully replaced with double crochet stitches or without it.


 0
0