Many people who spend time in a chair in front of the TV screen enjoy the process of knitting. Thanks to this activity, you can create a large number of soft and warm things that are perfect for you, your friends or children. If you want to protect your child from the cold winter by embroidering a winter hat or bib, then this article will help you correctly make a hat with a bib.
Tools and materials
- Tape measure or ruler
- T-pins or sewing pins
- Pen, paper
- Yarn and knitting needles (circular)
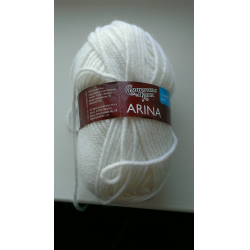
This product is intended for a six-month-old child. When making, you should choose a yarn whose composition includes: fifty percent alpaca, twenty-five percent wool, 25% acrylic. You should choose a soft, warm material that will not prick when used. Fifty grams of yarn should contain one hundred and fifty meters of fiber. The finished result weighs approximately thirty grams, so you only need to purchase one ball.
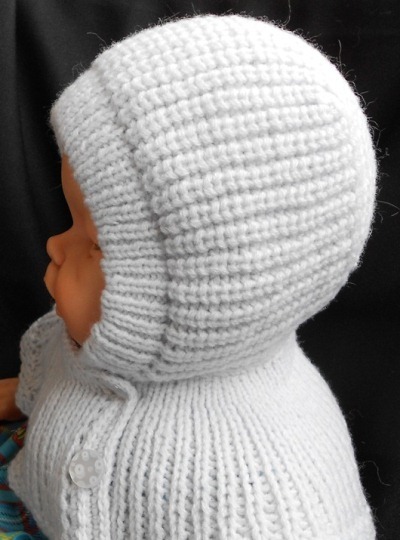
This garment is made using circular knitting needles. There is no need to embroider in the round, since for a fairly small child it is easier to put on clothes using buttons than to thread them through the top.
Four types of patterns are used for sewing: knit stitches, “Lock”, knit stitch, one-on-one elastic.
Master class: Knitted hat with bib for girls
Step 1: Determine Your Tension
 Start by knitting a swatch that is at least 7cm wide to ensure your measurements are accurate. Be sure to knit the main stitch that you will use to make the baby's hat.
Knit but do not cut the yarn as you can rip the swatch and use it for your project. Once you have a decent square, use T pins or sewing pins to secure the sides and corners so they don't curl.
IMPORTANT! Be careful not to stretch it as this will affect your measurements.
Measure the number of stitches you get at a certain width. To make this easier, you can place two pins at each end of your measuring surface. You only need to count the stitches between the pins, even if the fabric moves slightly.
Step 2: Mathematical Calculation
- Measure the head circumference for which the hat is being made (or refer to the head circumference chart).
- Multiply your head circumference by the number of stitches you got per inch.
- Multiply your total by 85%.
IMPORTANT! 85% is the average ratio used for almost every knitted hat because the hat needs to fit snugly on the head. If you made a hat the size of your head's circumference, it would simply slide off. This is called "negative ease"
- Round to the nearest multiple that matches the selected edge (1X1 edges, 2X2 edges, etc.).
- That is: 1X1 edges will be a multiple of 2, 2X2 edges will be a multiple of 4, and so on...
- Plan for crown reduction before application. They must be a multiple of either 7,8,9 or 10.
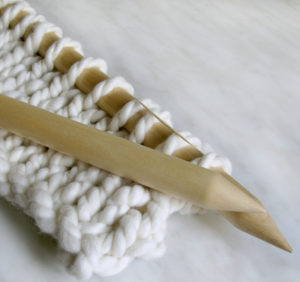
Step 3: Doing the shirtfront itself
After completing these steps, you need to collect seventy-four loops, two of which are edging loops, six loops for the strips, three on all sides, made with a stitch with garters. The remaining loops are tied with the main pattern.
The first step is to embroider the collar with an elastic band one by one in twenty-six rows, after which you need to complete two rows with the front stitch. Don't forget to sew buttonholes.
Loops can be made in various ways.
Based on the size of the buttons in a certain place on the line, you should make the required number of loops. On the next row over the closed loops, make the same number of loops as before. On the next line, make loops according to the pattern.
Performing raglan. To do this, distribute seventy-four loops as follows:
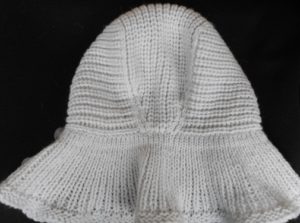 One each for the hem and raglan line, three for the placket, twenty for the front. Then we alternate: one for the raglan line (1 SR), eleven for the sleeve, 1 SR, twenty for the back, 1 SR, eleven for the sleeve, 1 SR, three for the placket, one for the hem.
Along the raglan line on the front in each row you need to add loops that are knitted on the wrong side with intersecting loops. In the loops that form the raglan lines in the slats, one yarn over is created on the side of the main knitting. The number of loops increases by eight in each first row.
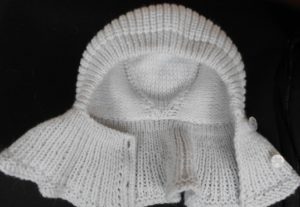 Two sleeves and the wrong side are created using reverse stitching, and in the front in the center we embroider a lock pattern, the execution of which is repeated four times. On the sides of this design there is a fabric that is sewn using a satin front stitch. Twenty-three rows are completed in this way. The twenty-fourth row is made with front loops so that the edges of the shirt front do not wrinkle upward.


 0
0