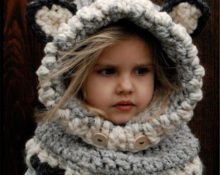
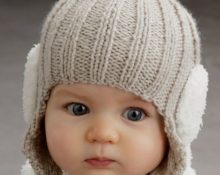
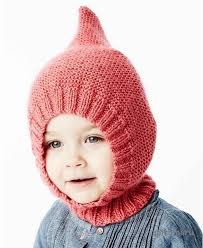
 Many have heard about such a product as a balaclava. So, it is precisely this that should be considered, in the opinion of many masters, as the progenitor of the helmet cap. And in fact, there is a lot in common here, except that there are slits not only for the eyes, but for the entire face. Helmet beanies are popular for children under 5 years old. Since it is at this time that children love long walks and slides in winter. Catch-up and hide-and-seek. During the game, an ordinary hat constantly gets in the way, falls in the eyes or opens the ears. There is reliable protection not only for the head. Thanks to its length, it covers the head and ears well and does not interfere with the eyes. The model is also becoming popular for school-age children. Who doesn’t dream of a unique knitted hat? Further in the article we will go into detail about what is needed for the hat, what measurements and yarn. And most importantly, a detailed description of the coolest model of this type of product.
What measurements are needed to knit a helmet cap?
Only three measurements are required to knit this wonderful product.
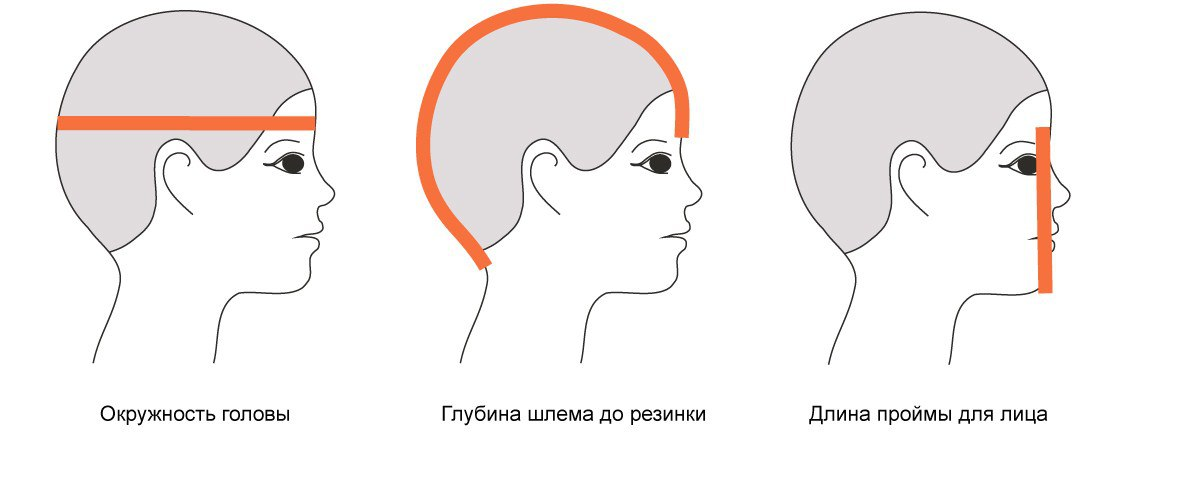
- The circumference of the helmet is measured along the forehead line in front and along the occipital protuberances at the back.
- The depth of the helmet to the elastic line is measured from the eyebrow line to the end along the line from the hair growth (the tape passes through the crown).
- The length for the armhole of the helmet for the front part is from the chin to the eyebrows (this indicator will determine how much the face will open).
Choosing threads and knitting needles for knitting a hat
When creating children's products, it is very important to pay attention to the hypoallergenic composition. Even if you like the fiber, you should not take those that can cause allergies. It is better to immediately ask the seller to highlight the options from which you can choose.
The second thing you also need to pay attention to when purchasing is the tactile sensation. You can’t feel how pleasant the yarn is with your hands, so it’s better to bring the fiber to your cheek and press it. If it is soft, you can take it for a child. The thread should not rub.
Color is the preference of parents and child. Now there are no restrictions regarding the color scheme for the baby. Although many psychologists advise not to choose too bold colors, the baby will constantly peer into the cap and this will not only distract him, but also spoil his eyesight.
The thread itself can be made of wool; among the children's line you can find very warm models. For winter, it is better to continue to make it in several threads and additionally make a lining for the hat. But autumn-spring options can be made with cooler varieties, since you should always dress your baby according to the weather. It is more dangerous to dress him too warmly, and he will sweat excessively (the risk of getting sick greatly increases).
How to knit a baby hat and helmet with knitting needles
Having prepared everything and taken the child’s measurements, you can begin making the hat.Next is a chic model with a simple pattern for a master and even a beginner. We just follow the suggested points and as a result we get the coolest helmet for a child.
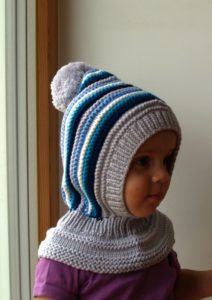
To work you will need:
- children's yarn (gray, white, blue, turquoise, dark blue);
- knitting needles number 3.
The product is designed for a child 3 years old.
The following measurements were taken:
- head circumference – 42 cm;
- depth – 30 cm;
- Armhole height – 12 cm.
Necessary patterns and patterns for knitting
Several fabrics and one type of elastic were used for the model.
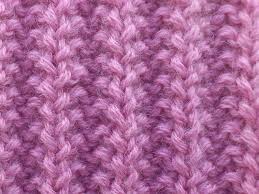
Elastic band 1*1
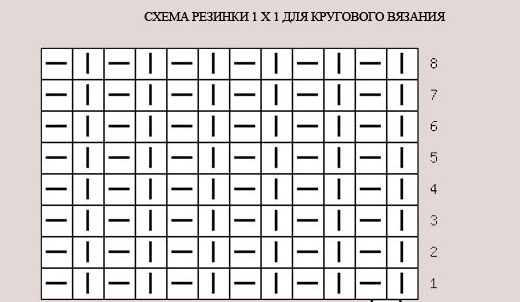
Elastic pattern 1*1:
- 1st row: k/p and p/p and so on throughout the circle.
- Next, circle over knit and purl over knit.
Garter stitch fabric
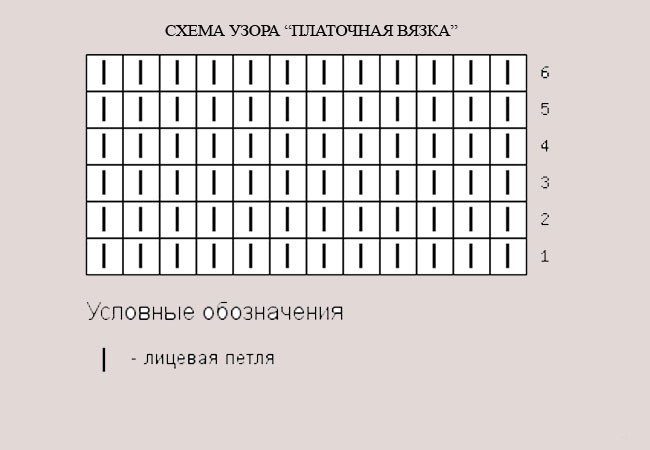
Garter Stitch Pattern:
- Row 1: Knit all stitches with only one stitch.
- 2nd row: make all loops strictly purl.
Face cloth
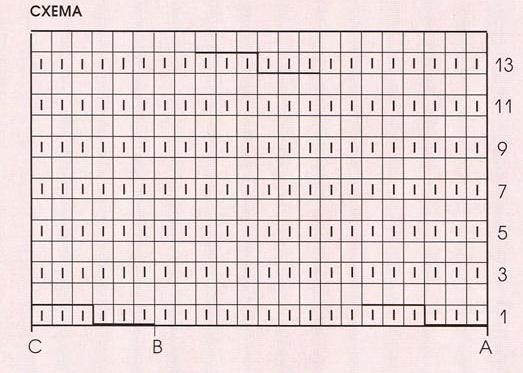
Front stitch pattern:
- Row 1: Knit all stitches.
- 2nd row: also all loops are only knit and so on.
There are only three patterns and the whole model is built on this.
Description of knitting a helmet cap step by step
 To make knitting convenient, you should break all the work into small steps.
Stage: sample. First you need to knit a sample. This is a small square. It is better to take a garter stitch fabric. We knitted and determined the knitting density (that is, we counted how many loops and how many rows in 10 cm). These two numbers make up the knitting density. Next, they will help determine all the dimensions of the product and also how many loops will be needed for the initial set.
Stage: elastic band for the neck. The cap starts from the very bottom. You need to cast on loops for 2 head circumferences. In this case, you will get 100 loops (taking into account that the model is made in two threads).For the rib, you will need to knit in the round (using circular needles of the appropriate size) using a garter stitch pattern. In total you need to knit 8 rows. Next, switch to stockinette stitch and decrease by 20 stitches. Make decreases even throughout the circle. Knit 4 rows in stockinette stitch and change the fabric pattern again. Knit 4 rows using garter stitch and then 2 rows using stockinette stitch. In the last row, evenly reduce the circle by 15 stitches. Switch to an elastic band and perform 10 rows with an elastic band. Next, the 20 loops of the front part will need to be transferred to an additional knitting needle, or better yet, a pin, so that nothing gets in the way and the loops do not fall out of the knitting needle.
Stage: top of the cap. Transfer all the remaining loops from the elastic band to additional knitting needles and immediately divide all the loops equally into two knitting needles. Next, cast on for the first gray row and knit in a garter stitch pattern. Knitting will occur from the forehead to the back of the head. In this case, you will need to fix each side and knit for this the last and first loop of the row together with one loop from the knitting needle from the elastic band. So knit all the loops from the elastic band. Just close the last row.
Stage: elastic band. For the front part, you should make an elastic band from the diagram of the proposed elastic band. To do this you only need to knit 10 rows.
Important! It is better to close the loops in a special way to obtain an elastic edge in the elastic, so that the elastic tightens and fits the front part well.
 To perform elastic you will need to make a set of loops along the edge of the first gray row from the top of the hat, you should not cast on every loop, it is better to pass a loop through every 2 loops so that the elastic fits the face. Pick up the loops from the elastic band of the bottom of the hat unchanged.To ensure that the elasticity is not impaired, as already mentioned, a special elastic edge should be made. To do this, you should knit it according to the following pattern:
- knit a loop and yarn over;
- pull the loop through the yarn over;
- pull through another loop and so on throughout the row.
In this method, you should watch the loops. What is important here is the yarn over for the knit stitches; it will be done backwards and purlwise towards you. This method of closing loops is named after its creator, Janie. Craftsmen have been using this method of closing loops for a long time, but for beginners it can be useful in future work.
The final stage: assembly
All that remains is to complete the very last steps and you can try on the charming product. First you need to sew the back seam. It is better to turn the cap inside out and sew the edges of the fabric with neat stitches using a special thread for sewing knitted items. There should be a sharp tip.
As a decoration, you need to make a pompom, large and fluffy. It is better to use gray thread for it.
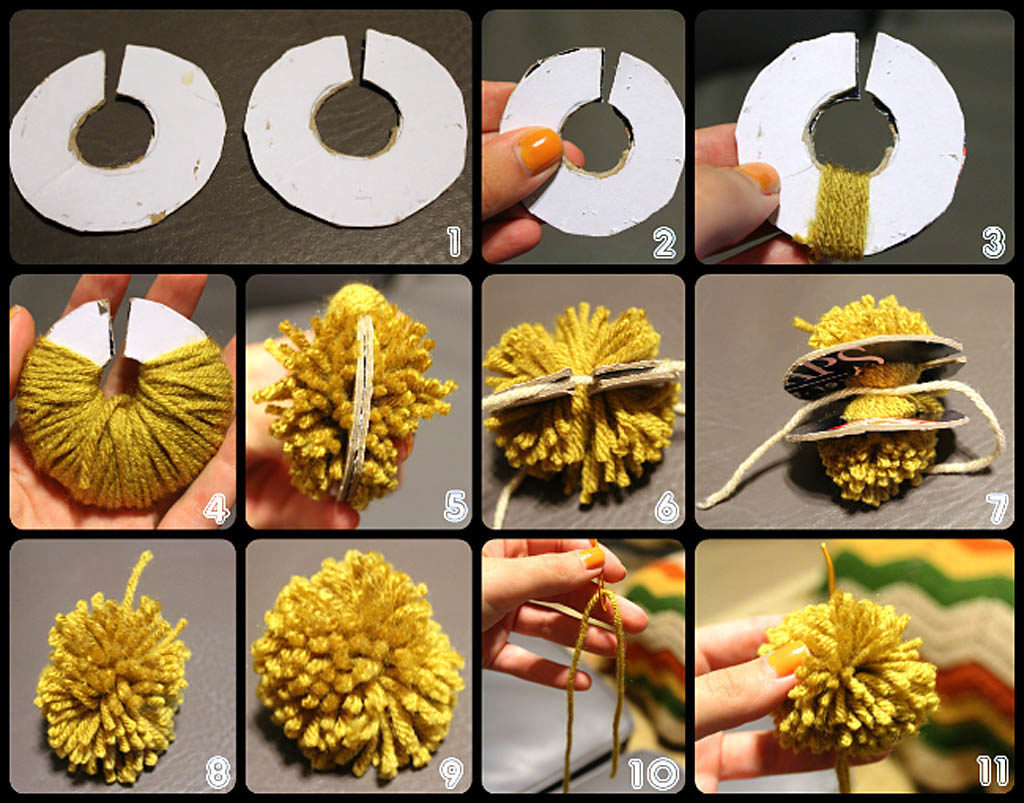
Sew the pompom to the hat and the new thing is ready.
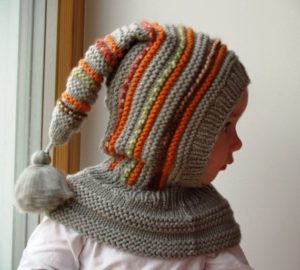
If you knit the fabrics that were sewn a little and make decreases in each row, you can get such a wonderful model.


 0
0