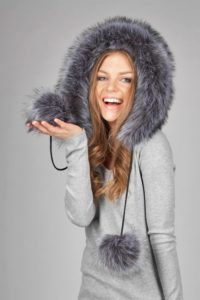
 A hat has long ceased to be just a warm addition to clothing. This is an independent, image-defining wardrobe item, a stylish accessory.
Styles of hats with ears
A hat with ears usually means two styles of hats, or even a combination of them:
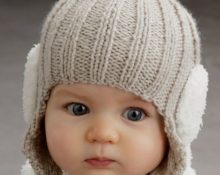
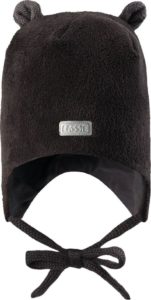
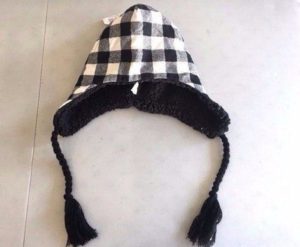
- A hat with elongated sides - ears, on which ties are located.
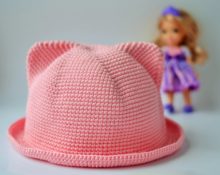
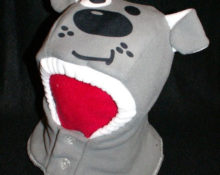
- A hat of any style, with animal ears sewn on the top or sides, the so-called animal hat.
Choosing a model and fabric
Hats with ears go girls, as well as teenagers and children of both sexes.
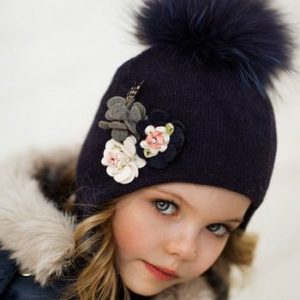 Wide models are suitable if you have a round or oval face. Widely spaced ears will look harmonious on those with a narrow face.
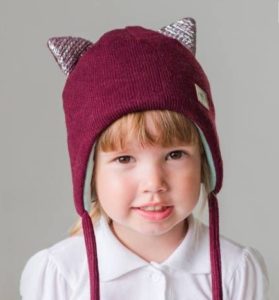 For comfortable use of the product, we need to choose a fabric that has good stretch:
- Knitwear, elastic in one or two directions.
- Stretch denim.
- Various types of fleece.
- Natural fur.
- Faux fur on a knitted base.
- Used knitwear.
Advice! If you decide to use a sweater or T-shirt on a hat, then the material must first be prepared. Wash it with a detergent suitable for the fabric. If it is natural wool, then a good hair shampoo will do just fine. Expand the product. Iron through a damp iron. You can start cutting.
Taking measurements
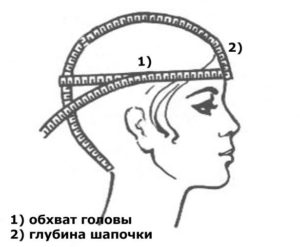
To sew a hat yourself, we will need the following basic dimensions:
- Head circumference - At the widest point of the head, usually the edge of the hat.
- The depth of the cap is the distance from the crown to the intended edge.
- The length of the ears is the size of the estimated ears from the edge of the cap.
 If you sew on an ear, you will need an additional pattern, two parts for each ear.
Advice! The simplest pattern is easy to make by tracing a ready-made, comfortable headdress.
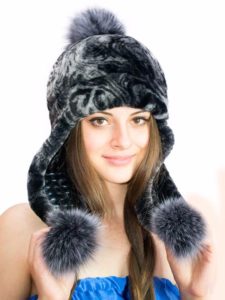
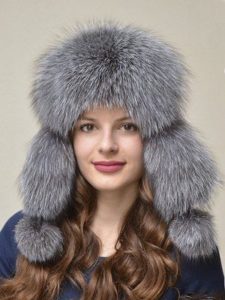
Fur "Eskimo"
Required:
- fur;
- lining fabric, dense, hygroscopic;
- blank or jar 2 liters;
- scalpel, sharp knife, razor;
- needle, thread.
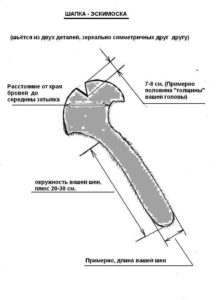
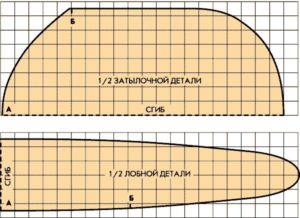
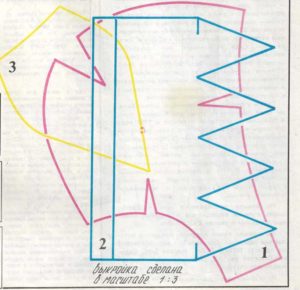 Patterns - two parts with a seam in the middle - from the forehead to the back of the head. For a good fit, two grooves are built in the crown area.
- We place the skin with the nap facing down.
- We lay out the patterns on the inside, taking into account the direction of the fur.
- We cut the fur with a knife or razor - not with scissors.
- The same patterns are duplicated by the lining. Seam allowances 0.5 cm.
Important! We do not make seam allowances on fur parts.
- We sew the fur blanks together (first the darts, then the left and right halves together). Seam “over the edge”. Please ensure that the fur stretches evenly and does not deform.
- We stitch the lining fragments and put them into the fur blank.
- Turn it inside out.
- We bend the fur inward, to the lining, then sew it on like a goat.
- We stretch it onto a blank or jar and leave it to “hang”.
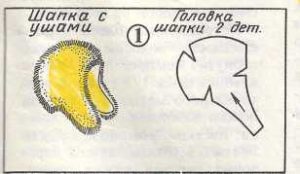
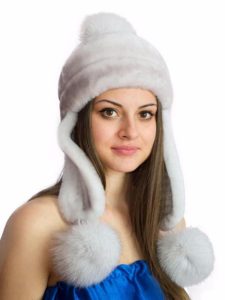 There are several patterns for Eskimo hats:
Advice! Using the “Eskimo” pattern, hats are made from any material – knitwear, felt, fleece. If necessary, a non-woven pad is used.
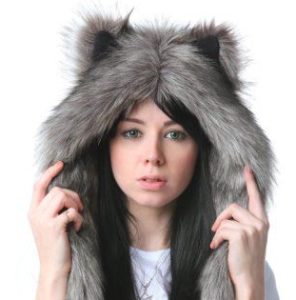 If you want to add ears to the “Eskimo”, then cut them out of fur or other material, sew the parts and sew them into the darts on the top of the head.
Children's hat with ears
In these models you can give free rein to your imagination. Your child will love cat, dog or mouse ears.
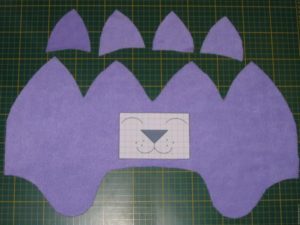
Pattern of a children's hat with ears
Required:
- Fleece or any other knitted fabric – 0.5 m.
- Fleece in contrasting colors for finishing the ears, details of the muzzle (optional) - flaps of any size.
- Fabric for lining.
- Laces for ties - optional.
- Threads to match.
- Sewing machine.
- Tailor's scissors, chalk.
Children's hat with ears
The pattern is an old child's hat:
- We outline it, we get two parts - the back and front halves.
- We do the same with the lining.
- We choose the size of the animal ears, make a pattern of parts - triangles.
- We cut out two parts of the ears from the main fabric, two from contrasting fabric - this is the inner surface of the ear.
- If desired, we cut out the details of the muzzle - eyes, cheeks, nose.
Advice! If you put padding polyester under the parts of the muzzle, they will become more voluminous.
- We sew the ear blanks together and turn them inside out.
- We fold the halves of the hat with the right side inward, put the ears with the cut outward, and the tip inward.
- We sew the hat.
- We sew the lining.
- Turn it inside out. We straighten our ears.
- Insert the lining.
- We mark the places for the ties (optional) and sew them to the wrong side.
- Sew the lining to the main product, leaving a small hole.
- Turn the cap inside out and sew up the hole.
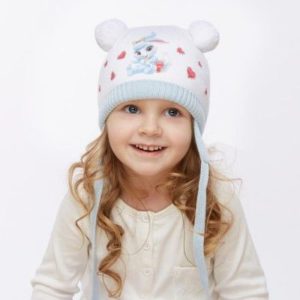 Funny bright scarves and capes go well with eared hats.This hat is a great reason to smile.


 Advice! If you decide to use a sweater or T-shirt on a hat, then the material must first be prepared. Wash it with a detergent suitable for the fabric. If it is natural wool, then a good hair shampoo will do just fine. Expand the product. Iron through a damp iron. You can start cutting.
 Important! We do not make seam allowances on fur parts.
 Advice! Using the “Eskimo” pattern, hats are made from any material – knitwear, felt, fleece. If necessary, a non-woven pad is used.
 Advice! If you put padding polyester under the parts of the muzzle, they will become more voluminous.
 0
0