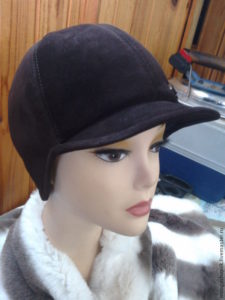
 Spring has arrived and you want to look fashionable? We offer to sew a stylish jockey - a headdress for true fashionistas. This hat will highlight your elegance and add romance to your look. You can choose any material for the jockey: both fabric and leather are perfect for this model.
What measurements are needed to create a pattern?
To ensure a perfect fit of the headdress, you only need to take two measurements:
- head circumference (HC);
- distance from the top of the head to the edge of the cap.
IMPORTANT! When taking exhaust gas measurements, the measuring tape should be pulled tightly over the head. Otherwise, your future hat will be too big for you.
How to make a pattern
For the future jockey you will need to cut out 12 identical wedges:
- 6 from main fabric;
- 6 made of insulation.
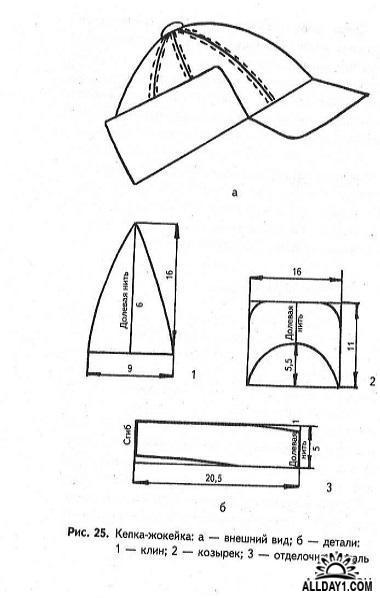
In addition, you need to prepare two parts of the visor and the same part from the side. You will also need a strip of fabric for the stand.
- The base of the triangle of each wedge should be equal to 1/6 OG.
- Triangle height equal to the distance from the top of the head to the edge of the jockey minus the width of the stand.
- Length of the visor along the inner edge equal to ½ OG.
- Outer edge depends on how wide you decide to make the visor.
- Stand length equal to OG, width 3 cm.
IMPORTANT! When cutting fabric, do not forget to allow seam allowances of 0.5–1 cm.
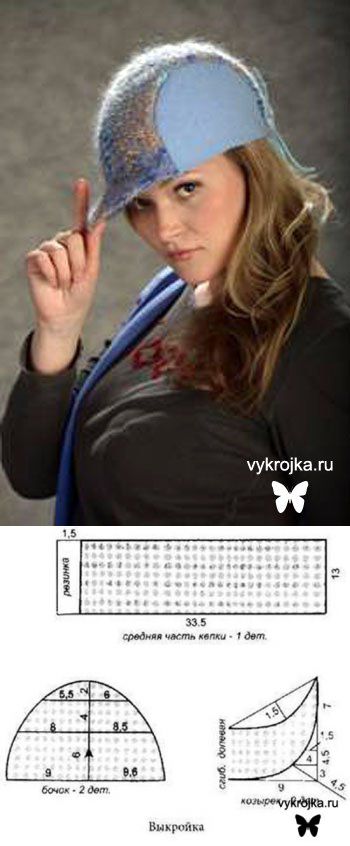
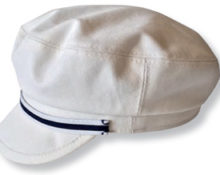
Another model with a pattern is shown in the photo.
How to sew a jockey
Visor
First, the visor is formed. The parts are folded face to face, and a bead is applied underneath. Everything is ground together along the outer contour. Next, along the same seam, but on the front side, a stitch of 1 mm is laid. Due to this, the allowance will be fixed and the visor will take the desired shape.
The basis
Now you can proceed to the main part of the jockey. For this All wedges are folded face to face and carefully connected first with pins and then with a sewing machine.
IMPORTANT! When sewing wedges, it is better to work with “pairs” of triangles. That is, first two elements are sewn together, then two more.
The resulting twos are also folded together with the right sides inward and stitched along one side. Afterwards, the last pair is sewn to this “four” of wedges and the workpiece is rounded into the usual shape of a cap.
Insulation parts are connected in a similar way. As a result, you should have two simple “caps”.
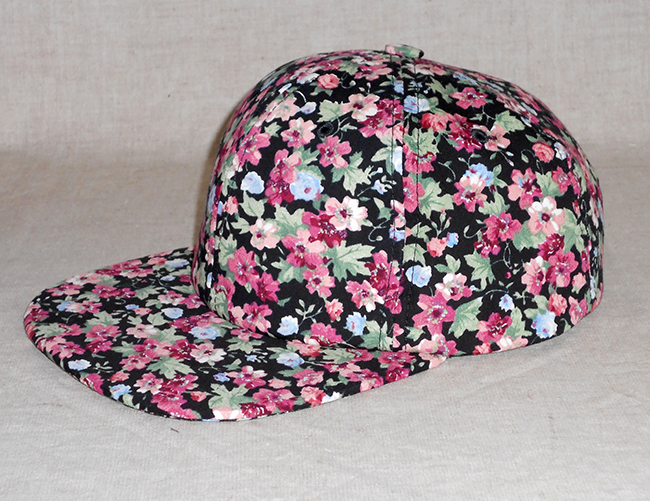
Rack
The next stage is the stand. Place the prepared strip of fabric on the inside of the visor and secure it with pins. On the other side, attach and also fix the second part of the future rack.
IMPORTANT! The stand should be fixed from the center of the visor so that the back seam is exactly in the middle of the head.
Connect all three parts using one stitch on the machine. And then sew the vertical sections of the stand together. The seam should be exactly in the middle of the back of the head.
ADVICE! At this stage of the work, you can add an elastic band to the back of the post so that the jockey sits better and does not roll down the head.
After the elastic is sewn in, you can connect the sections of the racks along the entire perimeter.
Assembly
Now all that remains is to put all the parts together. The top of the hat is connected to the insulation. The seams are joined using wedges. After this, the upper part of the jockey is connected to the visor and the stand. To do this, the parts are folded face to face and machine-stitched. And the resulting seam is processed using an overlocker.
The jockey is ready!


 3
3




The patterns do not match the models shown. Can I have a real pattern for the first jockey hat?