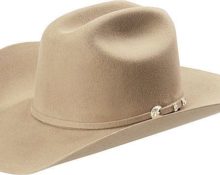
New Year's parties are left behind, but little gentlemen want something unusual even on weekdays. If your son is into westerns, you can make a cowboy hat for him with your own hands.
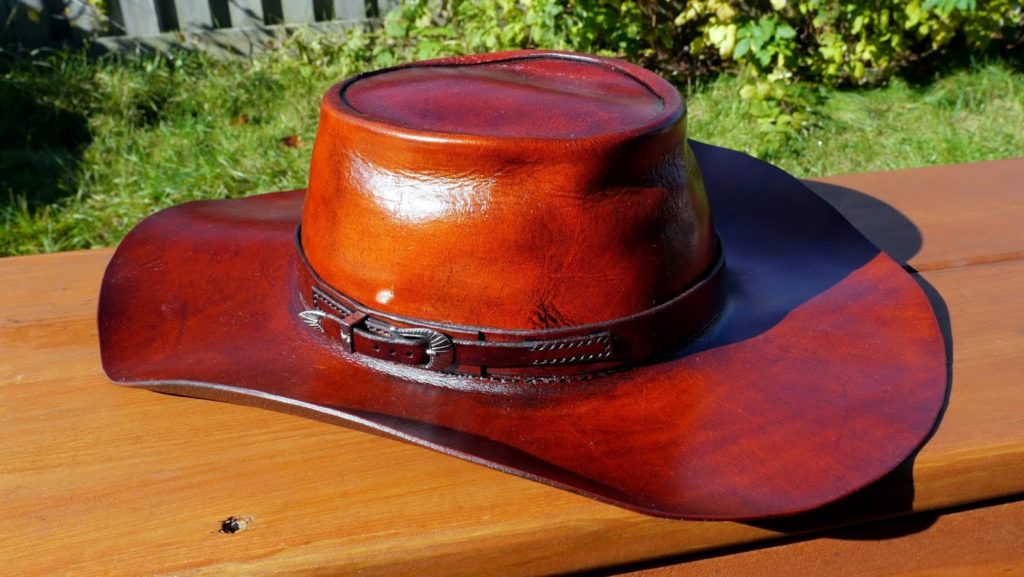
There are two ways to make a cowboy headdress - from paper and cardboard and fabric.
How to make a cowboy hat with your own hands: detailed instructions
The headdress of American cattlemen was created to protect the face and head from the sun, dust and rain while herding livestock on horseback. Therefore, it is distinguished by a specific appearance: wide brim, deep and comfortable crown and fastening on the chin so that the hat does not blow away in the wind or carry away during a fast ride.
Initially, the material for production was the skin of farm animals: cows, pigs or horses, carefully cleaned and processed. This material does not allow moisture to pass through and reliably protects from the sun.
Classic models have two or more small holes for ventilation in the crown.
With the advent of Westerns, cowboy hats entered the everyday life of people far from farming, and movies about the Wild West inspired many boys to imitate brave heroes.
Let's try to make a headdress for young Clint Eastwood or Wild Bill ourselves.
Cowboy hat made of paper and cardboard
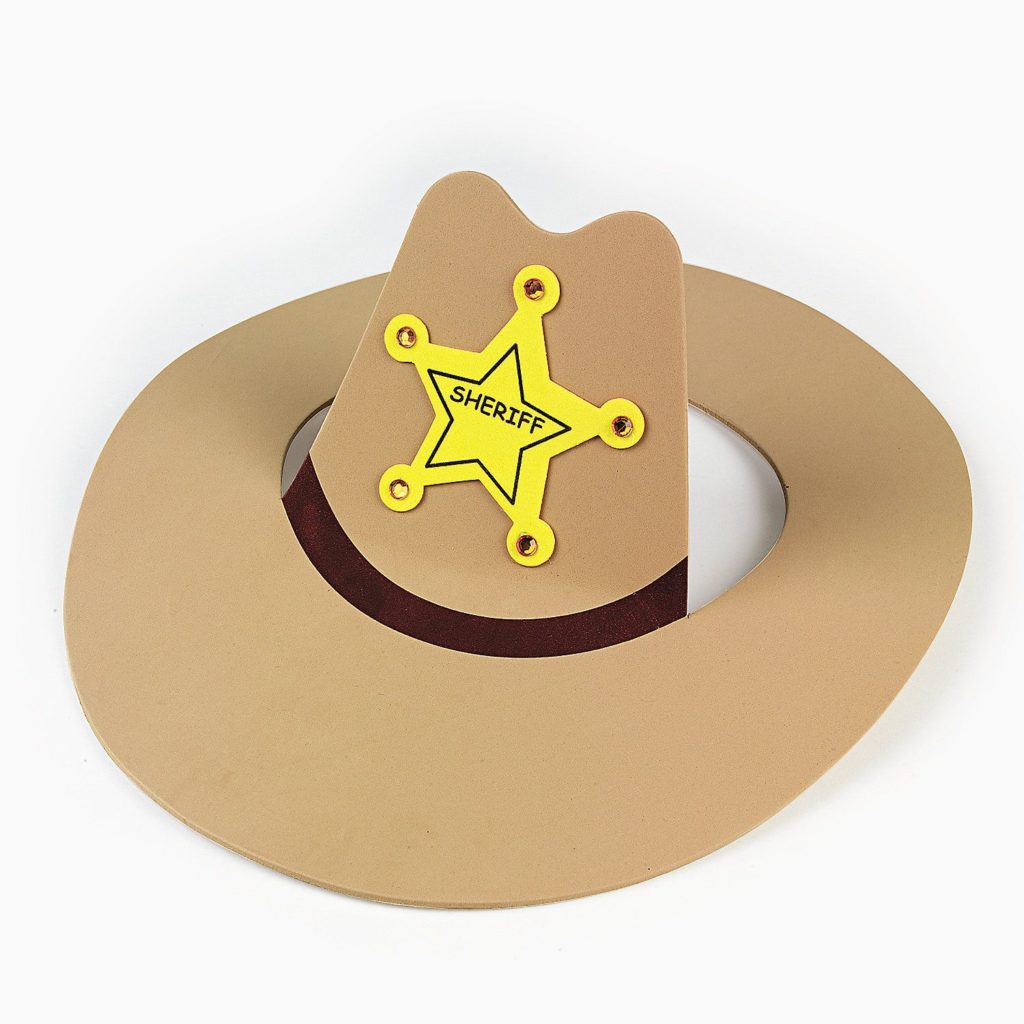
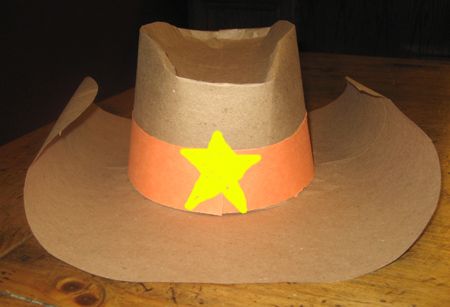
The simplest material for a cowboy hat would be paper. You can create masterpieces from it.
Necessary materials
For work we will need:
- paper,
- cardboard,
- glue,
- scissors,
- paints,
- centimeter.
You can make the entire structure from ordinary office paper and then paint it, or you can create a more durable hat from cardboard.
Operating procedure
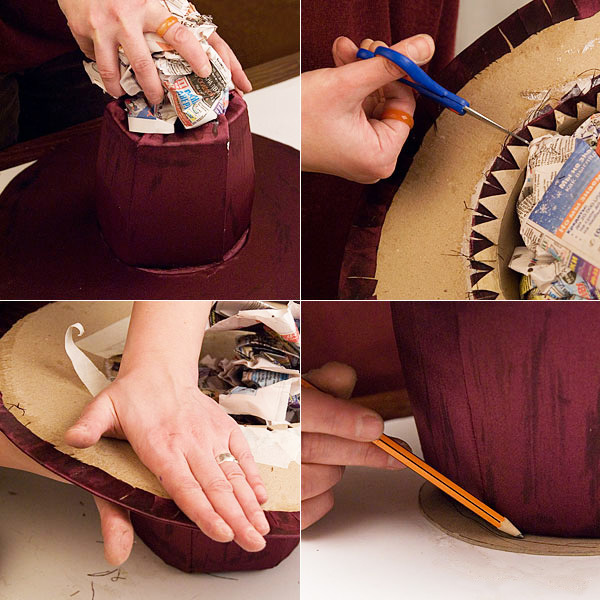
Before you start making a cowboy hat, take a tape measure and measure the circumference of your child's head and the distance from the forehead to the top of the head. This will help you cut out a product that will fit comfortably on your head, not pinch or fall off.
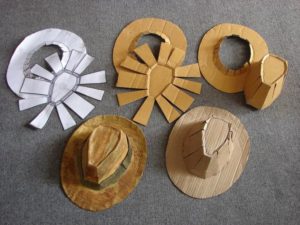
We cut out thick cardboard (you can use boxes from the store) according to the following scheme: the length of the rectangular part - the crown and the internal diameter of the “donut” and oval should be equal to the circumference of the child’s head. The height of the crown is determined by the distance from the forehead to the top of the child’s head.
On the rectangle, 2 centimeters are added on three sides, from which special teeth are cut for gluing.
Next, we assemble all 3 parts and glue them together. For cardboard it is better to use PVA, and for paper a regular glue stick is also suitable.
We leave the hat to dry, and then paint it with paints or cover it with colored paper.
A cardboard cowboy hat covered with velvet paper looks incredibly beautiful.
Fabric cowboy hat

Sewing a cowboy headdress from fabric is somewhat more difficult, but such a product lasts much longer and looks like a real store-bought hat.
Necessary materials
- cardboard for frame,
- paper for making patterns,
- fabric or leather,
- thread, needle, scissors and lace.
When choosing fabric, give preference to fleece, suede, velvety materials or fabrics reminiscent of leather. This way, the product will look more natural.
Operating procedure
For sewing we will need to make such a pattern.
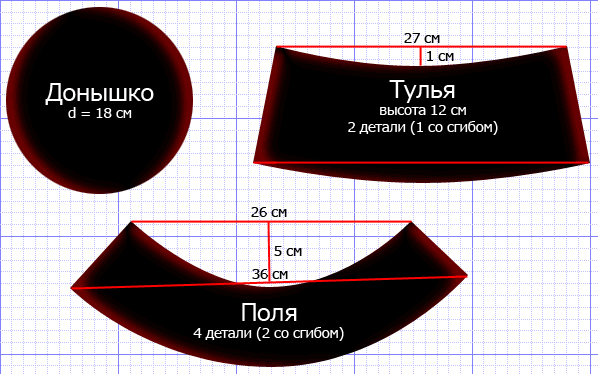
- You will need 4 pieces of lower parts. We transfer the design to the fabric, taking into account the same measurements as when making a paper hat.
- Don't forget to add seam allowances. Their size will depend on the fraying of the fabric.
- Cut out of cardboard or thin plastic frame for the fields and glue it into a ring.
If the fabric is quite dense and holds its shape on its own, then instead of cardboard you can use wire sewn into the outer edge of the brim.
- We sew together the details of the fields. To do this, fold the semicircles in pairs with the front sides inward and sew them along the outer radius using a machine or overlocker.
- Then we connect our “half-bubble” in one ring.
- Next, turn the fabric inside out. on the front side and insert the frame. Leave the inner edge unstitched and set the product aside.
- Let's start with the crown. We sew our halves into a cylinder and attach the bottom to the wavy side.
If the fabric does not hold its shape, then the crown will have to be made on the frame in the same way as we previously made the brim of the hat.
- Turning our “bucket” inside out on the front side and carefully sew the fields to the crown.
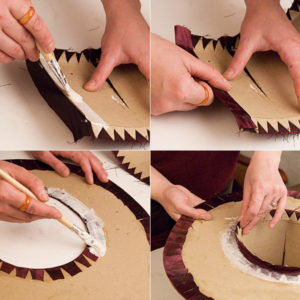
- The finished product can be decorated with figured lacing, decorative stitches or beads.
- We thread chin cord with carabiner.
- Don't forget about ventilation holes in the crown. It is most convenient to make them using blocks or grommets, but you can make holes by hand and carefully stitch them.
A cowboy hat is not only a reason to please a child, but also unlimited scope for imagination. You can make different models, with narrow or wide brims, and also sew a whole cowboy costume for a game or for a holiday.


 0
0